

Thank YOU! It's Customer Appreciation Week!
EXTRA 11% OFF Orders $100+ With Code: THANKYOU
EXTRA 11% OFF Orders $100+ With Code: THANKYOU


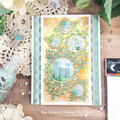
 Give a Cheer
Supplies:
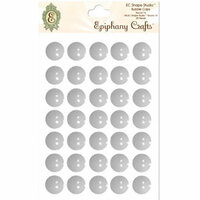
Epiphany Crafts Round 25 Tool with Round 25 Bubble Caps
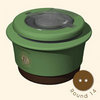
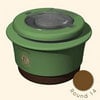
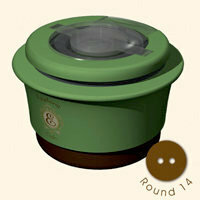
Epiphany Crafts Round 14 Tool with Round 14 Bubble Caps
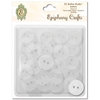
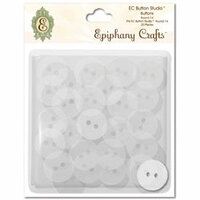
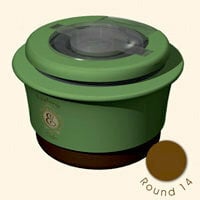
Epiphany Crafts Round 14 Button Tool with Round 14 Buttons
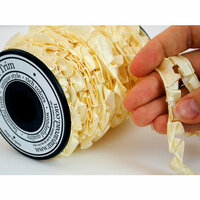
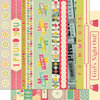
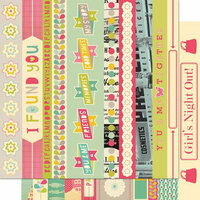
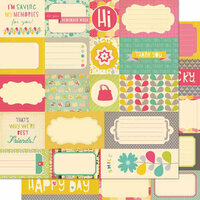
Ribbon by Maya Road, Offray
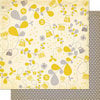
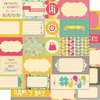
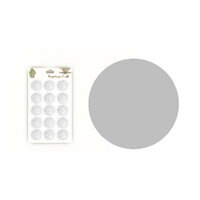
Paper by Cosmo Cricket, Bella Blvd (Grey Circles)
Felt by thedailypincushion.etsy.com
Punches by EK Success
Cardstock by Bazzill, Neenah (White)
Font - Rockwell
Adhesive by American Crafts
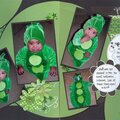
Teens can be challenging to catch on film but I got this rare moment of my daughter Katie in her favorite shades at Disneyland. This captures her personality to a tee! I printed the photo in black and white to give it a nostalgic feel and to also pull from the grey tones in the paper. I used Epiphany Crafts Shape & Button Tools in tandem with scalloped circles I punched from the coordinating patterned paper to create a playful set of bubbles and flowers around the photo. The Epiphany Crafts tools allowed me to effortlessly create coordinating embellishments for my layout using scrap paper. I was able to highlight designs in the paper, such as the silhouette of a woman, a leaf, and a butterfly, with the Epiphany Crafts tools to create embellishments with specific meaning for my project. Since the Epiphany Crafts Tools create embellishments with paper as the base, the embellishments are easy to attach to the page using a tape runner or glue stickno expensive or heavy adhesives necessary for these lightweight, custom embellishments.
Instructions:
1. Cut a 5.5 x 7.5 mat from dark grey cardstock for a 5x7 photo.
2. Punch a 3 x 8 strip of Grey Circle Patterned Paper with a Large Scalloped Border Punch. Adhere to the bottom of the photo mat and add to the page.
3. Adhere a strip of ruffled trim and a satin ribbon across the bottom of the photo. Tie a bow and add to the satin ribbon.
4. From a coordinating paper, punch several scalloped circles. Scatter on the page.
5. Create 5-6 custom embellishments with the Epiphany Crafts Shape Tools using the scraps leftover from punching the scalloped circles. Scatter these around the page, setting some in the centers of the scalloped circles.
6. Cut a 3x3 square of wool felt into a circle and then into a spiral. Roll the spiral up, starting from the outside edge, into a flower. Arrange two of these on the page.
7. Accordion fold a 1.5 x 12 strip of coordinating patterned paper every ¼. Adhere the two ends of the strip together to form a tube. Gather one end of the tube so it looks like a cone or lampshade. Press down to flare out the other end of the tube to make a rosette. Adhere next to the satin bow.
8. Scatter Epiphany Crafts Round 14 Buttons around the page. Arrange the elements around the photo until you are satisfied with the design and adhere to the page.
9. Creating journaling using a computer, print, cut into strips and mount to the photo. Add a title cut from a coordinating paper in the collection.
Download instructions and additional photos from Scrapbooking & Beyond Magazine online: http://www.scrapbookingandbeyondmag.com/projects/index.shtml


Thanks for spreading positivity!


July 13, 2011
June 21, 2011
June 16, 2011
June 16, 2011