

FREE Standard Shipping on Orders $69+ with code:
FREESHIPPING

 Give a Cheer
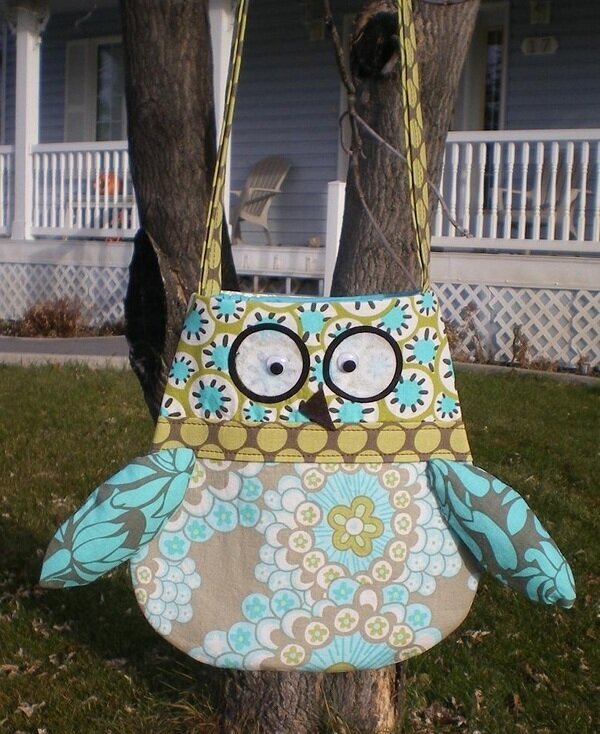
Did you think stamps were just for cards? Silly owl! Following these instructions, you can create a pattern for this fabulous purse with a Hero Arts owl stamp.
Instructions:
Creating the Pattern
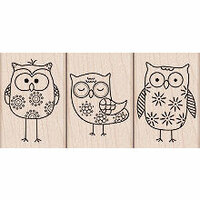
1.Stamp the dotted owl on white paper and scan. Enlarge so that it takes up most of an 8 ½ x 11 sheet of paper and print off 3 copies.
2.From the first sheet cut out just the wings, adding on ¼ seam allowance.
3.From the second sheet, cut out the main body, again, adding ¼ seam allowance.
4.On the third sheet draw a line from wing to wing, just above where the dots are. Cut out the bottom part of the body adding ¼ seam allowance all around the sides and bottom. You dont need to add ¼ to the top. I found it helpful to draw the ¼ seam allowance with a pen before cutting it out.
Cutting the Fabric
1.Cut 2 main body pieces from the solid fabric.
2.Cut 4 main body pieces from interfacing.
3.Cut 2 main body pieces from a patterned fabric.
4.Cut 1 lower body piece from a patterned fabric.
5.Cut 4 wings from a patterned fabric.
6.Cut 1 long strip of patterned fabric measuring 2 ¼ wide x 43 (for strap and middle body).
7.Cut 2 eyes out of white fabric and fusible webbing (ie.Heat N Bond ).
8.Cut 2 outer eyes out of black fabric and fusible webbing. (Nestabilities work well for this!)
Sewing and Assembling
1.To sew the strap, fold the piece of fabric in half lengthwise and iron. Open up. Fold top edge towards the middle and iron again. Repeat for the bottom edge. Close all folds so that you are left with a long strip measuring ¾ x 43. Stitch down the open edge. If you like you can add a second row of stitching just for decoration. Cut off one piece of the strip measuring about 7. This will be for the middle body.
2.To create the purse, lay out your bottom body fabric on top of one of the whole body pieces with both right sides facing up. Stitch together. Sew your 7 strap piece down the middle to hide the raw edges. Cut any excess strap from the edge. This will now be known as your main body front.
3.Following manufacturers instructions, fuse interfacing to the wrong side of the 2 lining pieces and the 2 main body pieces.
4.Lay out lining pieces with the right sides facing and stitch together the sides and the bottom. Leave the top open.
5.Do the same with the 2 main body pieces.
6.Baste the handle to the outside of the main body with one side of the strap on either side of the body piece.The strap should hang down.
7.Place the main body inside of the lining and sew around the top edge leaving a 3 opening.
8.Carefully pull the bag through the 3 opening and you will have your purse and lining with right sides facing out! Sew your opening closed.
Adding the Wings and Eyes and Beak
1.To make the wings, with right sides facing, stitch along the outer edges of the wings, leaving a small opening. Turn right side out and stuff with quilt batting. Stitch the opening closed.
2.To make the eyes, cut 2 eyes out of white and 2 outer eyes out of black and add fusible webbing. Fuse the outer eye to the purse front and then fuse the inner eye to the outer eye. Attach googly eyes with fabric glue.
3.To make the beak, cut a tiny triangle of brown felt and attach it to the purse front with fabric glue.
Variation:
Using a smaller pattern, make owl ornaments for your tree. These would be adorable in many different fabrics!


Thanks for spreading positivity!


November 18, 2010