


FREE Standard Shipping on Orders $69+ with code:
FREESHIPPING


 Give a Cheer
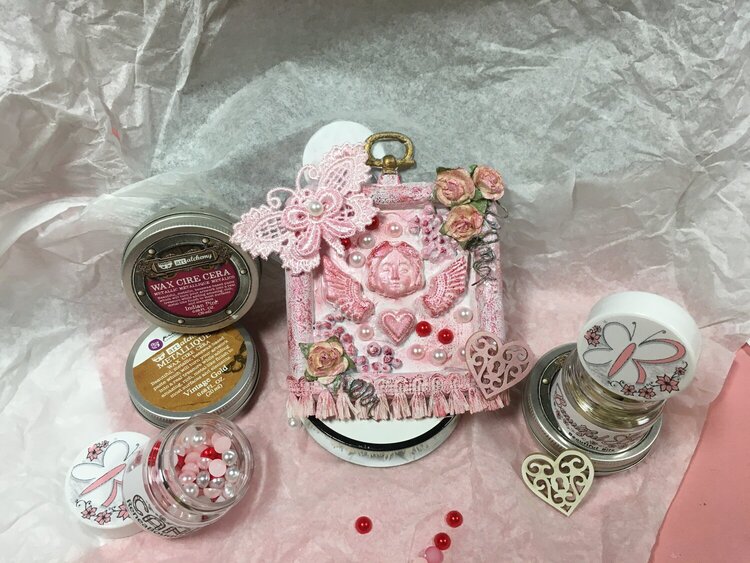
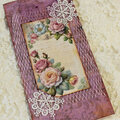
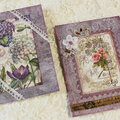
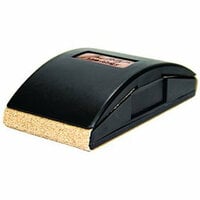
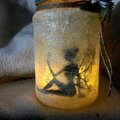
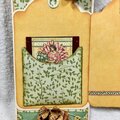
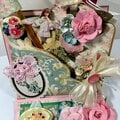
This turned out to be my favorite of all of the embellishments I made. Step I I started out with a small plastic frame from my stash. I sanded it with the Tim Holtz sanding block to rough up the surface. Step 2 I covered the frame and cardboard in 2 layers of acrylic matt medium and 3 layers of gesso. In my experience using an acrylic matt medium first makes the gesso stick better to plastic. Also, it gives the card board or chipboard a seal to keep it from absorbing the gesso into the fibers. Step 3 add various elements with various adhesives, repeat, repeat, repeat. When you get your elements figure out, add paint, wax, or whatever your heart desires.
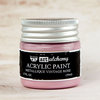
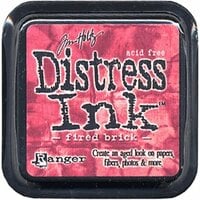
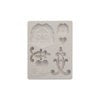
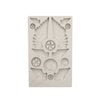
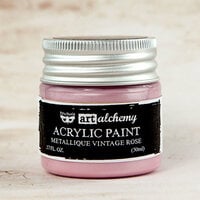
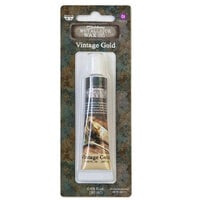
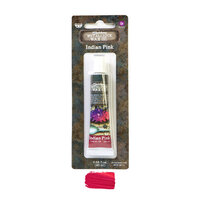
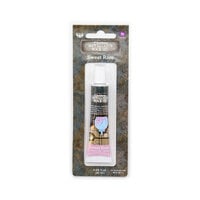
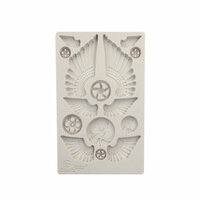
In this case I used the Prima Modeling Material in the Anabel and Cogs and Wings moulds. It was my first time using these products so it took me a couple of tries to get them to dry somewhat flat. I also experimented with using the formed material with and without gesso under paints, waxes, etc. After I decided what I was going to do I glued the pieces down with E6000. Next, I used some acrylic matt medium in the lower left and upper right-hand corners and placed seed beads in the medium. I painted over everything with gesso. After that I dry brushed the Prima Metallique paint in Antique Rose. While that dried I applied TH's Fired Brick ink on my craft mat and sprayed water on it and then dipped some ivory lace trim from my stash in it. (It's from Hobby Lobby). I dried the lace with a hair dryer and used E6000 to glue it to the bottom of the frame. I painted it with gesso to make it stiff. I added the tiny flowers from my stash. (They're a Prima product, I just don't know what the name is because I threw away the packaging.) I bent the little wire stems and adhered them with E6000. I also added some of the waxes in the two pink colors over just about everything that was on there at this point. I just used my finger tips lightly over the surfaces to add dimension. I used the Prima Vintage Gold wax on the hanger part of the frame. I painted the Renea Bouquets Beautiful Board Beautiful Bits Heart with the Prima Antique Rose Metallique paint. I cut out a butterfly from the Renea Bouqets "Lissie's Butterfly Lace." I gathered a few of Renea Bouquets Beautiful Beads Candy Flatback Pearls Sweetheart and placed them where I wanted. And for the finishing touches I glued down all of the Beautiful items from Renea Bouqets. Ta-da! All done!
I am so glad and thankful I was able to participate in one of Donna's (bonprof) Renea Boquets swaps before she passed. I expressed my doubt that I had the creative ability to make such beautiful fancy and feminine items that I saw as examples made by Donna and the other swap participants. Donna was so kind and encouraging that I decided to step out of my comfort zone. Donna was sweet enough to take me on as a swap partner. She told me she was sure she would love whatever I made for her.
TFL and Thanks for any kind comments, votes, etc. I really appreciate it.

Thanks for spreading positivity!


March 05, 2020
March 05, 2020
March 05, 2020
March 05, 2020
March 05, 2020
March 05, 2020
March 05, 2020
March 05, 2020
March 05, 2020
March 02, 2020
March 01, 2020
March 01, 2020