Storage & Organization up to 60% OFF!
Plus, a FREE Gift! | Details Here.
Plus, a FREE Gift! | Details Here.

 Give a Cheer
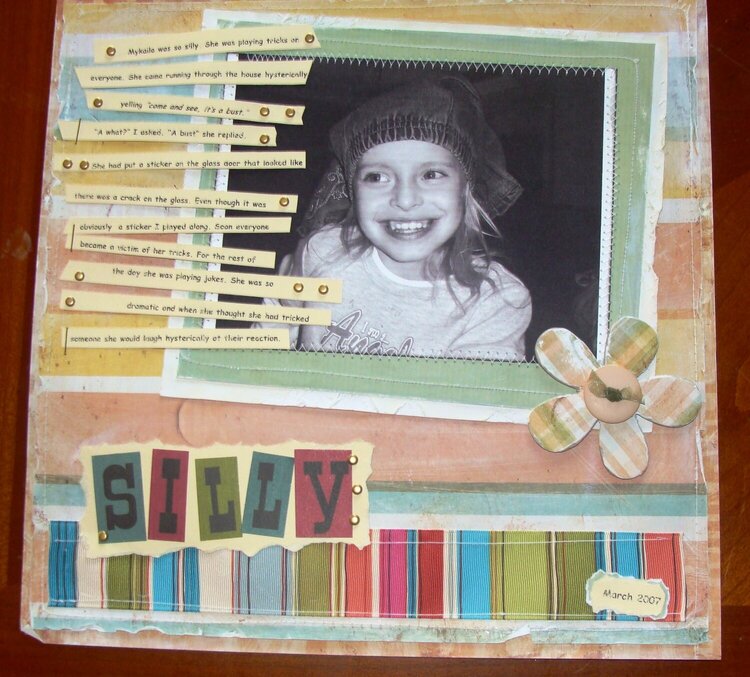
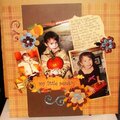
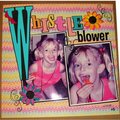
I do not measure but I trimmed a very small amount from each side of the 12x12 cardstock (the stripped sheet) then added it to a 12x12 paper that was a wood print. I stitched them together. I gently ripped the edges of the stripped paper about every inch but just to the stitching. I then got my fingers wet and rubbed/rolled the torn pieces to add demension and because I seen it in a magazine. I matted, stitched, and added a small amount of the technique to the right side of the mat (white). I covered a raw chipboard flower with a coordinating sheet of paper. I then sanded the flower and added a tiny bit of ink. I topped it off with a button/ribbon center. I type and printed my journaling on the computer, cut it up and the stapled it or added brads. I added a 1.5 width ribbon with stitching at the bottom and even though it did not match it helped me use some of my favorite letter stickers. The title was simply just torn cardstock with letter stickers and then the date is added in the same way in the low right. In the end it just seemed to work for what I wanted and I love the technique because it is shabby.
No products have been added to this project.

Thanks for spreading positivity!


September 12, 2008