


Storage & Organization up to 60% OFF!
Plus, a FREE Gift! | Details Here.
Plus, a FREE Gift! | Details Here.

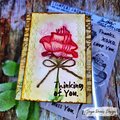
 Give a Cheer
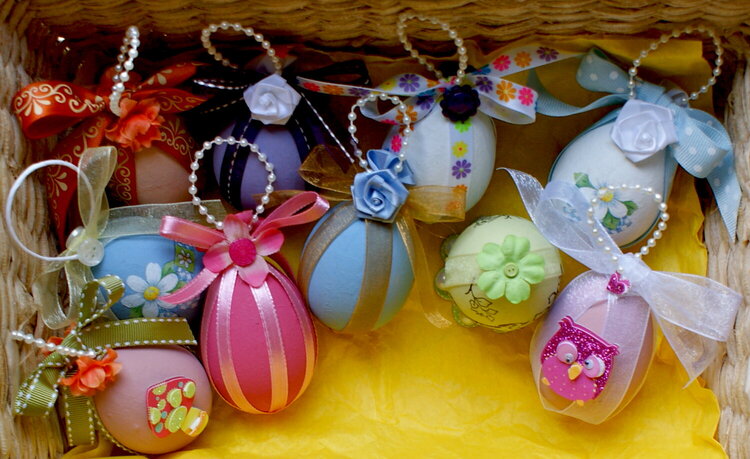
I have made these since I was about 16. They're so easy!
Here's the process:
You will need:
Paper Mache Eggs
Toothpicks
An Awl or Other Piercing Tool
Block of Styrofoam or Styrofoam plate (turned upside down)
Acrylic Craft Paint and Foam Brushes
Ribbon/Craft Pearl Strands/Twine
Embellishments/Small Flowers
Hot Glue Gun or Glue Dots
To Do:
Start by poking a hole in the center of the bottom of the paper mache egg with your awl. It will leave a big ugly hole, but don't worry--you'll be covering that up with ribbon. :D Next, insert a toothpick into this hole. The toothpick will be your "handle" for holding the egg while you paint it.
The next step is to paint. I usually just squirt a little paint directly onto the egg and spread it out with the brush until even. You can also squirt a little paint into a small plate if you want. After the egg is painted, leave it on the toothpick and place the toothpick into the styrofoam block or upside-down plate for the egg to dry.
Once the paint is dry (and it dries FAST), you're ready to decorate! Start by placing a Glue Dot (or a small dab of hot glue) on the tip top point of the egg. Secure one end of the ribbon here. Begin wrapping your ribbon around the egg, using more glue to secure on the bottom and then back around to the top.
Next, make a bow with a separate piece of ribbon. Secure to the top with glue. Next, take a small piece of pearl strand, ribbon, or twine and make a little hanger. Secure with glue on front and back of bow. This will look kind of unfinished, but don't worry. That part will be covered.
Finally, finish off your egg with an embellishment like a big pearl, button, or flower.
You're done! Happy Easter!


Thanks for spreading positivity!


April 28, 2009
April 08, 2009
April 07, 2009
April 07, 2009
April 07, 2009
April 06, 2009
April 06, 2009
April 06, 2009
April 06, 2009
April 06, 2009