

Thank YOU! It's Customer Appreciation Week!
EXTRA 11% OFF Orders $100+ With Code: THANKYOU
EXTRA 11% OFF Orders $100+ With Code: THANKYOU


 Give a Cheer
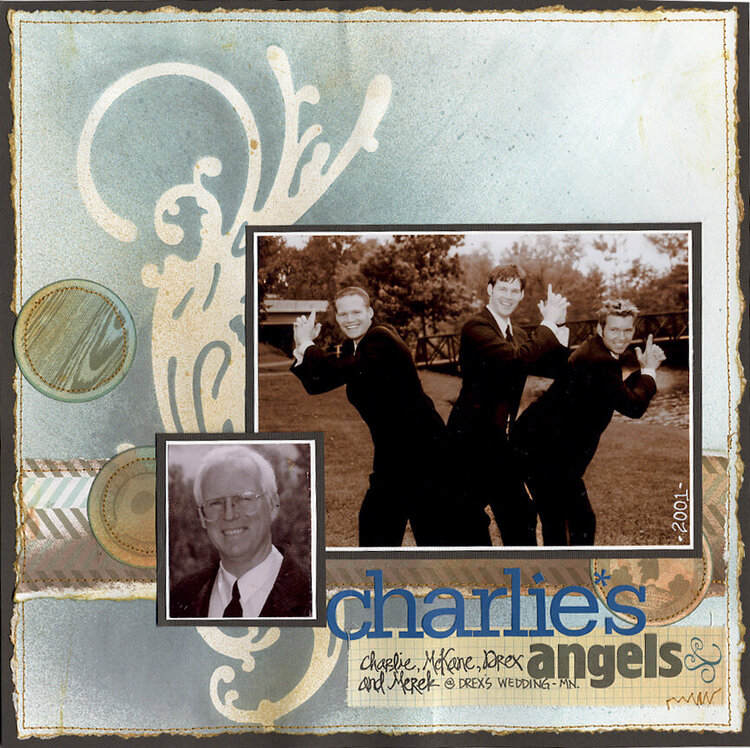
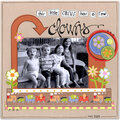
My sons humored me with this photo--so thanks guys!! I don't know why they get so bugged by it????---isn't it pretty special to be part of a group of three brothers who can pose as Charlie's Angels because their father's name is "Charlie?" Yes, I owe them...BIG TIME for posting this!!! LOL
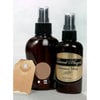
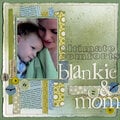
In May I had a goal to find and try new ways of using Glimmer Mist and other misting dyes - May became "My Misting Month". Because of the goal I experienced fun progress and learning. This layout and five others here in my gallery are from this adventure.
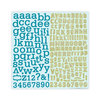
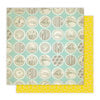
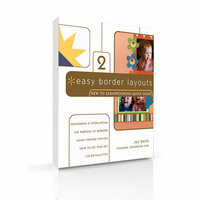
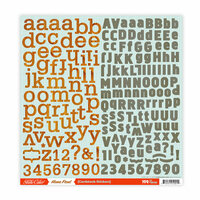
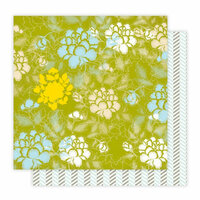
I decided to use a Tim Holtz mask and some versatile Studio Calico paper for my borders on this layout. My ebook "New to Scrapbooking Quick Guide 2 - Easy Border Layouts" helped me decide how to place everything. Although the book was written for those new to scrapbooking I'm always able to take the concepts and ideas and apply techniques and embellishments and come up with something satisfying and adventurous.
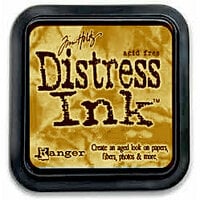
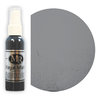
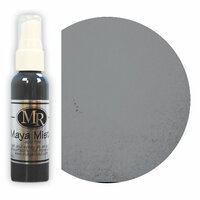
Both the paper and the mask helped me see the layout in terms of grunge and distressing. I used LOTS of misting over the mask as you can see and you might be able to tell that I "fanned/feathered" the ink away from the mask using a paper towel -- working as I sprayed and the paper was wet. I lightly misted over the masked area with another color when the paper was dry and the mask was removed.
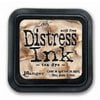
Tip: I taped my paper edges to my work surface (a piece of tempered-glass) with Artist's tape (painters tape might work too) so the paper wouldn't warp as it dried. Artist's tape has a gentle adhesive so it won't tear your paper when removed. I tore the edges away where the tape had been, inked the edges and machine stitched the new background paper to a piece of brown cardstock.
Go have some fun too!!! Thanks for looking.


Thanks for spreading positivity!


July 28, 2011
April 11, 2011
April 10, 2011
October 20, 2010
September 22, 2010
September 03, 2010
September 03, 2010
August 27, 2010
June 22, 2010
June 19, 2010
June 16, 2010
June 16, 2010
June 16, 2010
June 16, 2010
June 16, 2010
June 15, 2010
June 14, 2010
June 14, 2010
June 14, 2010
June 14, 2010
June 14, 2010
June 14, 2010
June 11, 2010
June 11, 2010
June 11, 2010
June 11, 2010
June 10, 2010
June 10, 2010
June 10, 2010
June 10, 2010
June 10, 2010
June 10, 2010
June 10, 2010
June 10, 2010
June 10, 2010
June 09, 2010
June 09, 2010
June 09, 2010
June 09, 2010
June 09, 2010
June 09, 2010
June 09, 2010
June 09, 2010
June 09, 2010
June 09, 2010
June 09, 2010
June 09, 2010
June 09, 2010
June 09, 2010
June 09, 2010
June 09, 2010
June 09, 2010
June 09, 2010
June 09, 2010
June 09, 2010
June 09, 2010