

Storage & Organization up to 60% OFF!
Plus, a FREE Gift! | Details Here.
Plus, a FREE Gift! | Details Here.
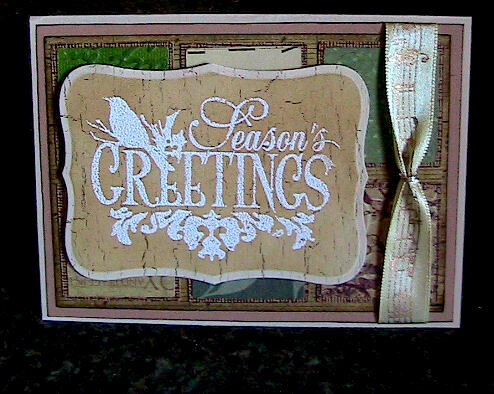


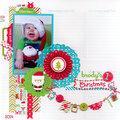
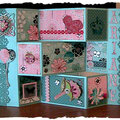
 Give a Cheer
Dimensions:
Card Base 4 by 5.5 inches
Background paper 5.063 x 3.5
Background matting paper 5.313 x 3.75
The 6 Squares 1.423 x 1.423
Squares Matting 1.55 x 1.55
SUPPLIES:
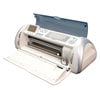
-Cricut, Fabulous Finds Cartridge
-Spellbinder Label 8 die cut
-Various papers
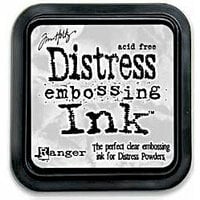
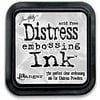
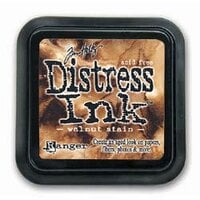
-Distress Inks: Walnut ink, Tea Dye and Embossing Ink pad
-Ink Applicator Tool
-Stamps by Inkadinkado: 98400 Ornate Christmas
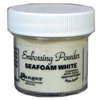
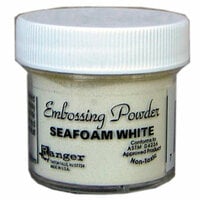
-White Embossing powder
-Music Ribbon
-Small metal ring
I used the Fabulous Finds Cricut cartridge to cut out 6 squares, the background and all the matting. I had to choose a lot of papers that went well together.
First, I pick out the papers for the squares (and work around those colors). Then, I choose a background paper to put them on and also a paper for the matting. Then I choose the matting for the squares. In most cases all my matting is the same paper/color.
I added walnut distress ink to the edges of the squares to make them darker before adding the matting to them.
Next, I worked on the Spellbinder die cut. After cutting it out with my Cuttlebug I stamped the image on it using an embossing ink pad. Then I heat embossed with white embossing powder. After heating it up I took Tea Dye Distress Ink and stenciled with it. The embossing powder is a great resist.
Lastly, I added a ribbon. The easiest way to add a ribbon without all the hassle is to take a small round metal ring. Which can be found in the jewelry section of your craft store. There are many sizes, you need the smallest. It looks better on larger ribbon. This is less than an inch thick.
The Sandwich for using your Spellbinder die cuts with your Cuttlebug is
To Cut, from bottom to top:
Plate A
Plate C
Die ridges face up
PAPER FACE DOWN on top of the die
Plate B


Thanks for spreading positivity!


December 15, 2010