

Storage & Organization up to 60% OFF!
Plus, a FREE Gift! | Details Here.
Plus, a FREE Gift! | Details Here.


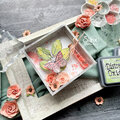
 Give a Cheer
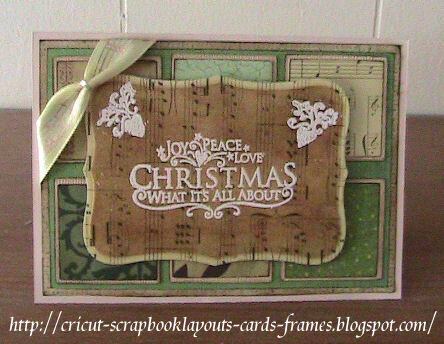
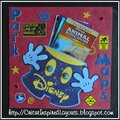
Dimensions:
Card Base 4 by 5.5 inches
Background paper 5.063 x 3.5
Background matting paper 5.313 x 3.75
The 6 Squares 1.423 x 1.423
Squares Matting 1.55 x 1.55
SUPPLIES:
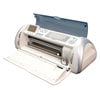
-Cricut, Fabulous Finds Cartridge
-Spellbinder Label 8 die cut
-Various papers from Faith paper pack by The Paper Studio (Hobby Lobby) and Country Christmas by The Paper Studio (Hobby Lobby)
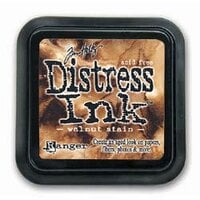
-Distress Inks: Walnut and Embossing Ink pad
-Ink Applicator Tool
-Stamps by Inkadinkado: 99405 Holiday Expressions
-White Embossing powder
-Music Ribbon
-Small metal ring
I used the Fabulous Finds Cricut cartridge to cut out 6 squares, the background and all the matting. I had to choose a lot of papers that went well together.
First, I pick out the papers for the squares (and work around those colors). Then, I choose a background paper to put them on and also a paper for the matting. Then I choose the matting for the squares. In most cases all my matting is the same paper/color.
I added walnut distress ink to the edges of the squares to make them darker before adding the matting to them.
Next, I worked on the Spellbinder die cut. After cutting it out with my Cuttlebug I stamped the phrase and 2 images using an embossing ink pad. Then I heat embossed with white embossing powder. After heating it up I took Walnut Ink Distress Ink pad and stenciled with it. The embossing powder is a great resist.
Lastly, I added a ribbon in the corner. The easiest way to add a ribbon without all the hassle is to take a small round metal ring. Which is actually used for jewelry youll find it in that section of your craft store. . There are many sizes, you need the smallest.


Thanks for spreading positivity!


December 15, 2010