


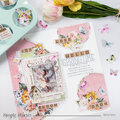
Livestream Party!
Join us today at 9:00am PT / 12:00pm ET | Details Here.
Join us today at 9:00am PT / 12:00pm ET | Details Here.


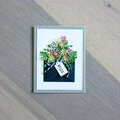
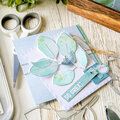
 Give a Cheer
Supplies:
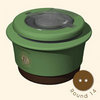
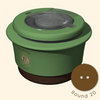
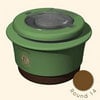
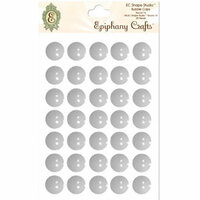
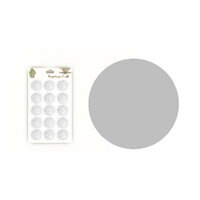
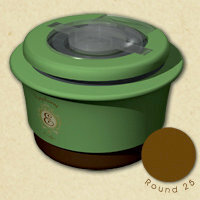
Epiphany Crafts Round 25 Tool with Round 25 Bubble Caps
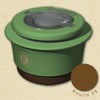
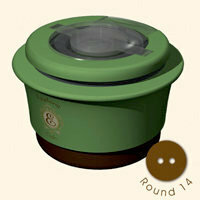
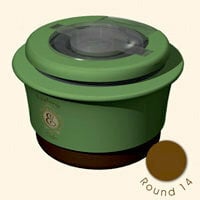
Epiphany Crafts Round 14 Tool with Round 14 Bubble Caps
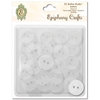
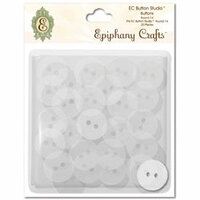
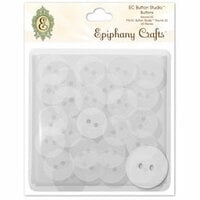
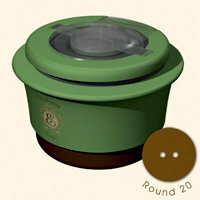
Epiphany Crafts Button 20 Tool with Round 20 Buttons
Twine by The Twinery
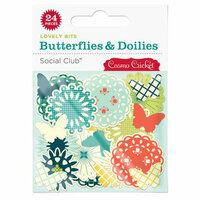
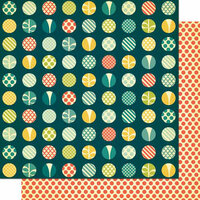
Paper by Cosmo Cricket
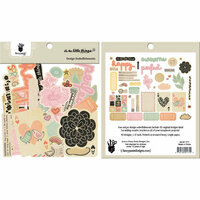
Diecuts by Silhouette, Cosmo Cricket, Fancy Pants Designs
Ink by ColorBox for Clearsnap
Adhesive by American Crafts
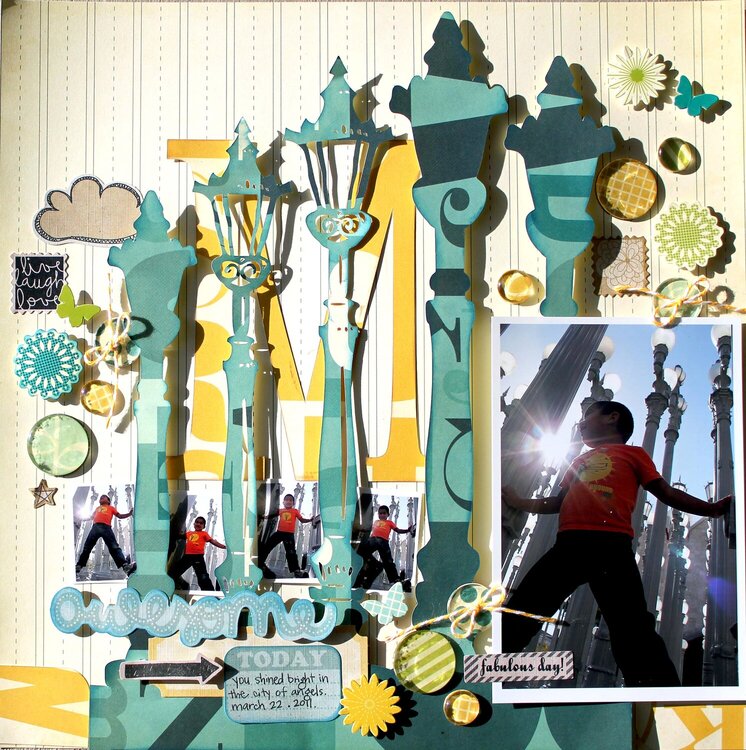
In Los Angeles at the County Museums there is a fabulous piece of installation art that is a series of light poles arranged in rows 2 feet apart from one another. The sun was shining, the shadows just right
my son was infatuated with the lights and I love that I was able to capture him playing between the poles. I used Epiphany Crafts Shape Tools in tandem with purchased embellishments to mimic the glare of the sunlight in my photos across the page. The Epiphany Crafts tools allowed me to effortlessly create coordinating embellishments for my layout using the scraps leftover from my diecutting as well scraps from another project I created with the same paper line from Cosmo Cricket. Since the Epiphany Crafts Tools create embellishments with paper as the base, the embellishments are easy to attach to the page using a tape runner or glue stickno expensive or heavy adhesives necessary for these lightweight embellishments.
Instructions:
1. Cut a series of lightpoles using the Silhouette diecutting system and ink the edges with ColorBox Fluid Chalk Ink in Prussian Blue.
2. Mount the lightpoles diecut to the center of the page with 3D foam squares. Diecut an M (or monogram) from coordinating paper and mount behind the lightpoles diecut.
3. Add two scraps of paper from the M diecut scraps to the bottom of the page to continue the line of the light bases across the entire page.
4. Add one 4x6 photo to the right side of the lightpoles. Print index prints of secondary photos to add between the lightpoles.
5. Create several different sized embellishments from scrap paper using the Epiphany Crafts Shape and Button Tools. Tie twine in the buttons.
6. Sort the Epiphany Crafts Shapes and Buttons with the purchased diecuts (Fancy Pants and Cosmo Cricket) into 3 groups. Be sure each color is represented at least once in two of the three groups. Here I used green, yellow, blue, black and kraft. Arrange the embellishment groups in 3 different areas of the page to create a visual triangle to help the eye travel across the page elements.
7. Add a diecut title, label, journal spot, and arrow in a vignette near one of the embellishments clusters. Add journaling.


Thanks for spreading positivity!


November 05, 2011
April 30, 2011
April 27, 2011
April 26, 2011
April 26, 2011
April 26, 2011
April 26, 2011
April 25, 2011
April 25, 2011
April 25, 2011
April 25, 2011