FREE Standard Shipping on Orders $69+ with code:
FREESHIPPING
Be the first to cheer this project!

 Give a Cheer
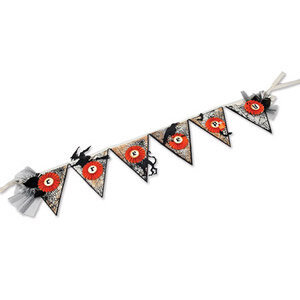
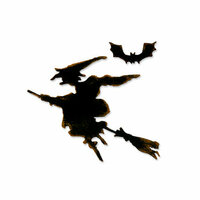
Welcome ghouls and goblins! This Creepy Halloween Banner is a real treat for your own entryway! It can be easily customized to fit your unique color scheme or theme. Follow the instructions below and youll be haunting your house in no time.
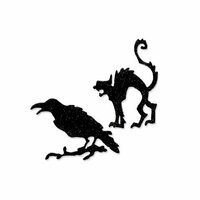
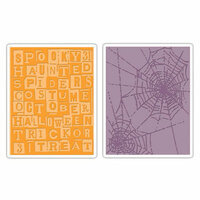
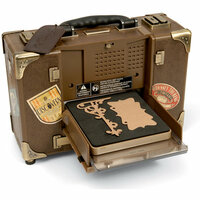
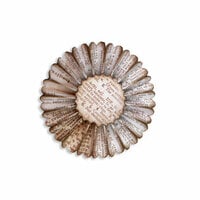
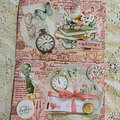
Cut several sheets of printed paper to fit inside Texture Fades embossing folders. Emboss the patterned papers using the Cobwebs embossing folder. Roll brayer through acrylic paint and apply to raised images. Allow to dry, and then apply distressing ink to paper. Hand cut or use paper trimmer to cut triangle shapes for banner. Adhere shapes to solid cardstock and trim close to printed paper using decorative scissors. Attach trim to top of triangle pieces using sewing machine or hot glue. Die-cut Bewitching Hour and Raven & Scaredy Cat out of cardstock and embellish with glitter. Adhere to banner. Die-cut Rosettes out of cardstock, fold along perforation lines and assemble. Embellish with distressing ink, glitter glue and paint. Adhere to banner. Punch circles from paper and distress with ink. Die-cut letters (from the Upon a Time alphabet) out of cardstock and adhere to the circles. Attach Circles to Rosette center and attach to center of Rosettes. Emboss a piece of cardstock using the Halloween Words embossing folder. Cut out "31" and adhere to Rosette under the "p" in Creepy. Finish by embellishing the banner with netting, velvet leaves, button, dried flowers, gauze and metallic garland.
Thanks for spreading positivity!