
%20-%20Scrapbook.com)
Thank YOU! It's Customer Appreciation Week!
EXTRA 11% OFF Orders $100+ With Code: THANKYOU
EXTRA 11% OFF Orders $100+ With Code: THANKYOU


 Give a Cheer
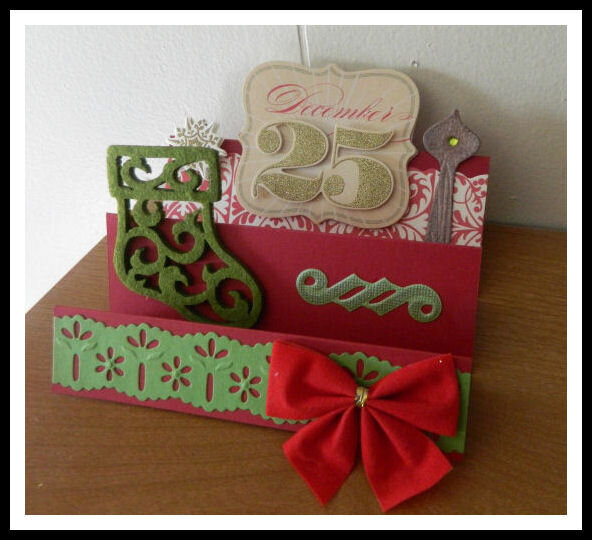
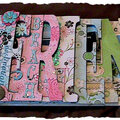
This is my first Step Card. The tutorial is done by Split Coast Stampers, which can be found on Youtube.com
STEP CARD DIRECTIONS:
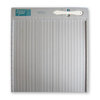
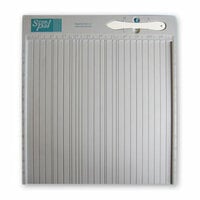
Very easy to make. Cut a 10.5 by 5.5 inch piece of cardstock. You need to use a thick paper so cardstock is perfect. You need to score at 1 1/4, 2 1/2, 4 1/4, 6 and 8 1/4th inches. If you use a Scor-pal, get the 1 1/4th score line by taking the left side of the paper and put it at 3 inches then score at 4 1/4th. To get the 8 1/4th score line put the 6 inch score line at the 2 inch line and score at 4 1/4th.
Fold the beginning of it down then alternate the folding and you have your step card.
EMBELLISHING YOUR STEP CARD:
The finished height that I needed was 4 inches. So in order to embellish it AND be able to fit it in the coordination envelope I folded the card flat, like it would be in the envelope, and added the Dec 25th Sticker. I had a ruler on the side so I could see where the sticker would lye if the height of the entire card was at 4 inches and attached it with adhesive.
MY MATERIALS:
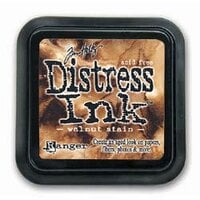
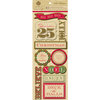
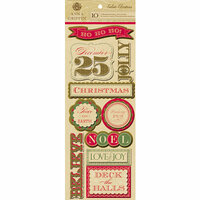
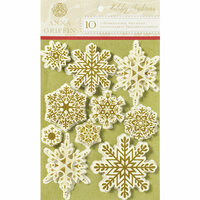
I'll start at the back. The "Dec 25th" was a sticker made by Anna Griffin. I had to back the sticker onto white cardstock and cut around it so the back wasn't sticky. The red and white piece behind it is a border. It's also made by A. Griffin. From her christmas borders. I also added one of her snowflakes next to Dec 25th. I also wanted to add a grungeboard element, lantern, which I embossed with "Forest Branches" embossing folder and colored with Walnut Stain Distress ink.
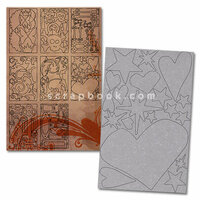
The green stocking is felt. Next to it I added a Spellbinder "Symbology 1" die cut and stenciled with Peeled Paint Distress ink . I also added an "Eyelet Border" die cut. I placed a red bow next to that.
Thanks for coming by today and hope you enjoyed it,
Heather
This is my first Step Card. The tutorial is done by Split Coast Stampers, which can be found on Youtube.com
STEP CARD DIRECTIONS:
Very easy to make. Cut a 10.5 by 5.5 inch piece of cardstock. You need to use a thick paper so cardstock is perfect. You need to score at 1 1/4, 2 1/2, 4 1/4, 6 and 8 1/4th inches. If you use a Scor-pal, get the 1 1/4th score line by taking the left side of the paper and put it at 3 inches then score at 4 1/4th. To get the 8 1/4th score line put the 6 inch score line at the 2 inch line and score at 4 1/4th.
Fold the beginning of it down then alternate the folding and you have your step card.
EMBELLISHING YOUR STEP CARD:
The finished height that I needed was 4 inches. So in order to embellish it AND be able to fit it in the coordination envelope I folded the card flat, like it would be in the envelope, and added the Dec 25th Sticker. I had a ruler on the side so I could see where the sticker would lye if the height of the entire card was at 4 inches and attached it with adhesive.
MY MATERIALS:
I'll start at the back. The "Dec 25th" was a sticker made by Anna Griffin. I had to back the sticker onto white cardstock and cut around it so the back wasn't sticky. The red and white piece behind it is a border. It's also made by A. Griffin. From her christmas borders.
The green stocking is felt. Next to it I added a Spellbinder "Symbology 1" die cut and stenciled with Peeled Paint Distress ink . I also added an "Eyelet Border" die cut. I placed a red bow next to that.
Thanks for coming by today and hope you enjoyed it,
Heather
http://cricut-scrapbooklayouts-cards-frames.blogspot.com/2011/10/dec-25th-step-card.html


Thanks for spreading positivity!


October 16, 2011
October 16, 2011
October 16, 2011
October 16, 2011
October 15, 2011