Santa's Happy Holidays%20-%20Scrapbook.com)

FREE Standard Shipping on Orders $69+ with code:
FREESHIPPING

Be the first to cheer this project!

 Give a Cheer
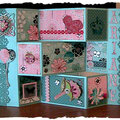
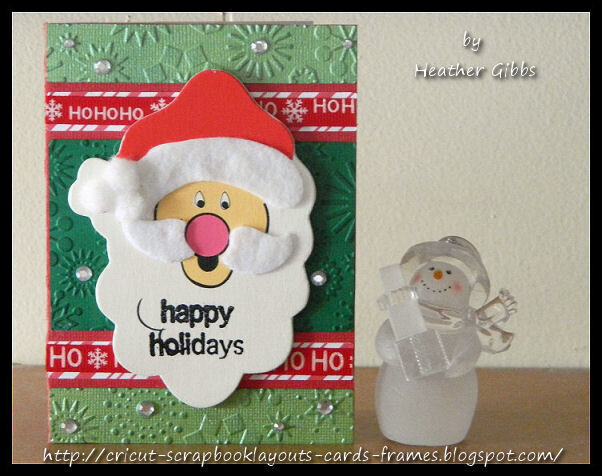
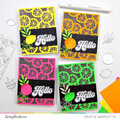
First, I took a standard size A2 white card and covered it with Red Cardstock. I do that with these smaller size card because I want the base of the card to sort of act as the matting for all the pieces of paper. I don't want to make the paper pieces any smaller...which is what I would have to do if I did a matting for each. TIP: One thing i've learned is that when your done tracing the card onto cardstock you have to add 1/8 of an inch to the height. That's because you take up that 1/8 inch when you have to fold the card. If your using The Design Studio just add .125 inch to the height. If your using a ruler the 1/8 mark is the first line after the inch mark.
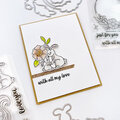
I cut all the paper strips with my Fabulous Find Cricut Cartridge. I ran all the green cardstocks through the Snowflakes Embossing folder. I used the Ink Applicator Tool and added Peeled Paint ink to it and applied it to the embossed areas. Then, I heat embossed the Happy Holidays onto the santa. I added the Ho Ho Ho ribbon and some gems to the centers of the snowflakes that were visible.
SUPPLIES:
A2 White Card base ( 4 x 5.5)
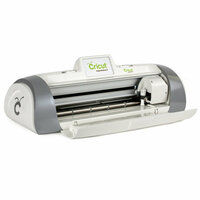
Cricut Expressions
Fabulous Finds Cricut Cartridge
Fiskars "Tis the Season" clear stamp
Black embossing powder
Versamark Watermark Ink
Celebrate it Santa
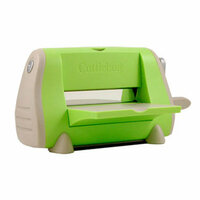
Cuttlebug
Snowflakes Embossing Folder
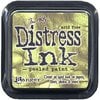
Peeled Paint Distress Ink and Ink Applicator Tool
The Paper Studio gems
PAPERS:
The Paper Studio Candy Cane Stripes
Bazzill light and dark green cardstock
Red Cardstock by Core'dinations Vintage Collection
Thanks for looking today, There is also a Cricut CUT file available at the URL hbelow if you want to download it. It fits an A2 size card which is 5.5 x 4 inches. http://cricut-scrapbooklayouts-cards-frames.blogspot.com/2011/09/christmas-card-7-happy-holidays.html


Thanks for spreading positivity!