Thank YOU! It's Customer Appreciation Week!
EXTRA 11% OFF Orders $100+ With Code: THANKYOU
EXTRA 11% OFF Orders $100+ With Code: THANKYOU
Be the first to cheer this project!

 Give a Cheer
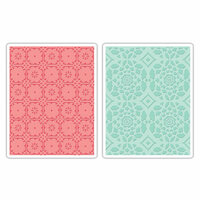
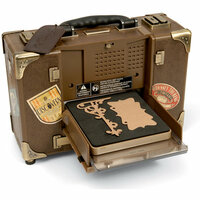
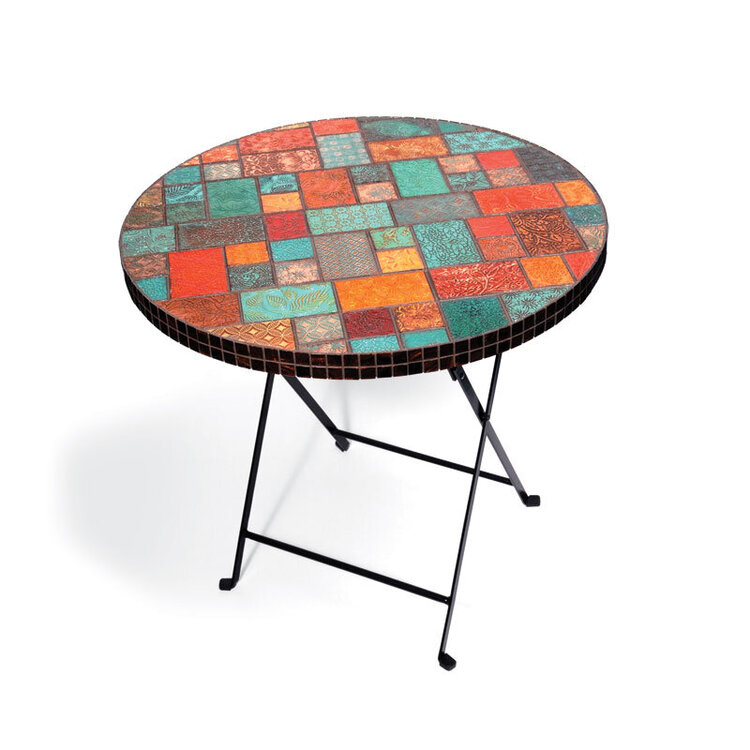
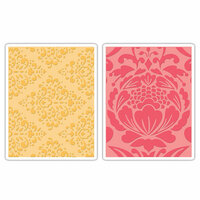
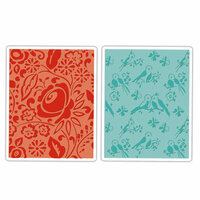
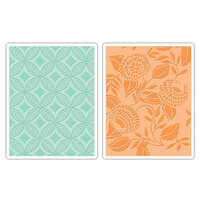
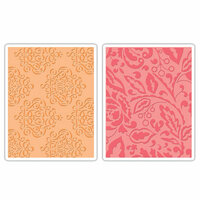
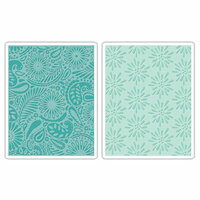
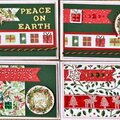
Set your table with something special. This textured transformation begins with Textured Impressions Embossing Folders from our Decorative Accents collection. Design with an impressive array of elegant embossed images that are sure to amaze all, including you!
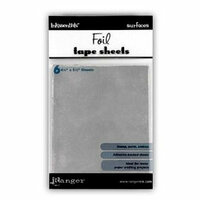
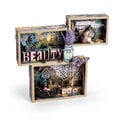
Find a table with a lip along its edges that has the ability to have an interchangeable table top or one with removable glass. Using a circular saw, cut 1/2" thick plywood to fit on top of a table and set aside. Using a table saw, cut rectangle and square shapes from thin 1/2" pieces of plywood and set aside. Emboss thin craft metal using Textured Impressions embossing folders. Paint the embossed craft metal sheets using a variety of color coordinating acrylic paints and distress to highlight the raised designs. Adhere the embossed craft metal pieces to the wood rectangle and square wood shapes using a construction adhesive (like Liquid Nails) and trim away any excess using metal cutting shears to form tiles. Arrange the tiles on a wooden table top and attach using a construction adhesive. Make sure to leave room for grout to be applied between the tiles. Once the construction adhesive is dry, cut around any excess tiles from table top. Place table top in table. Apply grout. Let dry and apply an acrylic sealer.
Thanks for spreading positivity!