


Thank YOU! It's Customer Appreciation Week!
EXTRA 11% OFF Orders $100+ With Code: THANKYOU
EXTRA 11% OFF Orders $100+ With Code: THANKYOU

 Give a Cheer
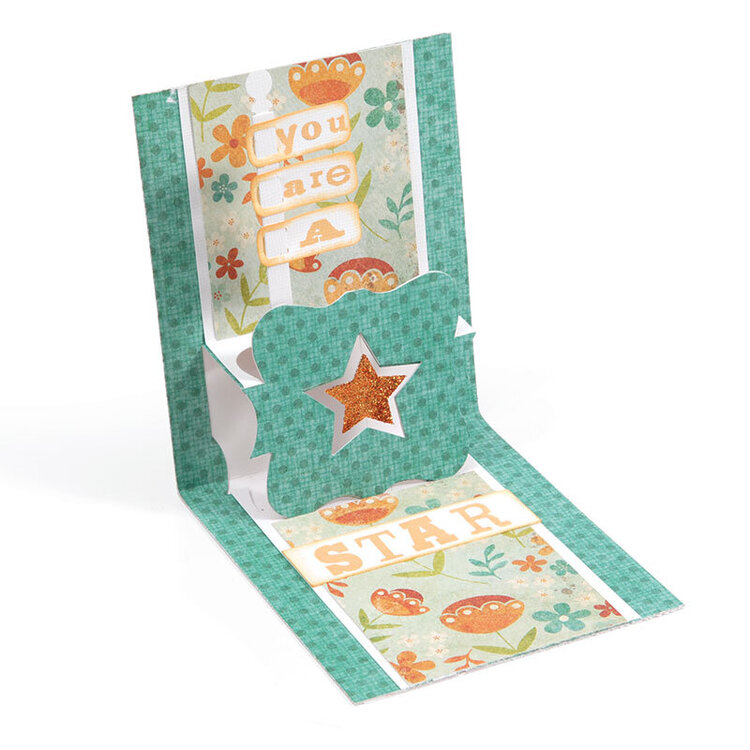
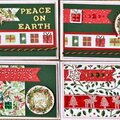
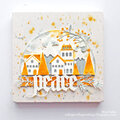
Talk about personality! This card shines with a powerful 3-D presentation. Simply follow the instructions below to make your own creative card using Sizzix Dies from our Pop 'n Cuts collection.
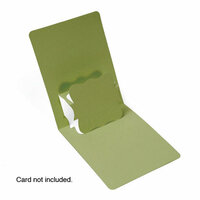
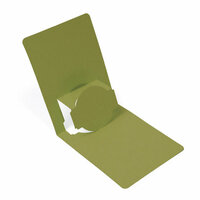
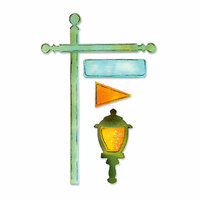
Place the magnetic Pop 'n Cuts Label insert inside the base die and align the center fold of the insert with the center of the base die. Add the Star Movers & Shapers Magnetic die to the opening in the Label pop-up and die-cut the Card out of patterned paper, also out of white cardstock that shares the same width as the pop-up and a separate piece of patterned paper large enough to cover the pop-up. Fold along crease lines to bring the pop-up image forward as shown. Trim away the Label from the white cardstock and adhere them together. Die-cut a Card cover for the insert using the Base die without an insert or magnetic die. For best results, trim the length of either the outside or inside Card. We trimmed the edges of the outside Card, then adhere Card inside and Card Cover together. Cut band of patterned paper and adhere down the middle of the Card. Die-cut two Stars from cardstock, embellish with glitter and set aside. Apply double-sided tape to onto the pop-up. Attach the monofilament thread to the tape layering the separate Label on top, covering the wire. Adhere two small Stars in the center of the opening back-to-back. Stamp a sentiment onto cardstock, trim to size and attach along one end of the Card. Die-cut a Flagpole out of white cardstock. Die-cut three Paperclip Buckles out of white cardstock, stamp with sentiment, ink edges and feed though the Flagpole. Attach the Flagpole to the Card. Finish by embellishing the Card front as desired.
Talk about personality! This card shines with a powerful 3-D presentation. Simply follow the instructions below to make your own creative card using Sizzix Dies from our Pop 'n Cuts collection.
Place the magnetic Pop 'n Cuts Label insert inside the base die and align the center fold of the insert with the center of the base die. Add the Star Movers & Shapers Magnetic die to the opening in the Label pop-up and die-cut the Card out of patterned paper, also out of white cardstock that shares the same width as the pop-up and a separate piece of patterned paper large enough to cover the pop-up. Fold along crease lines to bring the pop-up image forward as shown. Trim away the Label from the white cardstock and adhere them together. Die-cut a Card cover for the insert using the Base die without an insert or magnetic die. For best results, trim the length of either the outside or inside Card. We trimmed the edges of the outside Card, then adhere Card inside and Card Cover together. Cut band of patterned paper and adhere down the middle of the Card. Die-cut two Stars from cardstock, embellish with glitter and set aside. Apply double-sided tape to onto the pop-up. Attach the monofilament thread to the tape layering the separate Label on top, covering the wire. Adhere two small Stars in the center of the opening back-to-back. Stamp a sentiment onto cardstock, trim to size and attach along one end of the Card. Die-cut a Flagpole out of white cardstock. Die-cut three Paperclip Buckles out of white cardstock, stamp with sentiment, ink edges and feed though the Flagpole. Attach the Flagpole to the Card. Finish by embellishing the Card front as desired.


Thanks for spreading positivity!


February 25, 2013