

Storage & Organization up to 60% OFF!
Plus, a FREE Gift! | Details Here.
Plus, a FREE Gift! | Details Here.


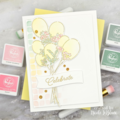
 Give a Cheer
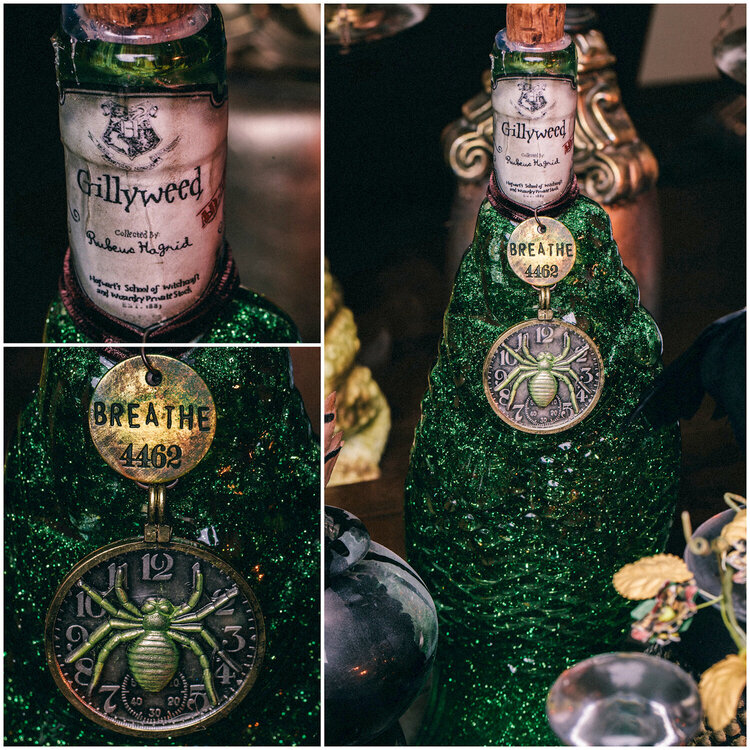
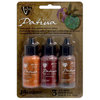
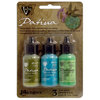
All potion ingredients were mixed in a 4-cup measuring cup with corn syrup as the base. I use enough syrup to fill each potion bottle leaving a little head room at the top. Fine glitter, in the desired color, is then mixed in. I start with a few shakes of glitter, slowly adding more to achieve the desired intensity. Fine glitter stays more evenly suspended in corn syrup as opposed to larger pieces of glitter which tend to settle to the bottom of the bottle, or they can sometimes float to the top. Head room in the bottle can help sluggish glitter to be moved when it's rocked back and forth.
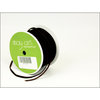
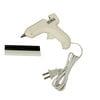
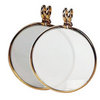
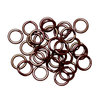
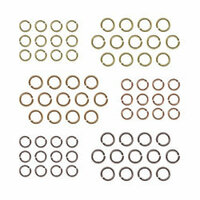
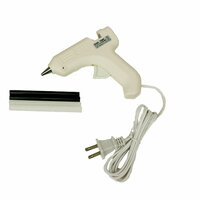
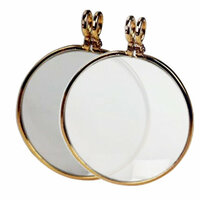
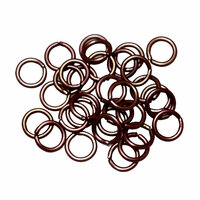
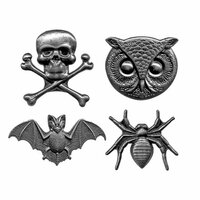
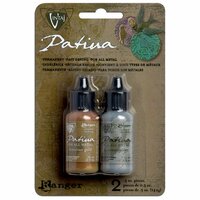
Hot glue strings from my glue gun were dropped into a pan of cold water to form "gillyweeds" that are suspended in the potion. The metal embellishments are layered metal pieces that have been aged with patinas.
I use a narrow-neck funnel to pour the potion into the bottle, and I clean any spills or drips off of the bottle top with a damp cloth.
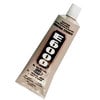
E600 is my adhesive of choice when securing the cork or lid into the opening of each bottle top which protects the contents. Inking the cork, before gluing into place, helps me achieve the aged-look I desire.
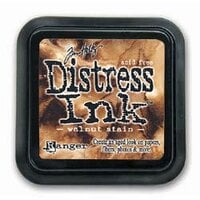
I found most of the labels for the bottles by doing a Google search for Harry Potter potion labels. A few were found on eBay, Etsy.com, Scrapbook.com, or they were cut from a sheet of paper (see below). I distressed them with Walnut Stain ink, and many were crumpled and ink added to the wrinkled ridges to give them additional aging. Clear contact paper was added over most labels to preserve them (leaving 1/8 around all edges to help with the seal).

Thanks for spreading positivity!


January 08, 2013
November 20, 2012
November 14, 2012
October 24, 2012
October 24, 2012
October 24, 2012
October 24, 2012