

Storage & Organization up to 60% OFF!
Plus, a FREE Gift! | Details Here.
Plus, a FREE Gift! | Details Here.


 Give a Cheer
Happy New Year friends! Cruising Facebook and message boards this week Ive seen so many crafters resolve to use their scraps, be more frugal, or give *handmade* this year but how does one DO that?! Heres one idea
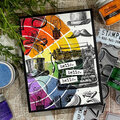
This past week, as I caught up on movies and TV shows with the family, I created a stack of cards using only scraps. I gathered a smattering scraps and cut card bases from the ones that were large enough to make cards from and punched shapes from the smaller pieces. I threw those into a bin with all of the odds and ends I just never put away from the last few months of crafting a couple of diecuts here, an errant stick pin there, the last of a letter sticker sheet
and then I armed myself with Tombow Mono Liquid Glue (for bulky embellishments), a pack of Tombow Foam Tabs (to add dimension), and the Tombow Permanent Adhesive Stamp Runner (for large paper pieces and small embellishments).
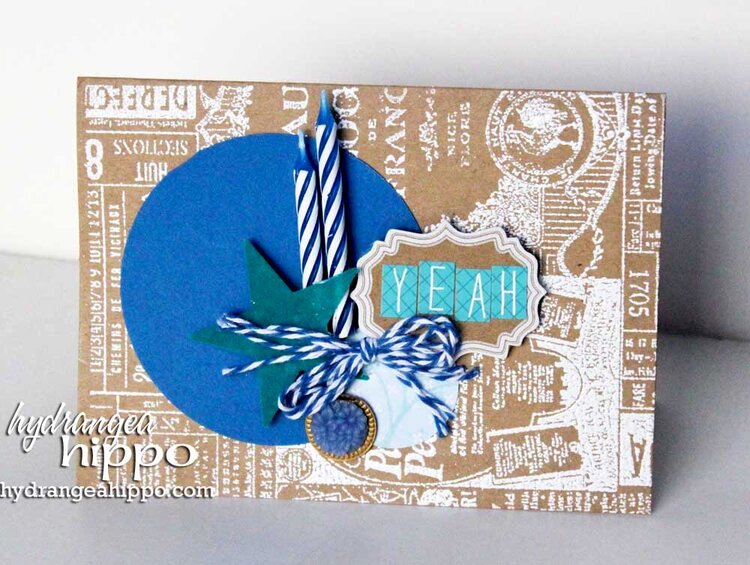
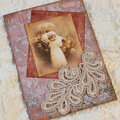
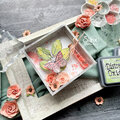
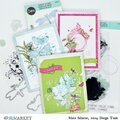
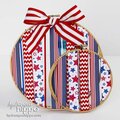
These 3 cards go together lickety split and use the same design with a few slight variations depending on what was in the bin that matched the color scheme I had chosen: blue, white, and kraft. Change the colors and shapes, and well, they are different cards!
Sticking with a similar design can make using up scraps a much easier job. Heres how I created these cards:
Supplies:
Tombow Mono Multi Liquid Glue
Tombow Foam Tabs
Tombow Permanent Adhesive Stamp Runner
Kraft Labels Maya Road
Paper SEI (suede paper), DCWV (patterned paper), ColorMates (cardstock)
Stamp Hero Arts
Card Bases The Paper Company
Embossing Powder and White Ink Clearsnap
Candles DollarTree
Stickers Echo Park
Twine The Twinery
Self-Adhesive Bling Want2Scrap
Stick Pin hydrangeahippo.etsy.com
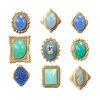
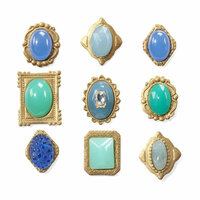
Cabochon French General for Jolees Boutique
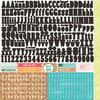
Punches EK Success
Die Cut Circle Sizzix/Ellison
Assembly:
Stamp and heat emboss the card bases with a background stamp.
Adhere a circle die cut to the center of each card base using Tombow Mono Multi Liquid Glue.
Adhere a small punched circle overlapping the lower right side of the large circle using the Tombow Stamp Runner.
Apply a Tombow Foam Tab to the back of the Maya Road Kraft Label and add to the right hand side of the circle cluster, overapping both circles.
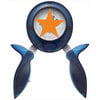
Apply another Tombow Foam Tab to the back of a punched paper star and apply to the left of the Kraft Label.
Add a cabochon to the left side of where the two circles meet using Tombow Mono Multi Liquid Glue.
Add stickers to the kraft label to create a sentiment. Small words or text message abbreviations, such as LOL or ROFL, are a great way to use up the remnants of partially used sticker sheets.
Adding embellishments:
Hey Card: Tie four 12″ long pieces of twine into a bow. Adhere the bow to the card using Tombow Mono Multi Liquid Glue. Insert a stick pin into the Tombow Foam Tab on the back of the kraft label.
LOL Card: Randomly add self-adhesive to the card.
Yeah Card: Tuck two birthday candles behind the punched paper star and adhere to the card with Tombow Mono Multi Liquid Glue. Tie four 12″ long pieces of twine into a bow. Adhere the bow to the card using Tombow Mono Multi Liquid Glue.


Thanks for spreading positivity!


January 24, 2013
January 24, 2013
January 24, 2013
January 24, 2013