Thank YOU! It's Customer Appreciation Week!
EXTRA 11% OFF Orders $100+ With Code: THANKYOU
EXTRA 11% OFF Orders $100+ With Code: THANKYOU


Be the first to cheer this project!

 Give a Cheer
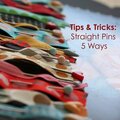
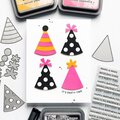
Border Stickers are one of the most versatile and fun products you can find. I had a lot of fun working on this and hope that you find a new way to use Border Stickers. 

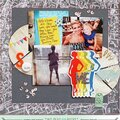
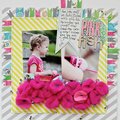
Layout 1: Buds

On this layout I used border stickers in two ways, one basically like a strip of patterned paper. Border stickers work well as edges on patterned paper and help give the layout a more finished look. 
Secondly, I used a border sticker as the journaling lines. I cut up one strip into 5 little strips at barely different lengths and applied them at slight angles. Applying them straight would also be a great way to achieve straight journaling lines. 
Directions for Layout 1:
1. Adhere photo on bottom right of background.
2. Cut about 6" of a patterned paper and adhere on top half of layout.
3. Cut 1/2" stip of another patterned paper and adhere below top half.
4. Apply border sticker underneath both patterned papers. 
5. Cover negative of heart chipboard with coordinating patterned paper, line up and adhere.
6. Add heart Ice Candy to chipboard heart.
7. Cut border sticker strips for journaling and write journaling.
8. Add title.

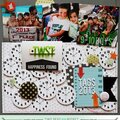
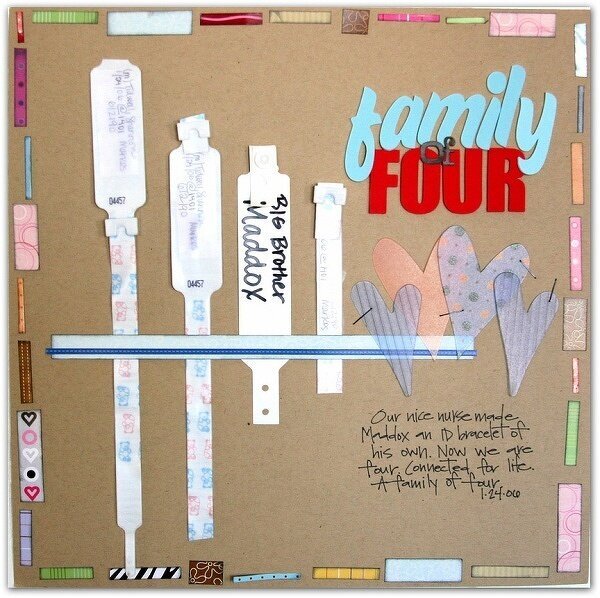
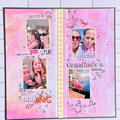
Layout 2: Family of Four

A great way to use up those scrap border stickers is to cut them into even smaller pieces and border a page. I cut up the strips and then inked the edges before randomly placing them around the edge of the layout. You could also use this technique to frame a photo, as a page divider, to frame an accent or journaling block, etc. 
I also used the border stickers to help add grounding to the page since the hospital bracelets were kind of floating in the middle. The border stickers across the middle help balance the layout and direct the eye across the page. Border stickers are also easy to stack.
Directions for Layout 2:
1. Cut pieces of border stickers, ink, and apply around edge of paper.
2. Adhere memorabilia.
3. Use Thickers Stickers for title.
4. Add trimmed border stickers across memorabilia.
5. Write journaling.

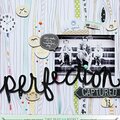
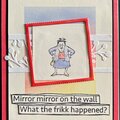
Layout 3: Elsie
I had the privilege of meeting baby Elsie at CHA and wanted to document it.:) On this layout I used border stickers to cover chipboard. The flower is the negative of a chipboard flower, so the center is empty and shows through to the background. I covered the whole thing with border stickers, then turned it over and used a craft knife to cut the stickers out of the center.
I also used a border sticker across the middle of a page to help ground the title and divide the layout. 

Directions for Layout 3:
1. Trim photo to same height as chipboard flower negative square.
2. Adhere photo.
3. Cover chipboard with border stickers, use craft knife to cut out center.
4. Adhere chipboard and add Gel Candy in center.
5. Add border sticker above photo and chipboard.
6. Stamp journaling circle and overlay title a bit.
7. Add felt star to journaling.
Other ideas for Border Stickers:
Create designs out of them-shaped like a star or flower
Frame a photo
Create your own striped background
Supplies:
patterned paper
chipboard shapes
cardstock
border stickers
title stickers
black pen
black ink
embellishments
No products have been added to this project.


Thanks for spreading positivity!