Storage & Organization up to 60% OFF!
Plus, a FREE Gift! | Details Here.
Plus, a FREE Gift! | Details Here.


Be the first to cheer this project!

 Give a Cheer
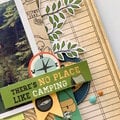
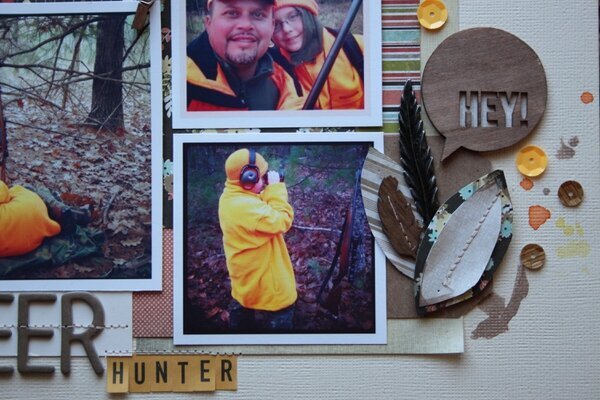
I started with the 6x6 Basic Grey Hipster paper pad and one sheet of Bazzill cardstock. I wanted a strip of long paper at the bottom of my layout so I pieced two strips of paper together and added another to create an obvious seam. I chose papers from this non-fall collection that actually went with my fall theme and started layering papers under my photos. I hand cut leaves, sewed them together with my machine. I decided that my white space needed color and I remember seeing a technique on pinterest about making your own water colors. In a vintage metal jello dish, I added one squirt of spray ink and a touch of water, dug out my Tim Holtz Splatters layering stencil and added until I was content! I practiced on scrap first since my layout was pretty near complete. This allowed me to see that the color was too wet and strong at first. After wiping on paper a few times, it became the color that I was looking for. I continued this process with three different colors. Then, I colored my wood veneers from Studio Calico and Basic Grey with the same brown watercolor that I had already made. Added a few Studio Calico sequins attached with Glue Dots, and tucked in metal FarmHouse Paper Company feather trinkets, a couple appropriate flair from A Flair for Buttons and I was done. Or so I thought. It needed more stitching. Did you know that you can sew through veneer with a really sharp needle? IT MUST BE SHARP and take it slow!
No products have been added to this project.


Thanks for spreading positivity!