Thank YOU! It's Customer Appreciation Week!
EXTRA 11% OFF Orders $100+ With Code: THANKYOU
EXTRA 11% OFF Orders $100+ With Code: THANKYOU


Be the first to cheer this project!

 Give a Cheer
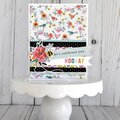
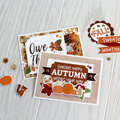
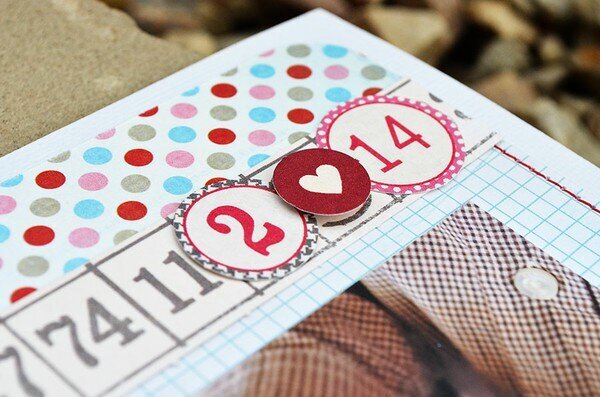
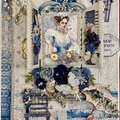
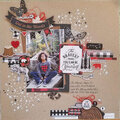
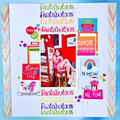
I LOVE using pre-made die-cuts on my layouts. When a company makes die-cuts to coordinate with their paper lines, you can be sure I'll buy them! Here are a few reasons why I love them:1. No guess work. You KNOW they are going to match perfectly, color, design, etc.2. No sticky backs. Not that I don't love my stickers, but I find myself using baby powder to remove the stickiness a LOT. Why? Because I LOVE my foam pop-dots for dimension.3. Versatility. I love layering, trimming, embellishing, and otherwise altering my embellishments - die-cuts make it easy to do that!As you can see on this Valentine's Day layout, I used die-cuts in lots of different ways. First, I created a mini-banner at the top of my layout, simply by cutting notches in some of the rectanglular shaped die-cuts. I attached them in various ways - mini staples, mini clothes-pins, twine/jute, and foam squares.Second, I layered some round die-cut shapes (the “2,” heart, and “14”) on top of the die-cut number border. Again, I used foam dots to add some dimension.Next, I added the “no.” die-cut label over the edge of the photo. I stapled the left edge, and cut a notch in the right edge to make a flag shape (and to cut off the “12” part of the die-cut since these photos are from 2011). I attached with foam dots again. :)Finally, I made a little collage in the bottom right corner - just for fun - and because I love being able to add pink and hearts to a “BOY” layout, so I'm going to add as many as I can!All of the die-cuts on my layout are from the “Love Me” collection by My Mind's Eye (you can see the products I used below).
No products have been added to this project.
Thanks for spreading positivity!