Thank YOU! It's Customer Appreciation Week!
EXTRA 11% OFF Orders $100+ With Code: THANKYOU
EXTRA 11% OFF Orders $100+ With Code: THANKYOU


Be the first to cheer this project!
 Give a Cheer
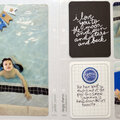
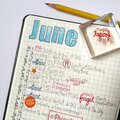
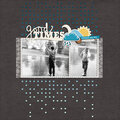
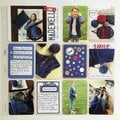
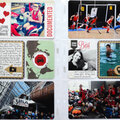
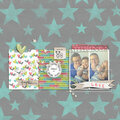
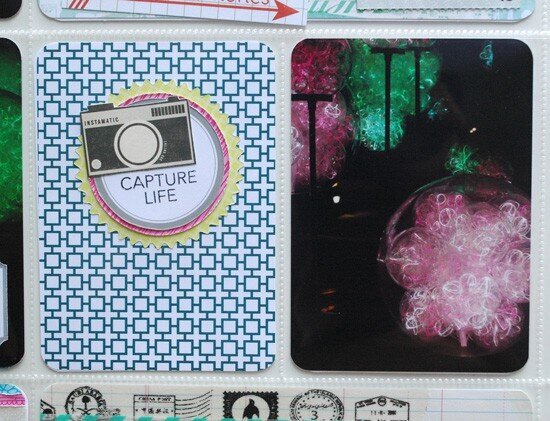
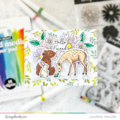
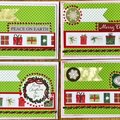
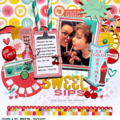
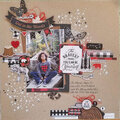
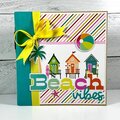
Hi everyone! I was so excited when Lisa asked me to guest for her July Captured workshop http://www.twopeasinabucket.com/classes_and_events/classes/62-2012-captured-with-lisa-truesdell/ [twopeasinabucket.com] This month the focus is on 6“x6” paper pads and patterned paper scraps. Because I make a lot of cards I have a good collection of patterned paper mini decks and I use them quite a bit for Project Life. For my pages here I've used papers from 2 mini decks I'm crazy about right now - Amy Tangerine Sketchbook and Studio Calico Heyday. I like the 6“x6” paper pads for the scaled down size of the patterns, the variety of patterns, and the mix of well coordinated colors in a collection. I've also used a few scraps from some 12“x12” sheets of patterned paper from Echo Park. One is a woodgrain and the other has vintage cameras that I like to cut out. And I've used a few digital papers from the Bananfish Studio Patterned Pops kit. These are already sized at 3“x4” and they come with a set of labels. I like to mix up the Project Life pockets with both full sized photos that take up the whole pocket, and smaller pictures with either a white border or square Instagrams that have the border from whatever filter you've used. When using the smaller photos I think you can use any type of patterned paper you like to back it, because the photo border will keep it from getting lost in the pattern. I like my project Life pages to be busy and colorful, and I reach for some bold patterns that I might not normally use on a regular scrapbook layout. A few of my favorite uses for patterned papers are: use them to frame journaling blocks or die cuts; use punches for scraps (I've used a Martha Stewart butterfly punch, a circle punch, and the Spellbinders Pinked Circles die here); cut out images from patterned paper (the Amy Tangerine doodled borders and frame, and the vintage cameras); make dovetail banners; and of course stamping on patterned paper.The other topic for this month is what to do if you're short on time. In this set of pages I made for week 16: http://www.twopeasinabucket.com/gallery/member/90692-laura-odonnell/1822685-project-life-week-16/ [twopeasinabucket.com] I did the left side as I normally would, then filled the right side with photos. the right side is all photos from one event. All of the journaling for that day is in one of the pockets on the left side. This set of pages came together very quickly because it was 2 pages that took the time of 1 :)
No products have been added to this project.
Thanks for spreading positivity!