Thank YOU! It's Customer Appreciation Week!
EXTRA 11% OFF Orders $100+ With Code: THANKYOU
EXTRA 11% OFF Orders $100+ With Code: THANKYOU


Be the first to cheer this project!

 Give a Cheer
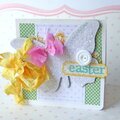
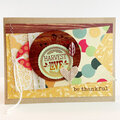
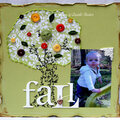
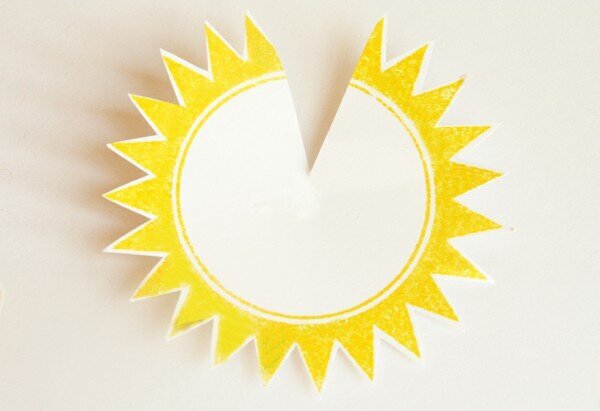
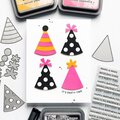
All this month on the Jenni Bowlin blog, we are focusing on stamping! After playing around with the new Jenni Bowlin stamps, I decided to dress up some little lollipops with the stamped images and create a “bouquet”, a fun project for kids at a birthday party! Or they could be used as thank you gifts for the kids to take home, or for a display on a birthday table!I started with Jenni Bowlin’s 3” x 3” Seal stamp that reminded me of a sunflower and used a Lemon Drops ink pad. It was stamped onto white cardstock and cut out. Then I snipped a little piece out of the image. Then I folded the two ends of the seal stamp together and attached with a Glue Dot. This creates a cone shape that will form around the lollipop better than a flat image. I poked a hole in the center where the lollipop will go. Next, I stamped the solid image of the 3” x 3” Blue Ribbon stamp onto white cardstock with Chewing Gum ink, and then topped it with the outline stamp in Cough Syrup ink. I cut it out and poked a hole near the center. I didn't use the tails of the Blue Ribbon, just the circle.These two finished stamped images were layered together and a lollipop poked down through the hole. I cut the green polkadot leaves from a Family Tree paper and attached them under the lollipop flower.I used a $1 small wooden box from the craft store and wrapped it with red ribbon. The bottom is filled with foam to hold the lollipops. I cut an egg shaped foam in half that I had in my craft box and adhered it to the bottom. You will need to adhere the foam to the bottom with hot glue, because the lollipops are heavy and tend to want to fall over! Stop over to my blog or the Jenni Bowlin blog to read more! :)
No products have been added to this project.

Thanks for spreading positivity!