Thank YOU! It's Customer Appreciation Week!
EXTRA 11% OFF Orders $100+ With Code: THANKYOU
EXTRA 11% OFF Orders $100+ With Code: THANKYOU


Be the first to cheer this project!

 Give a Cheer
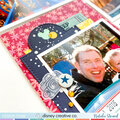
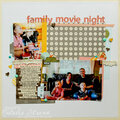
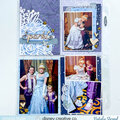
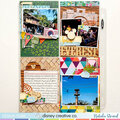
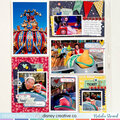
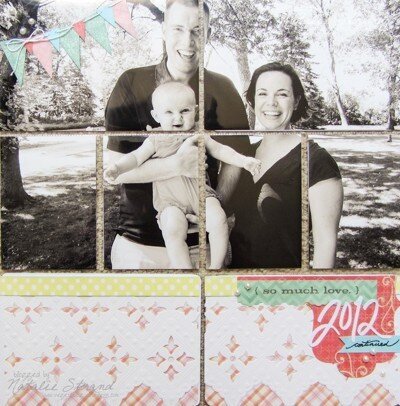
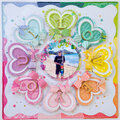
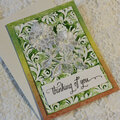
For the “in-between” pages– the last page of the first album and the cover page of the second album–I decided to simplify and treat them as one-page layouts with photo enlargements. I've seen many people chop up big photos and slip them into the divided page protectors, so I jumped on the bandwagon. I tried hard to make sure that the seams weren't anywhere inconvenient (like through someone's face). I chose family photos that were taken close to the time of the album split, since our daughter changed so dramatically throughout the year!The colors on the title and end pages of my two albums were chosen to coordinate with the Clementine edition of Project Life, and the embellishments mimic my favorite embellished filler cards throughout the albums. The photo on the title page of the second album was taken at my husband?s childhood home in the beginning of July. At the bottom, I used part of a beautiful lacy die cut paper (by Making Memories) that I?d been hoarding. These title and end pages were all about using some of my most-loved papers and techniques.More about this: http://vegetablog.wordpress.com/2013/07/17/2012-project-366-finished/ [vegetablog.wordpress.com]
No products have been added to this project.


Thanks for spreading positivity!

 Title Page #2%20-%20Scrapbook.com)