Happy National Scrapbook Day!
Extra 10% OFF Select Scrapbooking Brands with Code: NSD24
Extra 10% OFF Select Scrapbooking Brands with Code: NSD24
Be the first to cheer this project!

 Give a Cheer
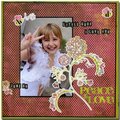
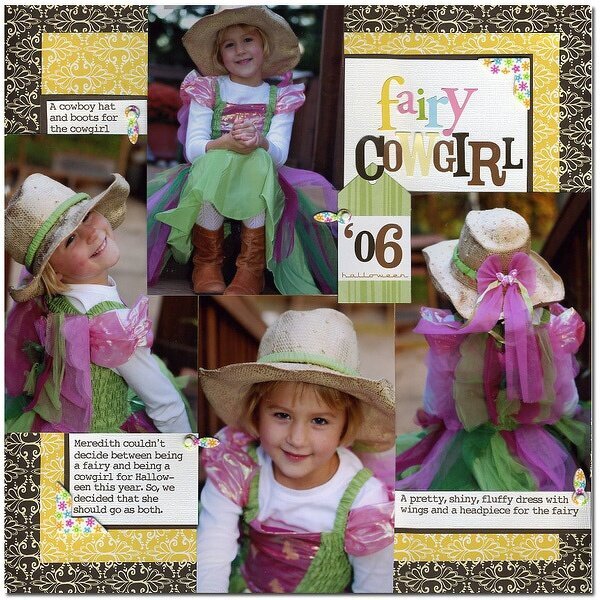
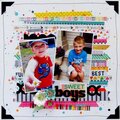
I usually do 3 photos on a page - I'm in a rut, actually. So, I was happy to be able to get one more photo than usual on the page. <p>My girl couldn't decide between being a fairy and being a cowgirl, so I said “Why not both?” Easiest costume ever. <p>I love Halloween themed papers, but my girls never cooperate and wear appropriately colored outfits. So, I was able to slip a little tag on there, but otherwise, not a very Halloween-y Halloween layout. <p><b> Supplies: </b><br>American Crafts Patterned Cardstock (and one plain side) ,br>SEI Halloween Tag <br>Doodlebug Chipboard stickers <br>American Crafts cardstock stickers <br>American Crafts white brads <br>White cardstock <p><b> Directions: </b><br>1. Trim yellow patterned cardstock to 10.5x10.5.“ I trim from each edge so that the two patterns will line up. <br>2. Place photos around layout. <br>3. Trim white cardstock to approx 2.75” x 3.75“ for the title block. Mat on two sides with dark brown cardstock (reverse of Cinnamon AC paper). Attach to upper right of page. <br>4. Punch out Halloween tag and mount to right side of photo array. Use letter stickers to spell out the title and the date on the tag. <br>5. Trim 3 pieces of white cardstock: .75” x4;“ .75”x 2;“ and 2” x2." Computer journal in text boxes of those size. Print on plain paper. Attach cardstock strips to paper and run through the printer again. <br>6. Mount strips on brown cardstock and attach to layout. <br>7. Attach chipboard accents with mini brads.
No products have been added to this project.
Thanks for spreading positivity!