Thank YOU! It's Customer Appreciation Week!
EXTRA 11% OFF Orders $100+ With Code: THANKYOU
EXTRA 11% OFF Orders $100+ With Code: THANKYOU


Be the first to cheer this project!

 Give a Cheer
Diecuts are one of my favorite scrapbooking supply! I love that they are ready to use, easy to use and fairly inexpensive! I love that a lot of them coordinate with papers and embellishments, which make them even easier to use! They are so versatile, too! 
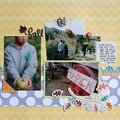
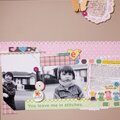
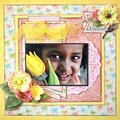
Layout 1: (aka elf): Make a diecut border across a page
Instructions:
1. Mat photo on large patterned paper. 
2. Add diecut border along top of mat. 
3. Tear a portion of another patterned paper and place just under photo. 
4. CHoose and arrange diecuts to make a border across the page. 
5. Use stickers, handwriting and other embellishments to add to the diecut border. 

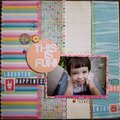
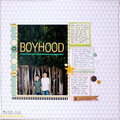
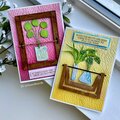
Layout 2: (so very sweet): Use assorted diecuts to make your own background paper
Instructions:
1. Mat photo with cardstock and place on edge of paper. 
2. Choose and arrange diecuts to make the background of the page. 
3. Place this onto another sheet of cardstock. 
4. Add embellishments. 

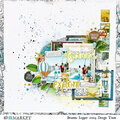
Mini tag book: (Use assorted diecuts and cardstock to assemble a small mini book):
1. Choose different diecuts and coordinating cardstock to thread through a beaded rope. 
2. Embellish cover with stickers and such. 

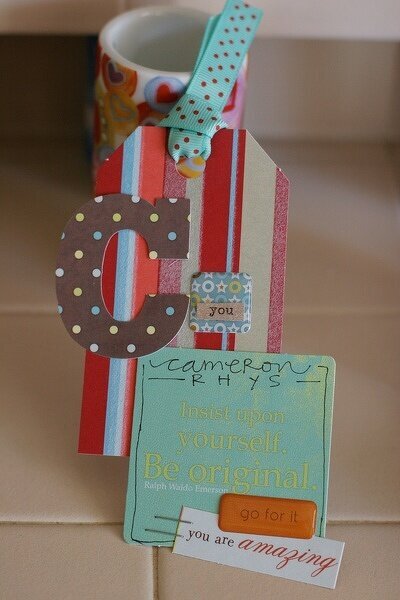
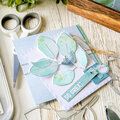
Bookmark: (Layer diecuts for a quick bookmark):
1. Choose a tag shaped diecut, a letter monogram, a quote diecut and other asst'd diecuts. 
2. Place them in a layered fashion and attach them. 
3. Use ribbon through top hole. 
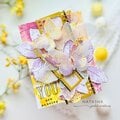
Card: (Use diecut as focal point on a card);
1. THe most basic uses of a diecut... place on a card. 
2. Add embellishments. 


No products have been added to this project.

Thanks for spreading positivity!