Happy National Scrapbook Day!
FREE Gift + Extra 12% OFF Orders With Code: CELEBRATE
FREE Gift + Extra 12% OFF Orders With Code: CELEBRATE


Be the first to cheer this project!

 Give a Cheer
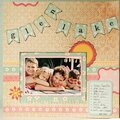
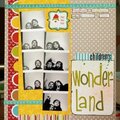
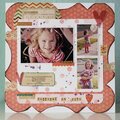
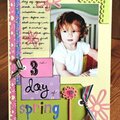
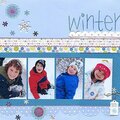
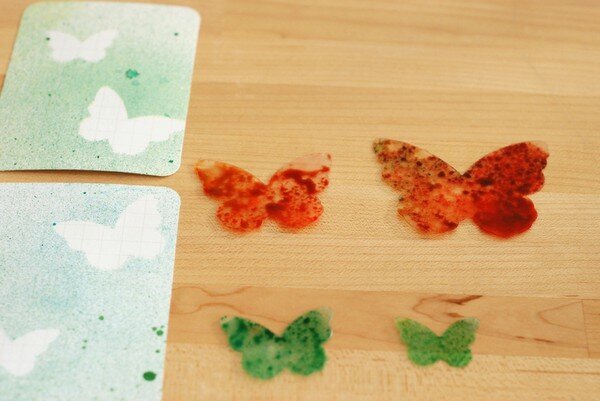
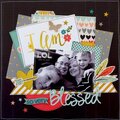
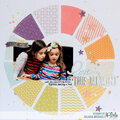
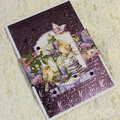
I had SO much fun with this project!!I created the background using small cards, Studio Calico inks and masks–LOVE.To make this project:1. Start with several 3x4 cards (I swiped them from my project life). I have a large shallow box that I use for ink spritzing. Lay out a couple cards, placing butterfly masks on top of the cards {photo 3}. Using several colors of ink, spritz cards. I coated some of the cards lightly, some had more ink coverage and I also took the top off my ink and splattered the ink on some cards.{photo 4}I did 2 cards at a time until I had an assortment of colors and more than enough cards for my project.Play! Have fun!{I love the Studio Calico masks because they are durable. They come with a teeny sticky dot on the back which holds them in place, but doesn't stick to the surface you are masking - genius!}2. When all the ink is dry, lay the cards on a sheet of cardstock in a 4x3 grid. This creates the base of your page. 3. I added Studio Calico [twopeasinabucket.com] die cut tags and scrap pad accents along with my small photos and bits I had on my desk. I also added some stamping.I wanted to share a couple cool things I discovered.Photo 5: this is what the butterflies look like after using them a few times—lots of wet ink on top of them. I wondered what would happen if I tried to print with them….Photo 6:This is what happened when I put a piece of white cardstock on top of the wet butterfly masks and gently rubbed. When I peeled it off, I had these cool ‘spritzy’ butterflies. I imagine cutting them out and using them on future projects!Photo 7:I wanted to show you what the white paper in the bottom of the ‘spray box’ looked like when I was finished spritzing. Isn't it cool? I'm not sure what I can do with this…maybe it'll turn up in a project :)Thanks for looking!Have a great day!
No products have been added to this project.
Thanks for spreading positivity!