Thank YOU! It's Customer Appreciation Week!
EXTRA 11% OFF Orders $100+ With Code: THANKYOU
EXTRA 11% OFF Orders $100+ With Code: THANKYOU


Be the first to cheer this project!

 Give a Cheer
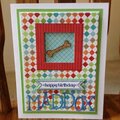
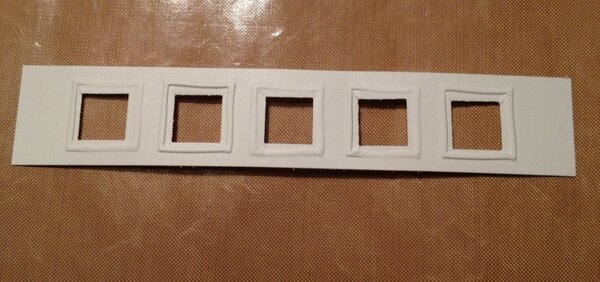
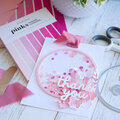
Whew! 3 embossing folders on one card was a challenge, and so was inking! I didn't have much luck with a cat's eye ink pad direct to paper, or a sponge dauber. I finally went with sanding the Happy Birthday embossing and I inked the polka dots using a blender pen to pick up ink from a distress pad and coloring the dots with the pen.For the white strip I punched the squares first, then used the square embossing folder 5 times to emboss around each space. I went around some areas with an embossing stylus to bring back portions that got flattened.I used an Easy Frame from The Stamp Pad (www.zoarstamps.com). Just got it at Stampfest by the Bay a few weeks ago. It kept the oval area free from embossing. I then used the easy frame as a pattern to make a cardboard piece to emboss only the dots to the open oval. My first chance to use the Easy Frame and I think it worked well. 7 shapes came in the set. Luckily my Stampin Up oval punch matched the oval pretty well! Love when that happens! I hand cut the oval mat and inked the mat and the sentiment piece. I also used the blender pen with distress ink to outline the oval. Thanks for the challenge, Ann, and the 2nd chance to complete it, Daria! TFL!Stamps : Stampin Up sentiment and cupcakeInks : Colorbox chalk ink in dark brown and rouge Distress ink in Spiced MarmaladePapers : Bo Bunny orange stripe, Sassafras multi stripe, SU whisper whitePunches : SU oval, McGill small squareEmbossing Folders : Cuttlebug
No products have been added to this project.
Thanks for spreading positivity!