FREE Standard Shipping on Orders $69+ with code:
FREESHIPPING

Cheers
Be the first to cheer this project!
Give a Cheer
Be the first to cheer this project!

 Give a Cheer
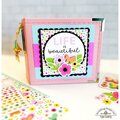
Nora S taught me how to embroider on a card and gave me everything I needed to do one!
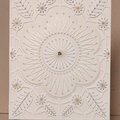
OK. There's no stamping on this cardyet. Do you see the space to the left on the bottom? If I can work up the nerve, I'll stamp a sentiment there when I decide who gets this card for what purpose. The truth is I'm afraid of ruining the card.
4 3/4 x 6 1/4 Yes, I made it to fit an existing A6 envelope! I was so proud of myself.
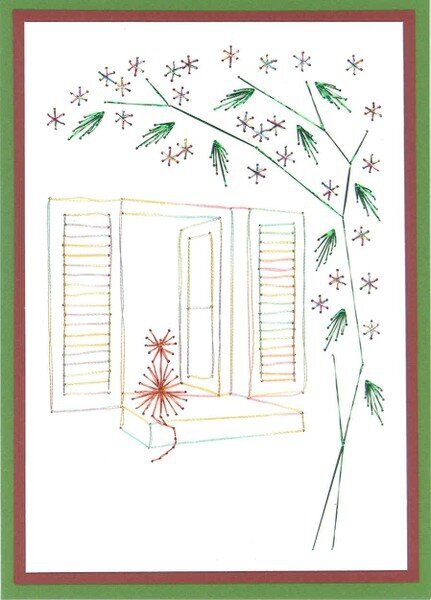
I used a Form-A-Lines design (Cat/Window) and Sulky and Gutermann Metallic Threads. I wish you could see the shiny threads in the scan. For example, the cat is actually a bright, shiny copper.
This was a lot of fun and very easy once I got the hang of it. I did have to un-do and re-do my cat; I had trouble with the tail the first time, and I had embroidered it before I made the windowsill when he needed to be on top of it. Another problem for this beginner was that the directions didn't give detailed instructions for the open window and ledge (Work the window and windowsill in backstitch using the finished diagram as a guide.) Yeah, sure. I had to un-do and re-do that part too. Everything else (shutters, cat, flowers, leaves, and stems) had very precise instructions that were easy to follow.
I now have added metallic threads and more designs to my wish list. Thank you Nora! You are such a good friend and craft buddy.
Daria
ETA: Those double vertical threads on the shutter aren't separated like that when I hold the card face-up, just when I put it face-down on the scanner. I should have made sure those long stitches were more secure. Next time.
No products have been added to this project.

Thanks for spreading positivity!