Thank YOU! It's Customer Appreciation Week!
EXTRA 11% OFF Orders $100+ With Code: THANKYOU
EXTRA 11% OFF Orders $100+ With Code: THANKYOU


Be the first to cheer this project!

 Give a Cheer
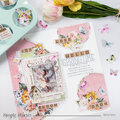
All of these cards are copies of the cards Michael Strong designed to teach in his Craftsman Cards Workshop. He had already cut out and folded the cards, cut out all the matting and other straight pieces of cardstock. All we had to do was stamp, emboss, and cut out the stamped pieces.
At first it seemed strange to be copying someone else's cards, but as I continued, I realized that I was learning both techniques and elements of design. I think I should start copying more wonderful cards. It's a good way to learn.
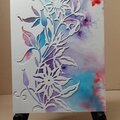
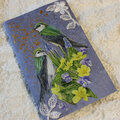
Card #1--The top layer of matting was made with embossing, and the technique is called Weathered Copper Background. You can see a tutorial of how to make it on Michael's blog: The Born Doodler. The dragonfly is pop-dotted.
It was not easy to put in the brads on this card. There are many layers of card, matting, border strips, and tape on the back of the matting that secures the black border strips. I was wishing for a Japanese Screw Punch (always wanted one of those). Someone at the workshop had a tool that worked beautifully. Melody used it and said it worked great. I think it was a type of paper piercer. I, on the other hand, ruined a couple of brads before I got them all in.
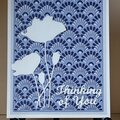
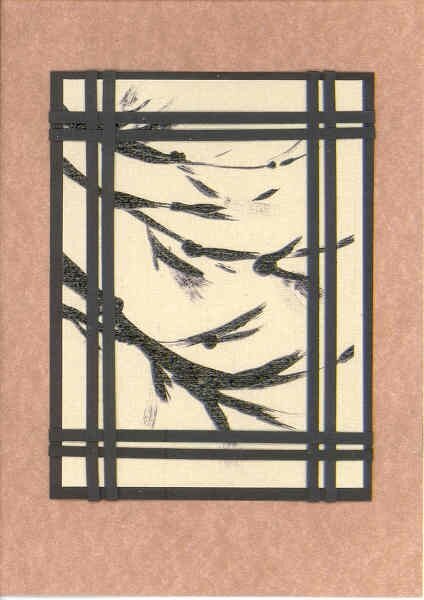
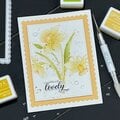
Card #2--Michael painted the brushstroke branches and printed it out on gold cardstock that has a soft shimmer. He has posted the painting on his blog where you are invited to download and use it. I love the look of the border, and it was so easy to make.
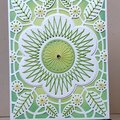
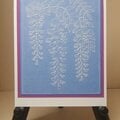
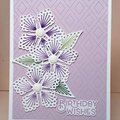
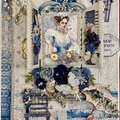
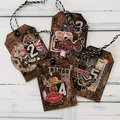
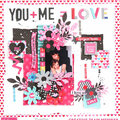
Cards #2 and #3 have no stamping on them. Cards #4 and #5 have small stamped accent pieces. I pressed too hard and lost some of the detail of the images. The blue card has bling from Stampendous. You know I almost always use Swarovski flatback crystals, but I'm going to get some of this stuff if I can find it. It doesn't pretend to be a gemstone; it just offers a lovely bit of shine with a tiny border. The red one has that medallion repeated on the inside and on the back. It's attached to the black strip that crosses the card; it begins on the back of the card and ends on the inside.
Everything on the front of the blue card is pop-dotted, and the medallion on the red card is also pop-dotted.
This was a fun class, and I learned a lot. Everything was so well organized, we smoothly went from one project to another, and Michael had time to go to each table to give instructions for whatever project we were working on.
TFL. Daria
No products have been added to this project.
Thanks for spreading positivity!