Thank YOU! It's Customer Appreciation Week!
EXTRA 11% OFF Orders $100+ With Code: THANKYOU
EXTRA 11% OFF Orders $100+ With Code: THANKYOU


Be the first to cheer this project!

 Give a Cheer
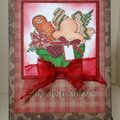
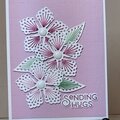
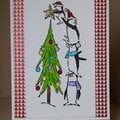
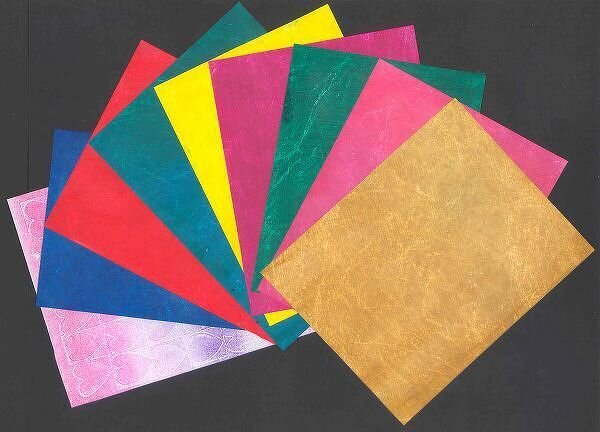
I thought I'd post these just in case they might encourage someone else to try them out. I haven't made them into cards yet, but I've been playing along making the backgrounds.
Most of the first Tyvek samples were painted with Golden Fluid Acrylics. I used a foam brush. This was a lot of fun, especially when I added White Titanium and White Zinc and mixed up the leftover paints. One of the samples was made with the Cuttlebug Smoosh Technique (from Technique Junkies Newsletter). I just brayered the front inside cover of an embossing folder using a Kaleidacolor ink pad and embossed as usual. I ran the folder under water to clean it off right away. I think I should have used more ink.
In the second set of Tyvek, one was made by sponging on Colorbox Fluid Chalk Inks with a wedge-shaped, make-up sponge. The Tyvek absorbs the ink quickly so it isn't as easy to blend the colors without leaving lines behind. I used the Polished Stone technique on the other sample. Again, the inks were absorbed pretty quickly. The Ranger Alcohol inks looked pretty dull so I added a couple of Pinata inks. They're a lot brighter. Still, the overall effect was flat so I added Ranger's Pearl Mixative along with the Pinata inks. That helped.
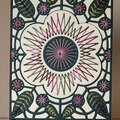
The last group, obviously, holds some of the cheesecloth backgrounds I made. I used Adirondack Red Pepper on one and various Kaleidacolor pads on the others. The top sample is on glossy cs. Important: Use a foam brayer to apply ink.
I hope some of you will try these out. Thank you to Jan (FarNorth) and Martha (embee) for the challenges. Daria
No products have been added to this project.

Thanks for spreading positivity!