Thank YOU! It's Customer Appreciation Week!
EXTRA 11% OFF Orders $100+ With Code: THANKYOU
EXTRA 11% OFF Orders $100+ With Code: THANKYOU


Be the first to cheer this project!

 Give a Cheer
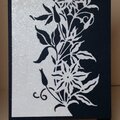
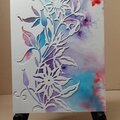
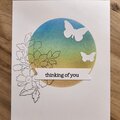
Nora showed me this technique quite a while ago. I couldn't make mine come out anything like hers. She has the magic touch. I asked her to show me again and she did. I hope she'll post some of hers so you can see how it should look. She was also showing an absolute beginner how to do it, and the beginner not only did a great job, she gave it her own twist and came up with something fabulous. She used her fingers. Sigh.
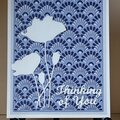
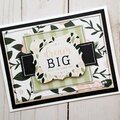
Card is 6 x 6.
Background: Glossy cardstock, Stampers Anonymous Palette Stamp, Colorbox Fluid Chalk inks in Burnt Sienna and Amber Clay
Take a piece of drafting tape or masking tape (touched to your skin to remove some of the stickiness) and touch it to the ink pad. Use that to apply the ink to the Palette Stamp. If you use more than one color, keep replacing the tape so you don't contaminate your ink pad.
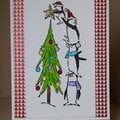
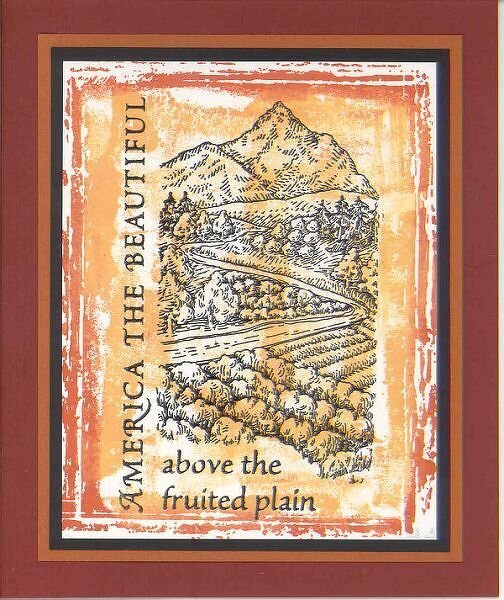
All images are by Rubber Monger except the Hero Arts sentiment. I stamped them with VersaFine Black Onyx; the front image was heat embossed with Clear Superfine EP. The black matting is linen texture cs, the other matting and the card are Bazzill.
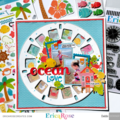
I can't tell you how long it took me to line up those postage stamp images on the inside of the card. Let's just say that I now have several extra images. Yes, I did use the Stampamajig; otherwise, I would never have been able to do it. While I was stamping them, I had a brainstorm. I wonder if this will count for the challenge to use at least four stamps. I've used six on this card if I count the inside. Hmmm.
This card is for my fabulous sister-in-law who is being sworn in as a citizen of the US the day after tomorrow. Thanks for looking. Daria
I forgot to mention that the large image is also a postage-type. I just masked the edges before inking the stamp, and this time I even remembered to take the tape off before stamping.
No products have been added to this project.

Thanks for spreading positivity!