Happy National Scrapbook Day!
Extra 10% OFF Select Scrapbooking Brands with Code: NSD24
Extra 10% OFF Select Scrapbooking Brands with Code: NSD24


Be the first to cheer this project!

 Give a Cheer
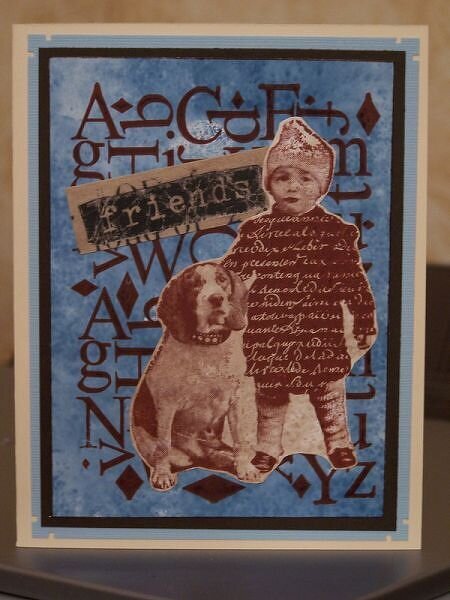
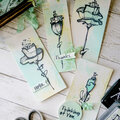
Basically, you press your Distress Ink (I used Ranger's Denim and Brushed Courdoroy) on sheets of aluminum foil. If you want the background darker, you press it down several times. If not, just a couple of presses here and there should be sufficient. Next, spritz your foil using a fine mist spray bottle (held from about ten inches from above the foil). Press your GLOSSY cardstock to the dampened foil and lift. You can layer your inks, starting with a light colored ink, ending with the darker. I would't go crazy with layering too much because you could end up with something really muddy. <br>I wanted to show you what the inked background looked like (especially with the brown ink) before I cut out the image of Georges and Luis (Lost Coast Designs). I apologize for the “rainbow-ish” tint on them. This happens, sometimes, when you scan glossy paper. I wanted to use this technqiue for this specific type of stamp (a “photo” stamp). I didn't want a “stark white” background, so I created the brownish background. Plus, I like how it gives the image a more “aged” look.<br>This is a very easy technique, so if you have any distress inks, you may want to give this a go. (I like using distress inks because they appear “softer” than regular dye ink)
No products have been added to this project.

Thanks for spreading positivity!

%20-%20Scrapbook.com)