Thank YOU! It's Customer Appreciation Week!
EXTRA 11% OFF Orders $100+ With Code: THANKYOU
EXTRA 11% OFF Orders $100+ With Code: THANKYOU


Be the first to cheer this project!

 Give a Cheer
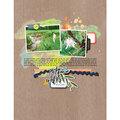
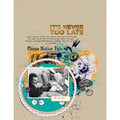
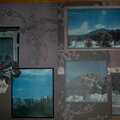
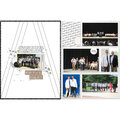
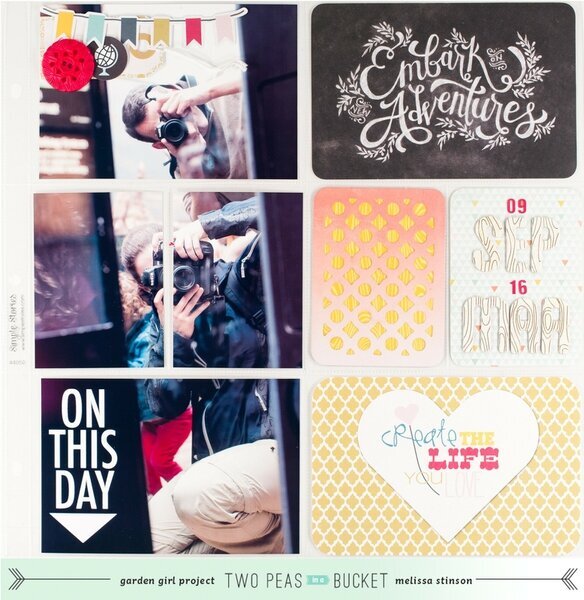
Hello and happy Saturday, everyone! I'm so excited to be back with you for this week's installment of Project Life at Two Peas in a Bucket.In today's video I'm 'fessing up about my Project Life cover pages- or, more precisely, the lack thereof. You see, I love filling up the weeks in my albums, but I always seem to leave the first and last pages bare. Since I had a few requests to talk about this very subject in a video, I decided this would be a great week to do that!I've also had several questions about using digital brushes in Photoshop, and in the first part of the video I'll cover the very basics of that, along with tips for using the PNG images included in the Two Peas digital cut file packages as digital stamps, as well.Several of the ideas for what to do to fill in weeks where you don't have a lot of photos work well for beginning and ending pages, too, and I'll take a closer look at one in particular- using large photos- and show how to “fake” that look with a large image that's chopped into several 4x6s before it's sent off to be printed. You can also take a look at my other ideas from a past video on filling photo-light weeks here.Your challenge this week is to create either a beginning or ending page for one of your albums, whether Project Life or traditional, and upload it to the gallery.Thanks so much for watching!
No products have been added to this project.


Thanks for spreading positivity!