Thank YOU! It's Customer Appreciation Week!
EXTRA 11% OFF Orders $100+ With Code: THANKYOU
EXTRA 11% OFF Orders $100+ With Code: THANKYOU

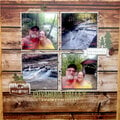
 Give a Cheer
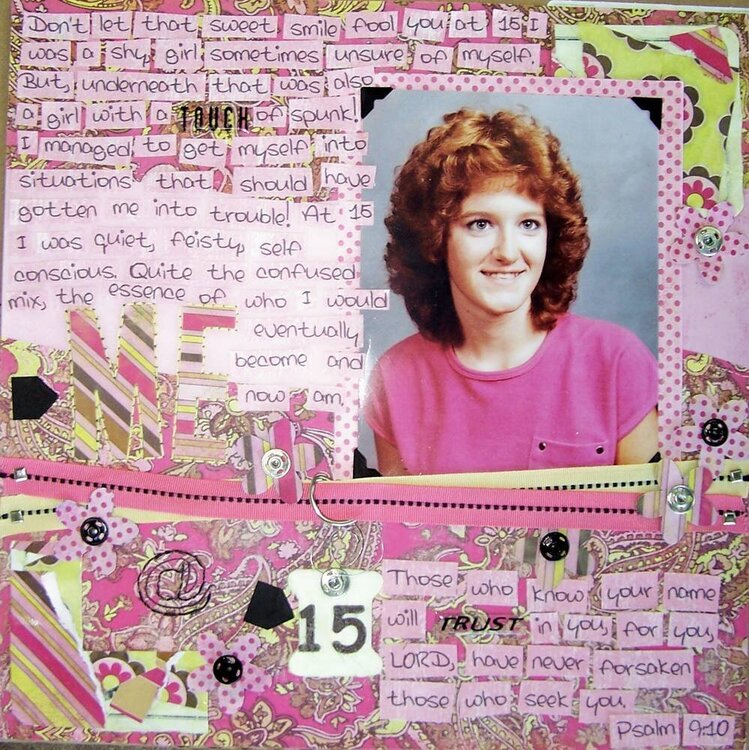
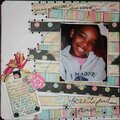
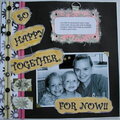
I used my hs picture for this.
Things that were added: cardstock, MME Kaleidescope pp, K&CO. pink paper.
Our list of items:
1 white floss card: I covered this with the enclosed mulberry paper & then printed a 15 on it.
1 ft. banana grosgrain ribbon
1 ft. pink grosgrain ribbon: used both to run across the page
2 silver snaps: took these apart to use as flower centers attaching them first with a glue dot then using my Crop-a-dile I made sure they were really stuck onto the flowers, one of the snap pieces I used on the floss card.
2 black snaps: also used as flower centers
1 6x6 pc. yellow mulberry paper: this was used to cover both the floss card & the flash card (the flash card I cut to make huge corners)
8" pc. of silver wire: I curved this into a sort of clip & hooked it onto the floss card/silver snap & ran it up into the silver "D" ring.
6 black photo corners: 4 I used as photo corners around my picture, the other 2 are arrows pointing to the big "ME" & "15" tag
1 addition flash card: I covered this in the mulberry paper then did a serendipity effect & used scraps of pp to decoupage the entire thing then cut it into big corners for the page.
1 silver "D" ring: I ran the ribbon through this & also hooked the wire "clip" onto it.
4 square silver mini brads: used these on the ends of the ribbon at the edges of the page.
3 tiny pop dots: hoping this does not disqualify me but I used these to give my flowers dimension so they are hidden. To make the sheet go further I also cut up the edges after pulling the dots off.
2 Art Warehouse clear epoxy words: these were part of my journalling strips.
1 foam stamp: I got a flower & used it to stamp on the reverse side of pp with ink then cut around it to make die cuts. Flipped over to show the patterned side it makes patterned flowers.
To make the word "ME" I used my Making Memories foam letter stamps & stamped the letters out using ink onto the reverse of pp. I then cut them out & put them onto the page. Then I hand sewed around it to help it show up better.
To make the @ sign I first pin pricked the shape out in my lo then hand sewed first in yellow. I noticed it was not showing up very well so tried pink over that. Still did not show up well so I just ran my Zig pen across the top dying the thread black.
I also machine stitched across the page between the pp types.
The reason I used the scripture was that I truly feel the Lord had His hands on me through my growing up years. Honestly the things I got myself into were not good things. I accepted Him at the age of 10 & sort of left Him behind for many years but He never left ME behind :)
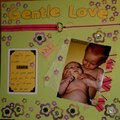
No products have been added to this project.


Thanks for spreading positivity!


October 01, 2006
October 01, 2006
October 01, 2006
September 30, 2006
September 29, 2006
September 28, 2006
September 25, 2006
September 25, 2006
September 24, 2006
September 24, 2006
September 24, 2006