Storage & Organization up to 60% OFF!
Plus, a FREE Gift! | Details Here.
Plus, a FREE Gift! | Details Here.


 Give a Cheer
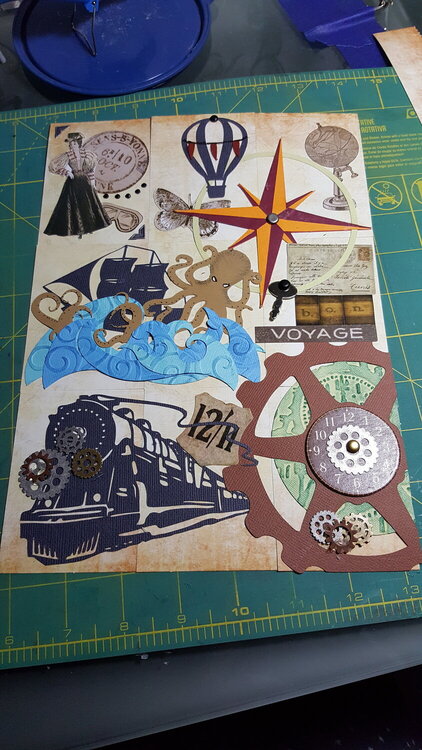
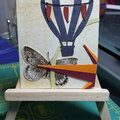
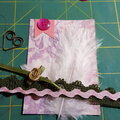
How I made this pocket letter.
0) It all starts with a sketched design in my ATC journal.
1) I cut my page into 9 cards.
2) I put the cards back together and taped them with a small piece of removable scotch tape to hold the cards together as one sheet.
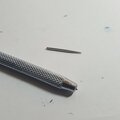
3) I needed the individual cards so I could get a real sense of how big the cards were, as opposed to just drawing lines and then cutting later. The actual cuts to the cards made it more "real."
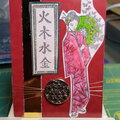
4) I used Sure Cuts A Lot and my Sizzix Elips (v. 1) to design and cut out the images - except for, of course, the stickers.
5) I assembled all of the die cuts and stickers before I adhered them, according to the design sketch I penciled out.
6) I embellished any die cut element that was going to be embellished. The ocean waves were textured with a swirl texture then I used ink to highlight the swirls. The octopus was decorated. The circle that ended up being the green clock behind the sprocket got put through the Cuttlebug and then ink was used to highlight the texture. The compass rose was assembled and glued together since each piece (the green circle, the orange and red highlights / low lights) were all individual die cut pieces.) The brad in the middle of the compass rose was put on before I adhered the compass rose to the work.
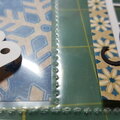
7) Once I was happy with the placement, I adhered everything down, ignoring the cuts for the cards. That means that some of the die cuts were adhered across cards. For example, the steam train at the bottom was adhered across the two cards ignoring the fact that the cards were merely taped together. I did this for all of the other die cut elements such as the ship, the ocean waves, compass rose, and large sprocket.
8) I had also put the stickers on the cards because some of them needed to be layered below the adhered die cut pieces.
9) Once everything was adhered (either run through a sticker maker, or used glue, or whatever...) I then "re-cut" the piece using the already cut cards as a guide. For example. The steam engine die cut was really the only part that needed to be cut to separate the two bottom left cards. This is how I separated all of the individual cards for the pockets.
10) Once all of the cards were separated, I then embellished them even further with various elements.
No products have been added to this project.


Thanks for spreading positivity!


March 14, 2017
March 14, 2017
March 14, 2017
March 06, 2017
March 06, 2017
March 06, 2017
March 06, 2017
March 06, 2017
March 01, 2017
March 01, 2017
March 01, 2017
March 01, 2017
March 01, 2017
March 01, 2017
March 01, 2017
March 01, 2017
March 01, 2017
March 01, 2017
March 01, 2017