


Thank YOU! It's Customer Appreciation Week!
EXTRA 11% OFF Orders $100+ With Code: THANKYOU
EXTRA 11% OFF Orders $100+ With Code: THANKYOU


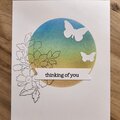
 Give a Cheer
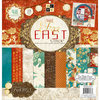
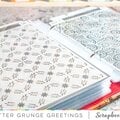
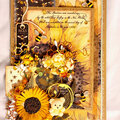
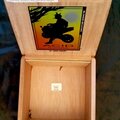
So this card was made for a man and his family that are always there for my family and me. Recently they have done tons of stuff for us so I decided they needed a card. This is what I came up with eventually. The card itself is made of the silk 110 lb cardstock that I bought from LCI paper. I used the Tim Holtz distressing tool on the outside edges. I used the Die Cuts With a View Far East collection for the "die cuts" and squares. My Cricut also did tons of cutting on this piece and I've grown to love it and deeply hate the design space.
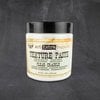
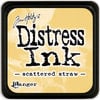
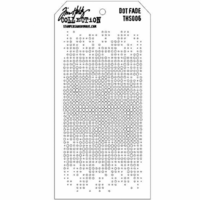
After forgetting some steps on my last card I drew up step by step instructions for myself so I wouldn't forget anything. Which really really helped. So in between layers I applied the Prima clear crackle with some gold and red interference pigment in it in between the layers of paper. Sadly it didn't crack but I have a feeling I did something wrong so I'll try it again not using pigment. I used The Tim Holtz Dot Fade Layering stencil To apply that effect. Next effect was Prills in the Barry Nice color (I bought the rock and roll pack, I love them).
The Koi is my own design and it took me a couple hours to make it for the Cricut.
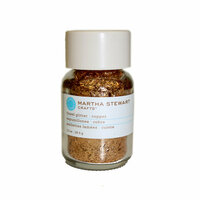
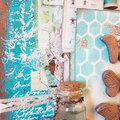
Next, the flowers were done once again with the assortment pack of Cricut Pearlescent papers. They are great for flower making but don't take being shaped by a stylus very well. The Spider Mum is my own template and design that I made from scratch. I did cut it on the Cricut. The stamens in the water lily style flower were flocked using Martha Stewarts red flocking powder. The leaves and ferns were cut in both green vellum and in a paper out of the Tim Holtz Crowded Attic collection.
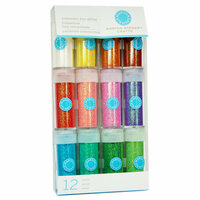
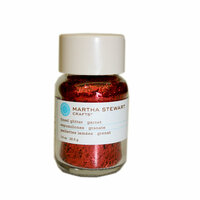
I cut and folded the fans on the American Crafts textured cardstock that I am so fond of. Finally the dragonflies are 3 layers of green effect on white vellum pearlescent paper while the 2 other layers are simply a red. I think I got both at hobby lobby back in the day they actually sold tons of Vellum (why on earth did they stop?). The glitter throughout the card was all made by Martha Stewart.


Thanks for spreading positivity!


January 27, 2019
October 07, 2018
October 07, 2018
October 07, 2018
June 07, 2018
June 07, 2018
June 07, 2018
June 07, 2018
June 07, 2018
February 14, 2018
February 12, 2018
February 12, 2018
February 09, 2018
February 08, 2018
January 31, 2018
January 31, 2018
January 31, 2018
January 31, 2018
January 31, 2018
January 30, 2018
January 22, 2018
January 22, 2018
January 22, 2018
January 22, 2018
January 22, 2018
January 21, 2018
January 21, 2018
January 20, 2018
January 20, 2018
January 20, 2018
January 20, 2018
January 20, 2018
September 18, 2017
September 18, 2017
September 18, 2017
September 17, 2017
September 07, 2017
September 07, 2017
September 07, 2017
September 07, 2017
September 07, 2017
April 04, 2017
April 04, 2017
April 04, 2017
March 10, 2017
March 10, 2017
March 10, 2017
March 10, 2017
March 10, 2017