

Storage & Organization up to 60% OFF!
Plus, a FREE Gift! | Details Here.
Plus, a FREE Gift! | Details Here.


 Give a Cheer
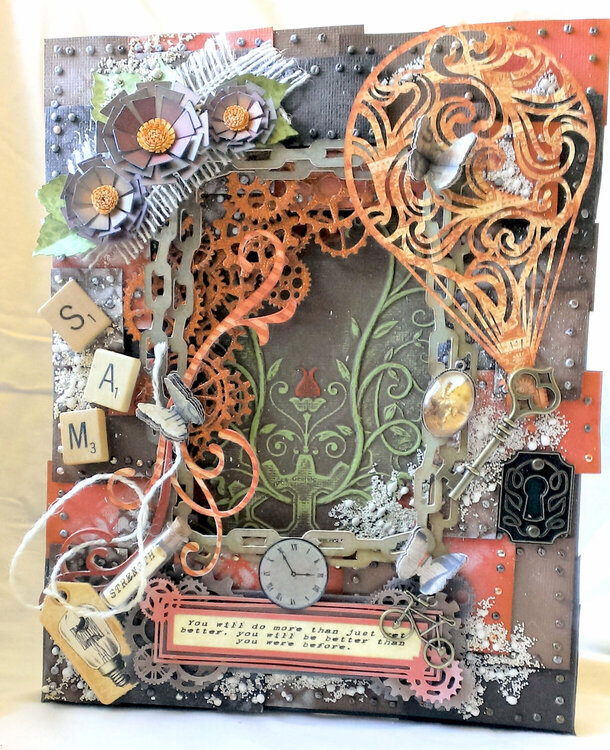
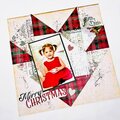
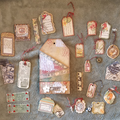
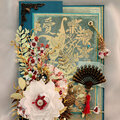
Well I finally have gotten this one posted. Wish the picture had come out better... but oh well. This one took some time to complete. I actually started back at the end of 2016 and got frustrated with all the detail work. So when I finished putting the brads on I took a break from it and set it aside. I kind'a thought I would never finish it until my nephew ruptured his spleen. He went to go on this wonderful biking trip and as soon as he got on his bike he crashed... poor Sam :(. So I had to make him a card quickly. I thought about doing one from scratch but this one popped into my head and I made some alterations to the original design to make it more masculine. I don't know how well I did with that but I do like the way it turned out and he did seem to like it a lot in the end.
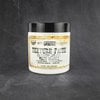
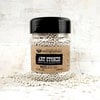
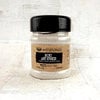
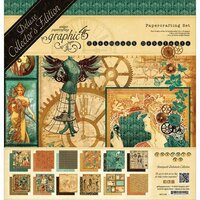
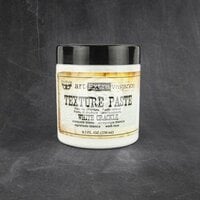
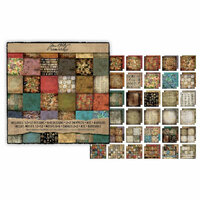
So to begin with I cut a frame out of 1/4 inch foam board and covered that with black cardstock. Then I used the Floral Jewel embossing folder from the Spellbinders series "M-Boss Abilities". I used a Peridot/Milk Chocolate piece of paper from the Darice Chocolate Box collections then gently sanded the raised area of the image. I did moisten the paper before doing the embossing which gave it extra detail but I never have been able to do it without it warping the paper and I have tried with several types of paper and weights. However I get the most detail with damp paper. Any way I took red marker and colored the flowers for extra detail. Then I attached that image to the frame. Then I used some orange glitter cardstock from Darice with the Tim Holtz/Sizzix Gearhead die cut collection. I used the frame piece around the inside of the frame. Next I cut a whole bunch of rectangles in different sizes out of three browns and one red and inked them. Next I attached the brads: part of them were some cheapies I got at HobbyLobby and the others were from Tim Holtz (they have screw designs on them). Then I used mounting tape to give it plenty of depth. I then attached some of the other individual gears that I had cut around the left top edge of the inner frame. Then I placed the two chain frames (cut on the cricut) jux positioned to one another and a flourish (also cut on the cricut). Then I attached a piece of jute ribbon and the flowers and leaves (cut from my Cricut Air) in that same corner. I used white chalk ink for in certain spots then covered it with Prima White Crackle Pate applying it through the stencil with squares out of Tim Holtzs mini stencils set 9. Next I attached all of the rest of the embellishments. Finally I did some detail work with a mix of Prima's Art Stones and Prima's Mini Art Stones.


Thanks for spreading positivity!


March 15, 2019
March 11, 2019
March 11, 2019
March 11, 2019
March 11, 2019
March 11, 2019
March 11, 2019
March 11, 2019
March 11, 2019
March 11, 2019
February 15, 2019
February 15, 2019
February 15, 2019
February 06, 2019
October 07, 2018
October 07, 2018
October 07, 2018
October 07, 2018
March 27, 2018
March 27, 2018
March 27, 2018
March 27, 2018
February 16, 2018
February 10, 2018
February 10, 2018
February 10, 2018
February 10, 2018
February 08, 2018
February 08, 2018
February 08, 2018
February 08, 2018
February 08, 2018
February 06, 2018
February 04, 2018
January 30, 2018
January 30, 2018
January 30, 2018
January 29, 2018
January 29, 2018
January 29, 2018
January 29, 2018
January 29, 2018
January 29, 2018
January 29, 2018
January 29, 2018
January 28, 2018
January 28, 2018
January 28, 2018
January 28, 2018
January 28, 2018
January 28, 2018
January 28, 2018
January 28, 2018
January 28, 2018
January 27, 2018
January 27, 2018
January 27, 2018
January 27, 2018
January 25, 2018
January 25, 2018
January 25, 2018
January 25, 2018
January 25, 2018
January 24, 2018
January 24, 2018
January 24, 2018
January 23, 2018
January 23, 2018
January 23, 2018
January 23, 2018
January 23, 2018
January 23, 2018
January 23, 2018
January 22, 2018
January 22, 2018
January 22, 2018
January 22, 2018
January 22, 2018
January 22, 2018
January 21, 2018
January 21, 2018
January 21, 2018
January 21, 2018
January 21, 2018
January 21, 2018
January 21, 2018
January 21, 2018
January 21, 2018
January 21, 2018
January 21, 2018
January 21, 2018
January 21, 2018
January 21, 2018
January 21, 2018
January 21, 2018
January 21, 2018
January 21, 2018
January 21, 2018
January 21, 2018
January 21, 2018