Livestream Party!
Join us today at 9:00am PT / 12:00pm ET | Details Here.
Join us today at 9:00am PT / 12:00pm ET | Details Here.

 Give a Cheer
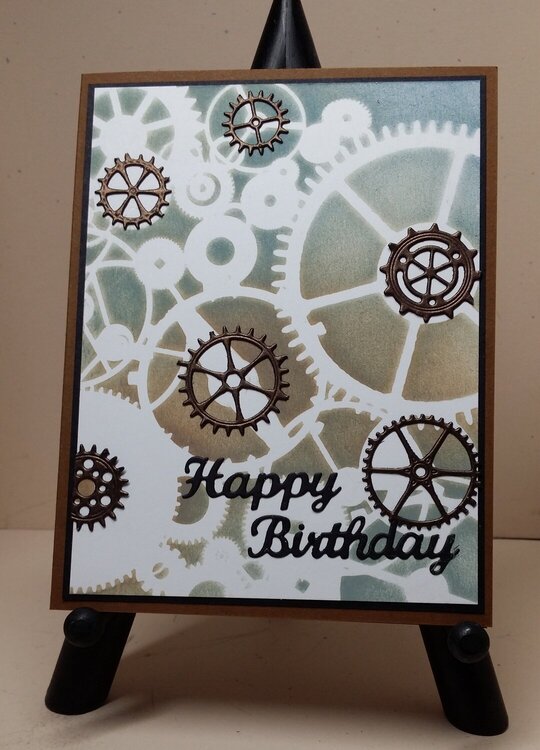
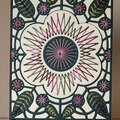
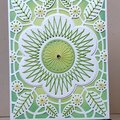
I made this background some time ago. I love using the Distress Oxide Inks with stencils; it gives a lovely matte finish.
I congratulated myself when I remembered to attach the double-sided adhesive to the Bronze cardstock before die-cutting the gears border. However, took forever to cut the gears apart and take out all the little pieces. When I pushed the pieces through the stencil, they got stuck to the back of the die-cuts and adhered to the adhesive there. I did the same thing with a much thinner paper on another card, and the pieces all stuck to the tape backingworked great. It really is easy to attach the die-cuts to the card when they are die-cut with the adhesive. (I also cut a set without adhesive so I could move those pieces around on the card and decide where they would go before permanently attaching the adhesive-backed gears.)
CARD:
4 ¼ x 5 ½
Gina K Warm Cocoa cardstock (card base)
Stampin' Up! black cardstock (mat)
Neenah Classic Crest Solar White Cardstock (stenciled piece)
Stardream Cordenons Impressive Papers, 105-lb cover, Bronze (die-cut gears)
Sookwang double-sided tape (adhered to the back of the bronze cardstock before die-cutting)
The Crafters Workshop Mini Gears Stencil, TCW262s
Distress Oxide Inks
Memory Box Gearworks Border die, 98949
Elizabeth Craft Designs Happy Birthday Die, ECD 717
TFL.
Daria
No products have been added to this project.

Thanks for spreading positivity!


July 29, 2018
July 29, 2018
July 28, 2018
July 28, 2018
July 28, 2018