

Thank YOU! It's Customer Appreciation Week!
EXTRA 11% OFF Orders $100+ With Code: THANKYOU
EXTRA 11% OFF Orders $100+ With Code: THANKYOU


 Give a Cheer
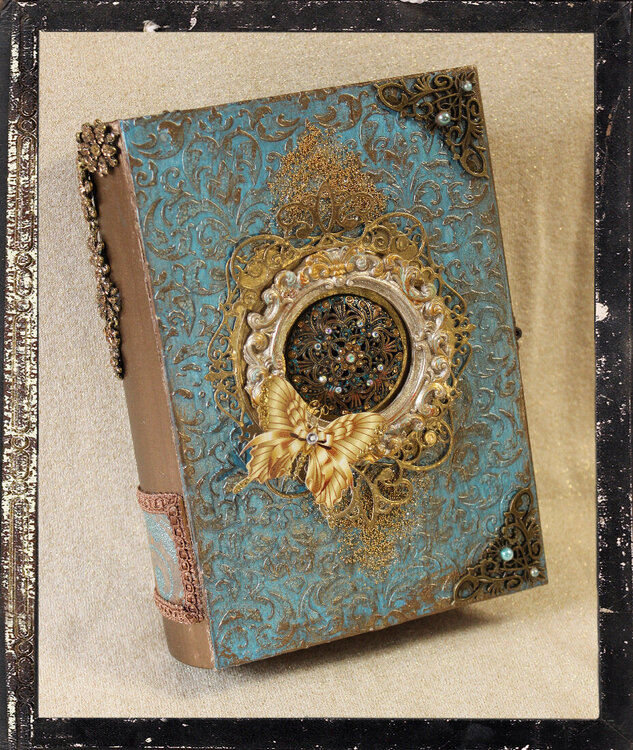
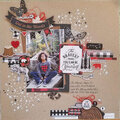
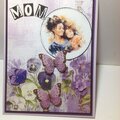
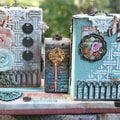
Hi all! Sharing the altered book box I made for my swap partner, Debbie, in this month's Mixed Media Swap that was hosted by Dawna! Im not one who cares to use paints very much as I dont have access to a sink for cleanup, although I have one in my Craft Palace. My CP is a 19+ foot travel trailer from the early 70s but its not hooked up to water. But, I do have a squirt bottle and water bottles I keep in my fridge for drinking so I put those to use as needed.
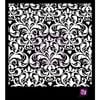
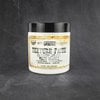
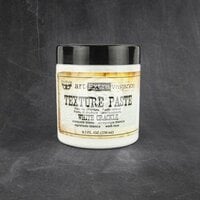
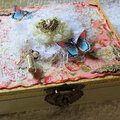
Anyway, I decided to tackle a project for this swap. I enjoyed making it but it did take several days because of having to let paints, texture paste and glues dry, along with depending on the weather whether I could get it warm enough out there to work! This started out as a papier maché book box, kraft in color. I first covered it completely with white Gesso. (I really wish I had used black instead.) Then I used Finnabair White Crackle Paste over my Prima Stencil and let it dry. It only covered about 2/3 of the front so after that dried I laid it over the rest matching up my pattern and applied it again to the lower half.
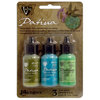
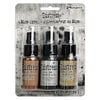
Again, after drying time, I then painted the top with Deco Art Peacock Pearl mixed with Folk Art Metallic Blue Sapphire. After that I rubbed DecoArt Wax Metallic Finish in Iced Espresso over the masking and around the edges using my fingers, while wearing a thin cleaning glove. I then used the Iced Espresso on the book binding, flyleaf and inside. On the back I used the paints again as well as the Iced Espresso, as you can see in the other picture.
On the inside of the book I lined it with Paper Studios Haberdashery paper collection (from Hobby Lobby) as the colors matched my scheme. I also used a little piece of it on the binding. The trim is also from HL.
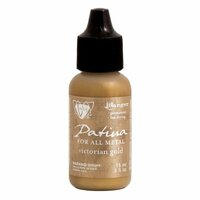
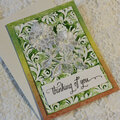
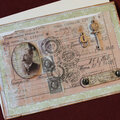
Next came the embellishments. I had something totally different in mind, thinking of using all sorts of metal elements but when I was going through my stash of goodies from scrapping friends, I ran across this white picture frame from Toni Burks and decided to use that instead. I took the backing part off and painted it with Deco Art Champagne Gold first, then used Ranger Patina in Victorian Gold, Turquoise and Cinnabar (which I covered most of that with the Champagne Gold because I wasnt crazy about it)! I found the focal piece in my stash which was a pendant from HL. I thought it matched my color scheme perfectly so I cut the metal hanger off of it to use as my centerpiece. Then I felt like it all needed something behind it so I used some white card stock to cut out my largest diecut and then heat embossed it with Zing Gold. Under that is another diecut from our friend Barbara (BAKW) that I also embossed with gold. I knew I wanted to use microbeads and/or glitter glass so I spread some Mod Podge on the box and sprinkled both. The gold microbeads are from Reneabouquets and the Champagne Blend Glitter Glass from now closed Gone Artsy. The corner pieces are from HL also and I added Bronzed Teal Beautiful Beads from Reneabouquets, as well as the gorgeous butterfly that ties it all together. I have added a close-up picture to
see the focal piece a little better, as well as different angles.
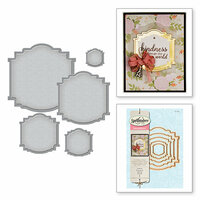
The clasp I used is Woodpile brand from HL. I had to glue it on instead of using the screws because they were too long. On the binding I cut apart a lovely necklace I found on close-out at Shopko awhile back and arranged it as shown. On the back I diecut the Haberdashery paper for my label using Spellbinders Label 58. Under that I used a beautiful diecut piece from Lois (Granny2One) and embossed it with gold.
Thank you to those ladies that I mentioned for your lovelies! And thank you all for visiting my gallery. Your support means so much to me and I hope I didnt bore you with all my rambling on about this!! ;-)


Thanks for spreading positivity!


April 27, 2019
April 27, 2019
April 27, 2019
April 27, 2019
April 09, 2019
March 23, 2019
March 23, 2019
March 23, 2019
March 23, 2019
March 22, 2019
March 22, 2019
March 22, 2019
March 22, 2019
March 22, 2019
March 22, 2019
March 22, 2019
March 22, 2019
March 22, 2019
March 22, 2019
March 22, 2019
March 22, 2019
March 22, 2019
March 22, 2019
March 20, 2019
March 20, 2019
March 20, 2019
March 20, 2019
March 20, 2019
March 20, 2019
March 20, 2019
March 20, 2019
March 20, 2019
March 20, 2019
March 20, 2019
March 19, 2019
March 19, 2019
March 19, 2019
March 19, 2019
March 19, 2019
March 19, 2019
March 19, 2019
March 19, 2019
March 19, 2019
March 19, 2019
March 19, 2019
March 19, 2019
March 19, 2019
March 19, 2019
March 19, 2019
March 19, 2019
March 19, 2019
March 19, 2019
March 19, 2019
March 19, 2019
March 19, 2019
March 19, 2019
March 19, 2019
March 19, 2019
March 19, 2019
March 19, 2019
March 19, 2019
March 19, 2019
March 19, 2019
March 19, 2019
March 19, 2019
March 19, 2019
March 19, 2019
March 19, 2019
March 19, 2019
March 19, 2019
March 19, 2019
March 19, 2019
March 19, 2019
March 19, 2019
March 19, 2019
March 19, 2019
March 19, 2019
March 19, 2019
March 19, 2019
March 19, 2019
March 19, 2019
March 19, 2019
March 19, 2019
March 19, 2019
March 19, 2019
March 18, 2019
March 18, 2019
March 18, 2019
March 18, 2019
March 18, 2019
March 18, 2019
March 18, 2019
March 18, 2019
March 18, 2019
March 18, 2019
March 18, 2019
March 18, 2019
March 18, 2019
March 18, 2019
March 18, 2019