

FREE Standard Shipping on Orders $69+ with code:
FREESHIPPING


 Give a Cheer
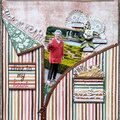
Hello everyone!!! So this is my tag for the Summer Secret Partner Tag Swap! I actually had a very clear vision of this right from the get go, but at first I really only wanted to do one side of the tag. In the end I realized to be true to the piece it needed to have both sides done. I really wanted to capture the concept of a summer nature scrapbook/sketchbook . When I was younger I would collect items during my travels while hiking and sometimes do sketches of plants, trees and other things. I would spend my summers up away from people out doors sketching or writing poems. Eventually though, the Sandia mountains got so even some of the most secret spots were eventually discovered by other hikers and it somehow ruined the experience. Nothing like having 30 hikers tramping through you're intended solitude and meditation. I also wanted to achieve a rustic vintage shabby chic feel and I feel I actually accomplished it.
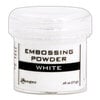
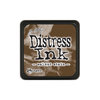
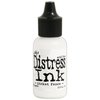
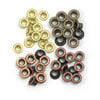
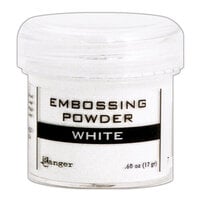
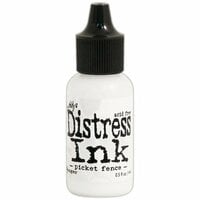
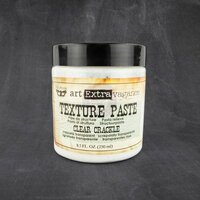
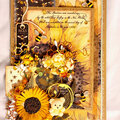
The tag itself is natural colored chip board. I sprayed it with Copper Rust-oleum metallic spray paint, along with the metal washer. I used a copper colored eyelet from WRMK on the back of the tag then I used Prima transparent 3D Matte Gel to attach the washer on the opposite side (the front). I used my Liquitex professional soft body paints to paint the tag. I created a rust paste using them and prima's texture powder. I couldn't find my Titanium white so I ended up using liqutex white gesso for my white. I added some of Prima's artstones (mini and standard) to the paint for a little more texture. I really wanted to stay away from brown to begin with and so I used sap green instead of a rust color, but I hated the effect I was getting, so it ended up being a matte copper color in the end. Once done with the effect I splattered some paint hither and thither. Next I used Ranger's white embossing powder for the text and images. Next using Tim Holtz's honey comb stencil (standard size) I applied some of Prima's transparent crackle... it barely shows in person... ironically it shows more in the photos. Next came the screws and twine. I used a little bit of Aleene's tacky glue on the tips of the screws to dull them. At this point I meant to take a picture but forgot.. I wish I had at this point because of how pretty it was... but oh well.
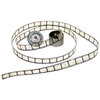
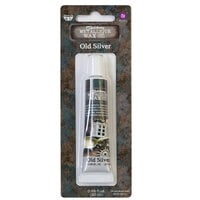
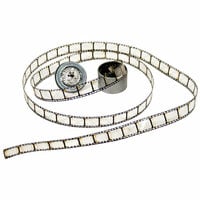
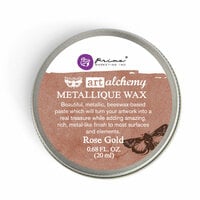
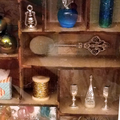
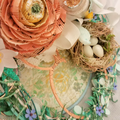
The back was assembled first. The lady bug cabochon was one that I made with clear resin... so what the bottle with the butterfly. I am a little frustrated with how many bubbles ended up in the bottle (I guess I need to do some research on how to minimize the bubbles) but it doesn't look anywhere nearly as cloudy in real life as in the photos. My first bottle I used Ranger glossy accents to seal the moss, quartz and dirt into place, but it (the glossy accents) turned white. It's actually gone clear, but I still don't like the effect. This one turned out much better and I used a butterfly in this one. I found the chicken wire at HL in their floral department. It's a 3 inch "ribbon" and it's fantastic to work with. It's thin enough to use flush cutters on it so the sharpness of the wire is minimized to a large degree. The butterflies were primed and then colored in with markers, but I just didn't like the effect so I went over them lightly with Prima Alchemy Wax in old silver and then highlighted it with the rose gold. The marker shows through ever so slightly which I think creates a beautiful effect in person. As I started to assemble the back I realized a bunch of my embossing was going to get covered up, so I actually mimicked what was on the base upon the top layer in Ranger's Embossing Powder in color Tea Rose.
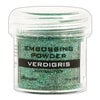
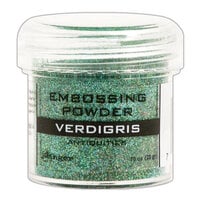
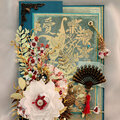
The front was assembled in a similar fashion to the back and I tried to mirror the back. The watering can was found on EBay. The bottles are filled with dried flowers and feathers and seeds. The owl was done with Ranger's Verdigris embossing powder. The eyes are cat's eye beads, the cabochon was painted with Prima alchemy pink/blue paint and then was attached with Ranger's glossy accents. The lace rose is a pattern I found on dreamyposy.com. This is a classic example as to why double sided paper can be confusing to work with in flowers. I meant to do this so the pink was the primary color, and you see the effect in the final rose. I was going to redo the rose (I even cut a couple new roses to do so) but in the end I think it was providence. I really really like the way it came out in the end and I think it tied the flowers together nicely! The green paper cord is mizuhiki! Love that stuff, you should get some if you don't have any!!! So that's all I'm going to say right now, if you have any questions please feel free to ask! Thank you SO much for looking!!!

Thanks for spreading positivity!


October 29, 2019
August 15, 2019
August 15, 2019
August 15, 2019
August 15, 2019
August 15, 2019
August 12, 2019
June 25, 2019
June 25, 2019
June 25, 2019
June 25, 2019
June 23, 2019
June 23, 2019
June 23, 2019
June 23, 2019
June 21, 2019
June 19, 2019
June 17, 2019
June 17, 2019
June 17, 2019
June 17, 2019
June 17, 2019
June 17, 2019
June 16, 2019
June 16, 2019
June 16, 2019
June 16, 2019
June 16, 2019
June 16, 2019
June 16, 2019
June 16, 2019
June 16, 2019
June 16, 2019
June 16, 2019
June 16, 2019
June 16, 2019
June 16, 2019
June 16, 2019
June 16, 2019
June 16, 2019
June 16, 2019
June 16, 2019
June 16, 2019
June 16, 2019
June 16, 2019
June 16, 2019
June 16, 2019
June 16, 2019
June 16, 2019
June 15, 2019
June 15, 2019
June 15, 2019
June 15, 2019
June 15, 2019
June 15, 2019
June 15, 2019
June 15, 2019
June 15, 2019
June 15, 2019
June 15, 2019
June 15, 2019
June 15, 2019
June 15, 2019
June 15, 2019
June 15, 2019
June 15, 2019
June 15, 2019
June 15, 2019
June 15, 2019
June 15, 2019
June 15, 2019
June 15, 2019
June 15, 2019
June 15, 2019
June 15, 2019
June 15, 2019
June 15, 2019
June 15, 2019
June 15, 2019
June 15, 2019
June 15, 2019
June 15, 2019
June 15, 2019
June 15, 2019
June 15, 2019
June 15, 2019
June 15, 2019
June 15, 2019
June 15, 2019
June 15, 2019
June 15, 2019
June 15, 2019
June 15, 2019
June 15, 2019
June 15, 2019
June 15, 2019
June 15, 2019
June 15, 2019
June 15, 2019
June 15, 2019