Thank YOU! It's Customer Appreciation Week!
EXTRA 11% OFF Orders $100+ With Code: THANKYOU
EXTRA 11% OFF Orders $100+ With Code: THANKYOU


Be the first to cheer this project!

 Give a Cheer
Hi everybody! Do you remember me? I´m Maria Celeste from GuiadeManualidades.com I´m so happy to be back! I´ve been working in something special to share with you
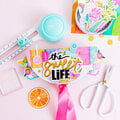
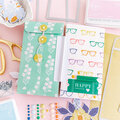
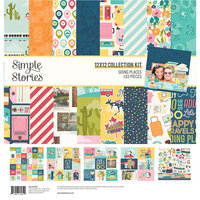
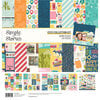
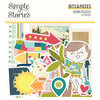
Have you see Going Places collection? This is one of the most beautiful collection for travelling I´ve ever seen. It has so many wonderful products to work with
simply love it! I´ve choose some of them and I have prepared a very special mini album for you.
You will find all the cutting files at the end of this post. Yes! I made free cutting files to share with all of you. You are going to see them in .SVG (for cutting machines) and .PDF to print and cut by hand. For all your possibilities! I hope you like them!
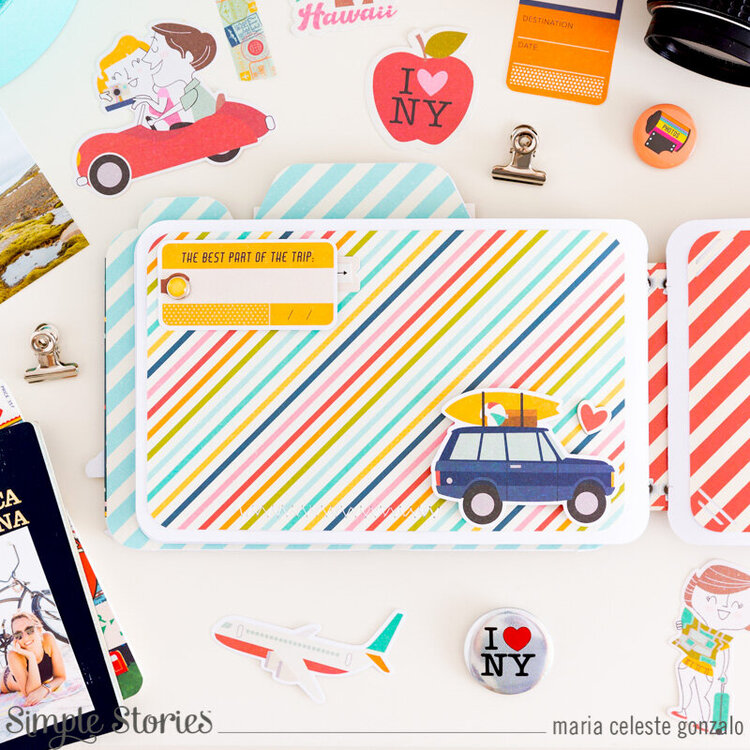
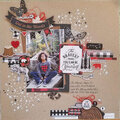
This mini album is a gift for my husband
We love to travel and he is always taking pictures of every details of them. When we came back to our home he usually have more than 5,000 photos of a small trip! It´s amazing how he can spend hours taking pictures and looking for a special spot or waiting for nature to surprise him.
That´s why I designed a mini album with a camera shape! It´s the perfect gift for him! And Going Places collection has everything I need to make it!
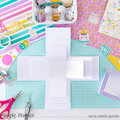
I will explain some details of the cutting files first. You will find 4 cutting files. The first one is CAMERA BODY: use it to cut 2 pieces of stable cardboard and 2 pieces of desing paper. The final size of it is approximately 8 w x 6 h. The second one is CAMERA-DOBLE PAGES: use it to cut 5 pieces of White cardstock. You will need A3 paper to cut them. The final size of it is approximately 15 3/4 w x 5 h. The third one is CAMERA-INTERIOR PAGES: use it to cut 20 pieces of design paper and you will add them to your doble pages. The final size of it is approximately 7 1/4 w x 4 1/2 h. The fourth one is CAMERA-FRONT PIECES: you will find 6 pieces. You have to cut #1, #2, #3 (from left to right) in silver foil papel (two circles and a bar). You have to cut 2 pieces of #4 (first figure of the second line-left) in White foam. You have to cut 1 piece of #5 (second figure of the second line-right) in acetate. And finally you have to cut 1 piece of #6 (figure of the third line) in design paper.
Let's get started! Cut the 2 pieces of stable cardboard of Camera Body file and cut another piece of 1 7/8 w x 3 3/4 h.
We have to cover the two pieces of Camera Body file with White cardstock and the other piece of stable cardboard with design paper of Going Places collection (these are for the interior)
Choose another design paper and cut 2 pieces of 10 w x 3 7/8 h. Use them to cover the center of the camera body. Besides, add 10 white eyelets to the center pieces. Glue all the 3 pieces together
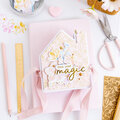
magic! Camera structure is ready!
Now, we are going to work in the camera lens
it's a beautiful shaker! Cut all pieces of Camera-Front Pieces file. You have to glue together the 2 pieces of foam and add them to the design paper piece. Use one of the die cut of the Bits & pieces pack and some chunky glitter and shape sequins to fill the shaker. Finally add the frontal piece with de acetate piece. Lovely shaker!
Let's start preparing pages of our mini album! You have to cut the 5 pieces of white cardstock of Camera-Doble Pages file and the 20 pieces of design paper of Camera-Interior Pages file.
Time to decorate the cover and all pages! I must confess I love it! I can spend hours doing it! Fort he cover: you need to have the shaker, the two pieces of foil paper we haven´t use yet, chipboards, some enamel dots, the stickers and thread for sewing in some colors you like.
Place the shaker in the center of the camera shape and then add the two decorate foil paper pieces. So wonderfull to see the camera finally complete! Now is time top lay and add chipboards, stickers and all you like to the cover. As this is a gift to my husband I decided to make a special composition of elements specially for him. Play with all the elements you have. You are going to ove it!
Once our mini album structure and cover is ready
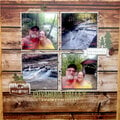
time for the pages! I definitely wanted a lot of space for photographs so that is why I made this special design for the pages. Before add all the design papers (Camera-Interior Pages) I recommend you to decorate all of them. You will see that I used a photo corner punch for some of them and leaved them without decoration. I want my husband to add the final details once he add the photos.
When you finish decorating all pages
it´s time to add them to our mini album. I choose white hemp cord because I love the quality and texture it have. It´s really simple to add all pages
and the final result for our mini album is simply amazing!
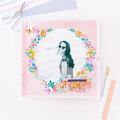
Going Places collection have a lot of beautifull elementos to decorate
Combine washi tape, chipboards, stickers, die cuts, cards and even some sewing details to make every page of this mini album special and lovely
.
Hope you like it! See you soon!
Free Files in the blog


Thanks for spreading positivity!