

Thank YOU! It's Customer Appreciation Week!
EXTRA 11% OFF Orders $100+ With Code: THANKYOU
EXTRA 11% OFF Orders $100+ With Code: THANKYOU


 Give a Cheer
Hello everybody! So happy to be back! We are living a very special moments in our lives
there is nothing better to have the chance to share a beautiful moment creating together. I´m Maria Celeste and I have a wonderful idea for all of you!
I've been in my home for more than a month. Everyday is a new challenge. But I´m always thinking that we are very lucky because we love scrapbooking. We have this wonderful hobby/job to help us. I started to imagine a new project with it and I was sure about one thing: it was going to be something just for me. A very special mini book full of details and things I love.
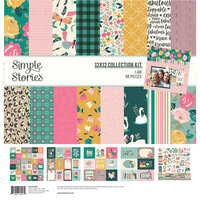
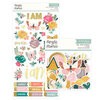
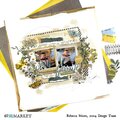
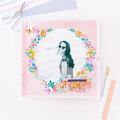
I Am Collection has become one of my favorites. I'm sure I will keep it in my personal collection. I fall in love with it! I see it and I feel it´s for me.
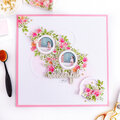
This mini album has plenty space for photographs and personal memories. And I made lovely and special details with my sewing machine. Let´s get started!
As I always tell you, remember you can make this mini album in the size you want. For my project I cut 3 pieces of stable cardboard : #1- 7 w x 8 1/2 h (cut 2 of it), #2- 2 w x 8 1/2 h.
I used three of the collection kit papers to cover all the structure. But, before doing it, I sewed it along the edge. You will see I did that in all my mini book. Sewing details are a must in this project!
For the inside of my structure I used the same design paper and did the same sewing detail. But, you have to wait until you prepare the spine.
I made a very special spine. For making it cut a piece of white cardsotck paper of 10 1/4 w x 6 1/2 h. Then you have to scored it in 1 ½, 2, 2 ½, 2 3/4, 3 1/4, 3 3/4, 4 , 4 1/2, 5, 5 1/4, 5 ¾ 6 1/4, 6 1/2, 7, 7 ½, 7 ¾, 8 ¼, 8 ¾. As a result you are going to have a classic spine with 6 hinges. But, before gluing it in the interior of the mini album structure, we are going to add small strips of the same paper that we use to cover the middle stable cardboard piece. To do it, just sew them
you will love this detail!
Once it´s ready, you can glue the spine and then add the interior papers. You will find that the spine is smaller than you structure. Don't panic! It's ok! Just leave 1 up and down.
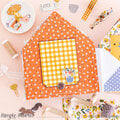
As we have a 6 hinges spine, we are going to make pocket pages.
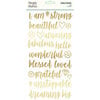
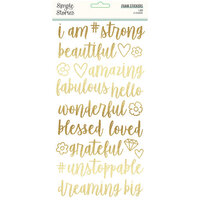
To get them ready cut 6 pieces of white cardstock of 6 w x 16 ½ h. Place the paper on your scoring board (heigth) and scored in 8, 16. The last ½ is what your are going to glue to close the pocket. Repeat the proccess with all the other papers. Pockets pages are ready! And you can add an extra page inside of them using same white cardstock. One beautiful detail that I added was sewing to them some special words from the Journal Bits Kit".
Now we are ready! Let's start with the funny work
Put all your decorating elements on the table and start playing with them. As I always say
let's make magic!
Every design paper that I used to decorate the album was sewed first. I even sewed the die cuts while I was decorating the album.
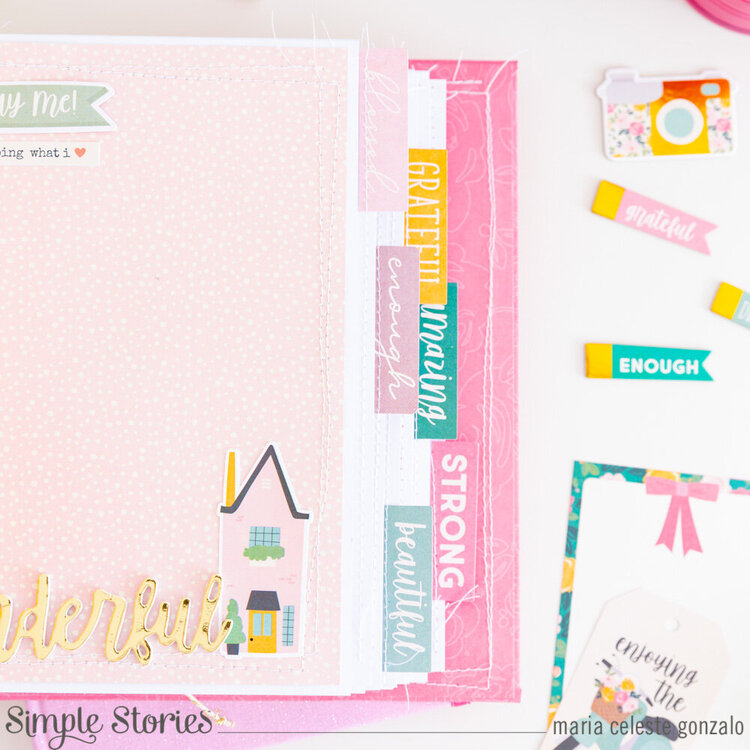
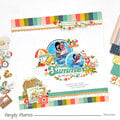
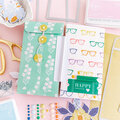
First thing to prepare is the cover. For my cover I found inspiration in one of the elements of the collection. I used chipboards, paper flowers, gold and white baker twine, a very special ribbon (with gold details) and some die cuts. With the ribbon I made a small rosette and I combined it with a piece of paper. The result is a lovely and very romantic cover with inspiring words and phrases.
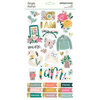
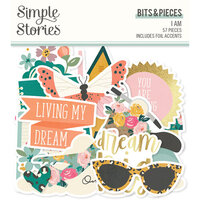
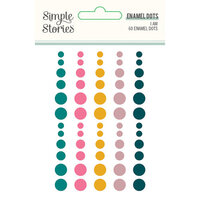
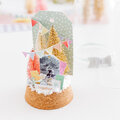
Let´s go to the inside! Use everything you have to decorate the pages. Die cuts, stickers, chipboards, enamels dots and combine them with pieces of papers.
Feel free to prepare small interior structures as cascades or small pockets. And remember to use 4x4, 4x6 and 3x4 elements to combine with them. Brads will be a beautiful detail for your interior structures and you can have some small magnets on your desk to add to them.
I hope you like this idea and now you feel inspired to created beautiful mini album just for you. You will see that I Am Collection is lovely!
See you next time!


Thanks for spreading positivity!


June 16, 2020
June 16, 2020
April 24, 2020