Thank YOU! It's Customer Appreciation Week!
EXTRA 11% OFF Orders $100+ With Code: THANKYOU
EXTRA 11% OFF Orders $100+ With Code: THANKYOU


Be the first to cheer this project!

 Give a Cheer
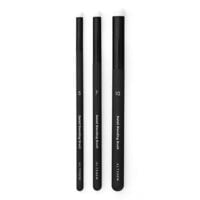
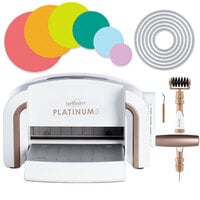
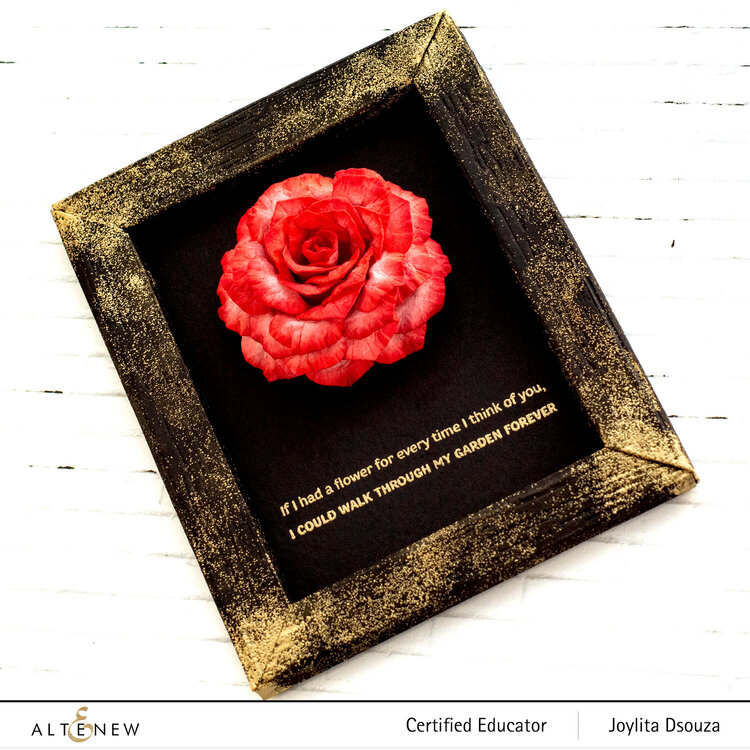
First, I placed the Mini Rolled Rose Die Set on light pink cardstock and ran it through my die cutting machine. I repeated this process two more times. Then I inked both sides of the die cuts pieces using Heart Beat Crisp Dye Ink and a detailed blending brush.
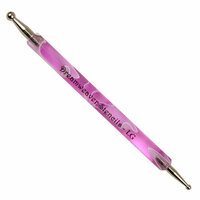
Next, I spritzed water on the die cut panel using my Fine Mister. The paper should be slightly damn. Since I wanted the petals to be opening outwards, I turned the cardstock to the wrong side and shaped each petal using an embossing tool.
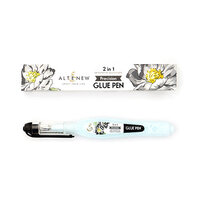
After that, I stuck 2 of the die cut panels together and cut the last petal of the top cardstock. I rolled that petal and stuck it to the first petal using precision glue. Then I rolled the rose and assembled it using a hot glue gun. I cut a few petals from the third die cut piece and stuck them randomly on the rose to make it look fuller.
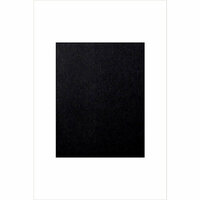
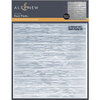
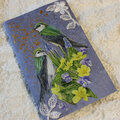
Next, I die cut the frame from Jet Black cardstock using the Thin Frame 3D Die Set. To create the woodgrain effect, I placed the die cut pieces in the Deck Planks 3D Embossing Folder and ran them through the die cutting machine. I then used an embossing tool to re-score the fold lines. After assembling the frame, I inked a sponge dauber using embossing ink and lightly dabbed it on the frame. Then I sprinkled antique gold embossing powder on it, and heat set it with my heat gun.
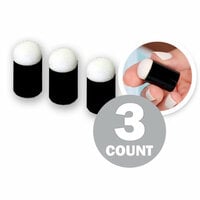
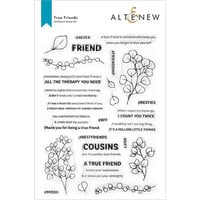
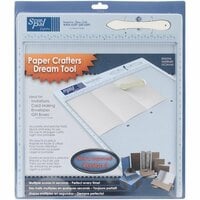
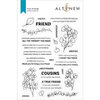
To create a sturdy backing for the frame, I cut two pieces of Jet black cardstock to 4 1/4 * 5 1/2 inches and stuck them together. I then stamped a sentiment from the True Friends Stamp Set and embossed it using antique gold embossing powder. Lastly, I stuck the frame, and the rose on it using precision glue.


Thanks for spreading positivity!