FREE Standard Shipping on Orders $69+ with code:
FREESHIPPING


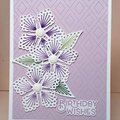
Cheers
Give a Cheer

 Give a Cheer
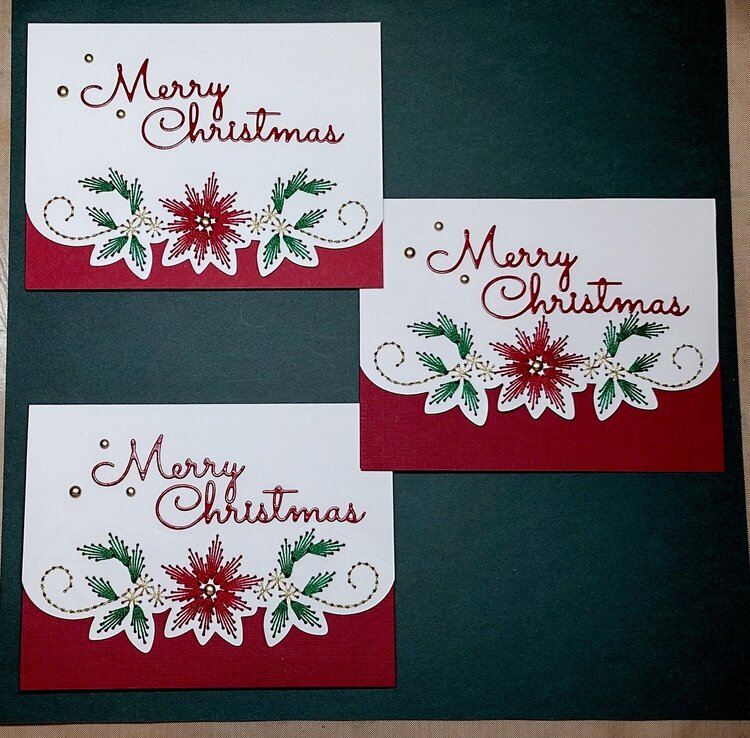
Here is my first Christmas card for 2022.
CARD:
4 1/2 x 5 7/8 inches
Neenah Classic Crest Solar White 110-lb. cardstock
Unknown red cardstock
Marianne Designs Christmas Stitching Border (MAR-CR1570)
DMC Coton Perlé Size 8 (669 and 498)
DMC Diamant (D3821)
Spellbinders Christmas Mix & Match Sentiments (die cut from unknown glossy red cardstock)
Stampin Up! Brushed Metallic Adhesive-Backed Dots
Notes: I have now stitched three of these. (See 1-3 in the photo of three cards to see the difference in the amount of red cardstock showing at the bottom of the card.) Following Jennifer McGuires advice for using metallic threads has helped immensely. I use two strands so I just thread it through and tape down the loose ends. The needle is at the end with the loop so it cant fall off. The loose ends are secured so they dont fray. (I had been doing the opposite so that I could put the needle through the looped end at the back of the card to secure the thread. That way, the needle would slide off the loose ends and the loose ends frayeda waste of metallic thread).
When I made my second card, I die-cut a panel instead of the card base. That made it easier to maneuver while stitching. However, it meant that I had to attach it to a red card base. I didnt have a heavy weight red cardstock so the card is a bit flimsier than the white cards. Adding the cardstock inserts helped with that. I thought that the first card looked better.
When I die-cut the design for the second card, I thought I had it just right, but the design was crooked so I had to trim the panel. I actually liked the additional red space at the bottom of the card.
For the third card, which is my favorite, I used the entire card base (5 7/8 x 9 inches) and used a ruler to measure one inch from the bottom and drew a light pencil line. I used that line to place the cutting die; I placed the bottom of the curved edges at the level of the penciled line and centered it on the cardstock. I taped down just the bottom edge so that the tape was secured on the side that was being cut off. (I noticed that the tape left impressions on the first two cards when I ran it through the die-cutting machine.) Then I placed the design part of the die in place and taped it together with the cutting die, again so that the tape was on the part that was going to be discarded. I was careful to tape the ends of the cutting die to the design die; they tend to flop around. That worked perfectly. I liked the amount of red cardstock showing at the bottom of the card front. (That piece was cut to 4 7/16 x 5 7/8 to allow for the fold.)
I just die-cut four more of these. (first photo) I used a T-ruler to draw the pencil line. The width of the T-ruler is almost exactly one inch, and its easy to get a straight line with that ruler.
TFL.
Daria
No products have been added to this project.


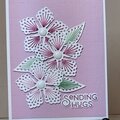
Thanks for spreading positivity!


December 26, 2022