Thank YOU! It's Customer Appreciation Week!
EXTRA 11% OFF Orders $100+ With Code: THANKYOU
EXTRA 11% OFF Orders $100+ With Code: THANKYOU
Be the first to cheer this project!

 Give a Cheer
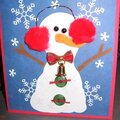
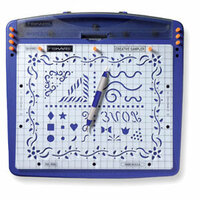
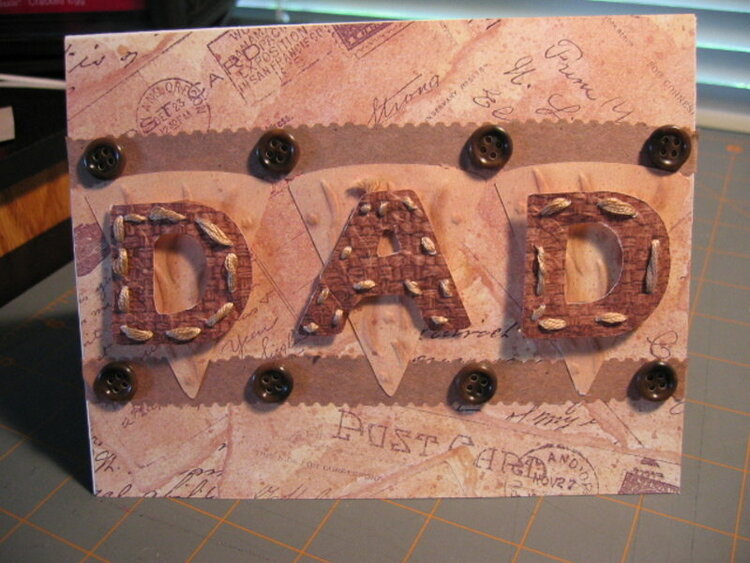
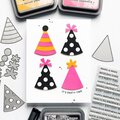
Celebrate Father's Day with this easy to make Father's Day card. Start out by taking a 6" X 5 1/2" white card, or fold a piece of white cardstock to those dimensions & fold using a bone folder. Next, measure a piece of designer paper to the same size 6" X 5 1/2" chalk the edges and glue to the front of the card. All of the paper I used came from Provo Craft's Slab 12" X 12" paper pack by Christina Cole. Now you will need the Fiskars Shape Cutter and the Shape Template that has the triangles on it. Using a solid cardstock color or solid design paper as what I used, taking your Shape Cutter and cut out 3 triangles. After cutting them out take, chalk the edges. Now we will be Dry Embossing the back of each triangle which I used the Fiskars Embossing System and the template that comes with it that has the swirls on it. You can use any template that you have on hand if you do not own the Fiskars Emboss System to Dry Emboss.
After Dry Embossing set the pieces aside and now cut out 2 pieces 6" X 1" each of either Vellum or tissue paper and cut with decorative scissors and adhere to the card. To know exact placement for the strips place them on the card and lay your triangles over the strips to have the bottom of the triangle overlapping and the top barely overlapping. Glue down the Vellum or tissue paper. I use spray adhesive which you need to make sure to use in a well ventilated area and allow a few minutes before applying to your card.
Next, add the embossed triangles to your card with adhesive. Now you can adhere your buttons or wait until the end. To adhere your buttons you will place 1 button on each side of each triangle which is a total of 4 buttons on the top and bottom. Use a color that compliments the theme you are going for. Next, we will cut out 3 letters D A D using your Fiskars Letter Shape Templates I & your Fiskars Paper Cutter. I used design paper from my Slab pack. After cutting out your letters chalk the edges and now we will take our paper piercing tool and punch holes around each letter to thread embroidery floss through.
It is up to you how many holes to punch, just make sure you leave enough space in between each loop. After sewing each letter with embroidery floss tie a good knot at the back and apply a piece of regular tape or adhesive to secure the floss and now adhere each letter with Pop Up Glue Dots 1/2" size. Now the front is complete and you are ready to do the inside. For the inside I took a vanilla color Vellum and using my Microsoft Word program type in any message that you like and you can use the "Clip Art" feature of the program to add clip art." I printed my message out on an 8 1/2" X 11" inch paper and trimmed to the size I desired. Adhere the Vellum with 3M Vellum Spray and you are done! Dont forget to sign the back of the card and embellish the envelope and you are ready to give a very nice Father's Day Card!

Thanks for spreading positivity!