

FREE Standard Shipping on Orders $69+ with code:
FREESHIPPING


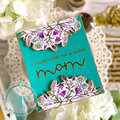
 Give a Cheer
Uff da! I am sooo far behind! This little batch took me 2 weeks because of my "pro-craft-inating." Remember I said I wanted to avoid all the die cutting this year? Yeah...
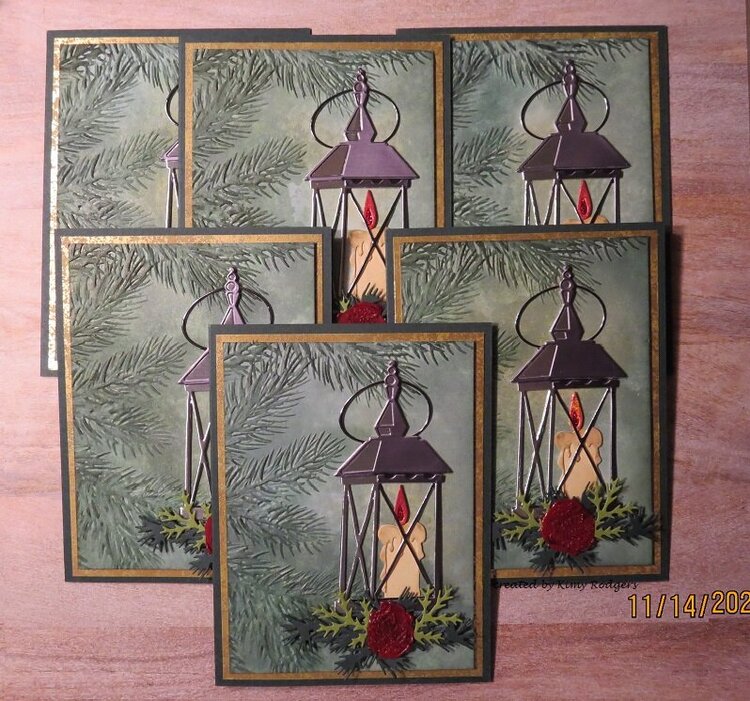
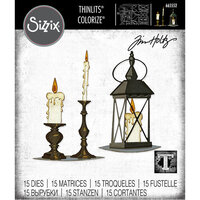
I really wanted to make a set of cards using the Tim Holtz "Candlelight" colorize set, so that is the focus on this card.
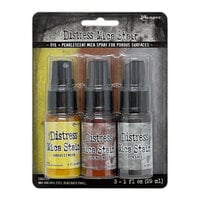
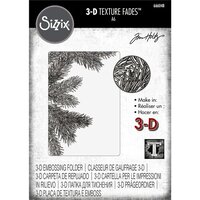
I created the background by ink smooshing two colors of green mixed with a spritz of the Tim Holtz holiday mica spray Fresh Balsam. I was really pleased with the results, as the mica spray sort of came out as a "glow" that would compliment the lantern. I then used the "Pine Branches" embossing folder on my panels, and used my darker green ink to highlight the embossing. Though it is hard to see, I also used a little of the ink around the edges of the panels, too.
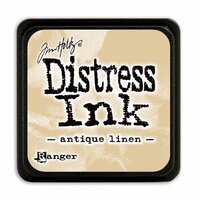
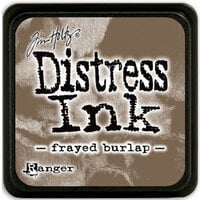
I'd originally planned to try and mix and match some gray cardstocks for the three colors of the layered lantern, but then remembered I had a pack of specialty foil paper in three different shades of gray from dark to light. Much better, I think than plain cardstock. The candles were cut from ivory cardstock that I first blended out a little with Antique Linen Distress Ink, and the "drips" were cut from the same and then "sooted" with Frayed Burlap Distress Ink. The flames were from scraps of a previous mica spray experiment I used in a previous project.
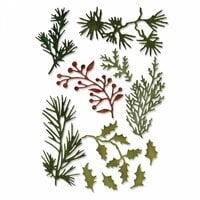
I cut the greenery sprays from Stampin' Up! cardstocks, and I mounted them on a narrow base of vellum, which I cut using the short base die from the "Candlelight" dies. I then colored the back of the vellum base with a matching dark green alcohol marker to disguise it from sight.
I wanted a centerpiece of some kind for the greenery, but I did not want to try and find a small bow in my stash of dies, nor did I really want to use a bow at all. Instead, I used a red flexible sealing wax with a vintage wax seal stamp. A perfectly round seal was absolutely not the goal, and the imperfect seals add a vintage flavor. I attached the sprigs using small black foam dimensionals so I could slip the lanterns in behind.
Just a side note, I've been obsessed for over 50 years with everything associated with writing from pens, stationery, journals, and yes, sealing waxes and seals. I have hand carved custom seals from Dexter Seals and Rings in the UK, and I've collected several antique seals and wax jacks, too. I've been using them long before they became the popular thing again, heheh.
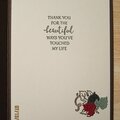
I finished the insert of the card with what seems to be my chosen sentiment for the year, and I added the trimmed portion of the front embossed panel as a small bit of interest as well.
If I get desperate to finish my self designated number of cards this year, I can definitely fall back on the ink smooshed and embossed panel with a simple stamped sentiment instead of the lanterns. It is that pretty of a panel to use in this way.
My other supplies used:
Stampin' Up! Evening Evergreen, Soft Succulent, and Old Olive cardstocks; Evening Evergreen and Soft Succulent inks; Blends marker in Dark Evening Evergreen; Distressed Gold, Silver Foils Specialty Pack, and a scrap of Real Red Glimmer specialty papers; sentiment from Regal Reindeer stamp set; Vellum; and black dimensionals.
Big Momma foam tape from Simon Says Stamp to give the slightest amount of lift for the front panels.
Park Lane 110# White and 110# Ivory (white core) cardstocks from Joann's.
Atelier Gargoyle flexible, mail-able sealing wax. (The artisan owners of Atelier Gargoyle have retired and they did not sell the business on, unfortunately.)
Vintage "Merry Christmas" wax seal.


Thanks for spreading positivity!


September 22, 2023
January 18, 2023
December 11, 2022
November 17, 2022
November 15, 2022
November 15, 2022
November 14, 2022
November 14, 2022
November 14, 2022
November 14, 2022
November 14, 2022
November 14, 2022
November 14, 2022