

Thank YOU! It's Customer Appreciation Week!
EXTRA 11% OFF Orders $100+ With Code: THANKYOU
EXTRA 11% OFF Orders $100+ With Code: THANKYOU


Be the first to cheer this project!

 Give a Cheer
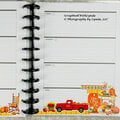
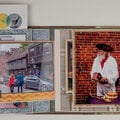
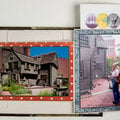
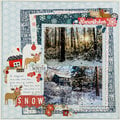
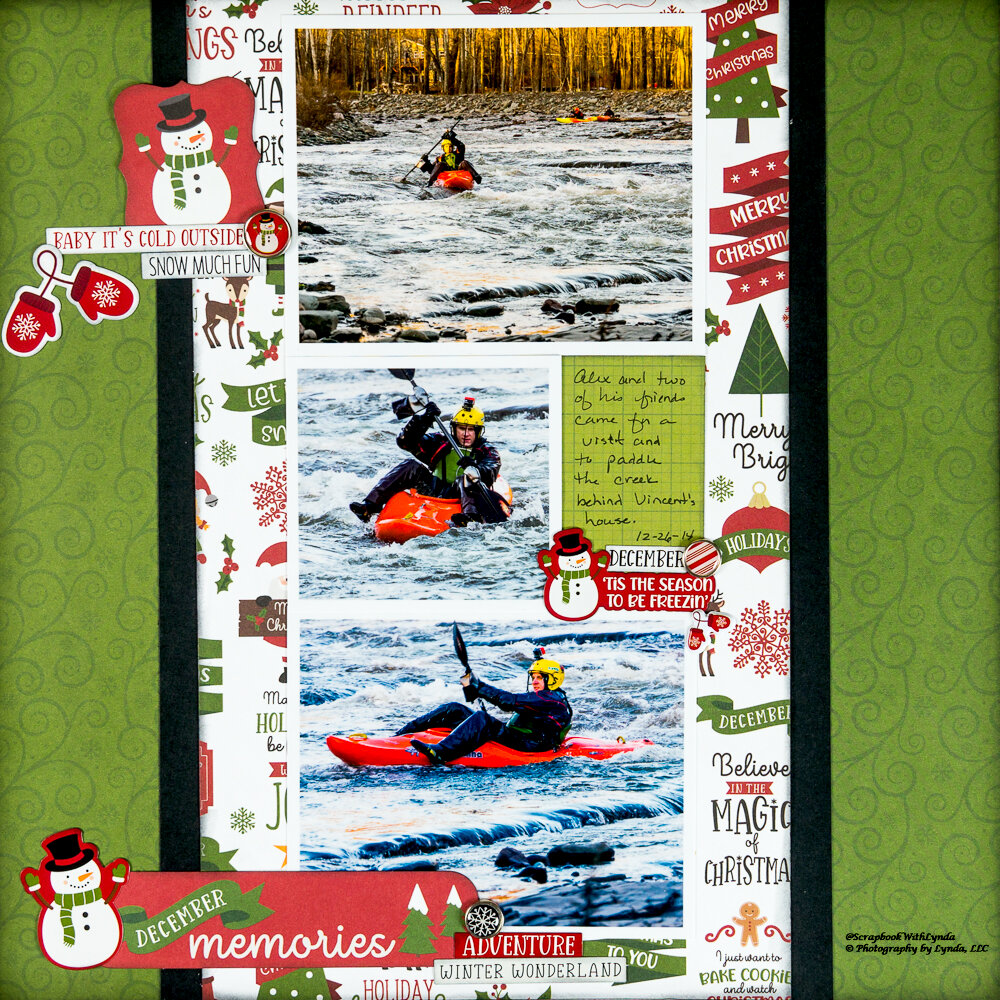
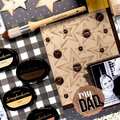
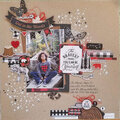
Hi There! Creating a vertical scrapbook layout is my go to when I have three 4x6 photos. Its the perfect way to showcase them.
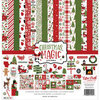
The first thing I do is select the paper I want to mount my photos on, then I adhere my photos in a vertical line to the paper. I printed these photos a bit smaller than 4x6 because I wanted some of the paper to show on both the top and bottom.
Next I pick the background paper, mount the matted photos on it, and add a couple strips of contrasting paper on each side. I really like how the dark strips make my photos standout.
One of my photos is a square, so I filled in the area next to it with solid paper. Its the perfect place to journal.
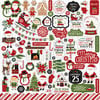
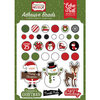
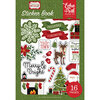
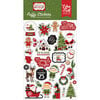
Now that my basic layout is done its time to add embellishments. Sometimes I put embellishments in a vertical line next to my photos, but this time I decided to create a triangle effect by zig zagging them across the page. This placement helps the viewers eye move through each of the photos. Notice that the largest embellishment cluster is at the bottom. This helps to ground the scrapbook layout.
Happy Scrapping!
@echoparkpaper @tim_holtz
#scrapbookwithlynda #scrapbookideas #scrapbooking #scrapbook #scrapbooker #scrapbooklayout #embellishments #papercrafting #papercrafts #crafting #craftlove #crafts #ChristmasCrafting

Thanks for spreading positivity!