


Happy National Scrapbook Day!
Extra 10% OFF Select Scrapbooking Brands with Code: NSD24
Extra 10% OFF Select Scrapbooking Brands with Code: NSD24


Be the first to cheer this project!

 Give a Cheer
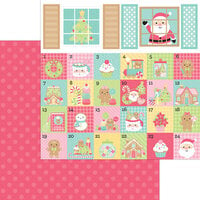
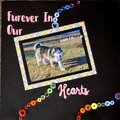
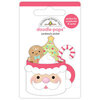
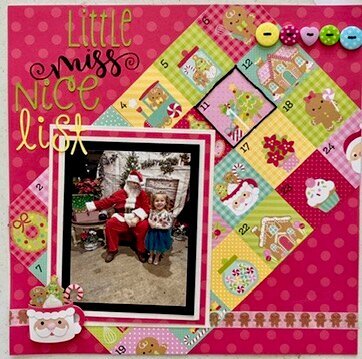
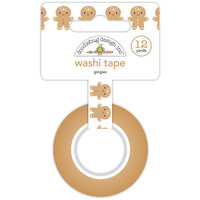
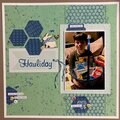
This was not the original plan for the layout which shows "Never give up. It'll work out in the end." I decided to use the opposite side of (my second piece of this) cardstock as the background instead of keeping it for "some day". I had cut the first piece of cardstock in half but since I didn't like how it looked I trimmed both pieces so only the calendar showed. I put them together and attached them next to each other so they look like the original 1 piece, and tilted them for fun. I decided to let the corners go off the edge so more room would be left for the title. I used the other 2 remnants of cardstock for 1/4 of the photo mats. After placing the photo where i wanted, I added the Doodlebug Designs gingerbread washi tape and a Santa doodle pop.I chose 4 polka dotted, round buttons and 1 heart one because they are fun, remind me of candy, and I love my granddaughter. After attaching them with adhesive, I did a simple stitch to secure them. The photo was taken on 12/11 so I wanted to emphasize that date. I poked a hole in each of the 4 corners of the 11 on the calendar and halfway between then stiched around the block with the same black embroidery thread I used for the buttons. Finally, I cut the title out of colors taken from the calendar, and black from the mat and thread and attached it using Xyron create-a-sticker. I always use this when titles have thin letters. Make sure you put the letters in the right direction so you don't have any extra sticky letters in your title. I also used black vinyl for part of the title.


Thanks for spreading positivity!