


Cheers
Be the first to cheer this project!
Give a Cheer
Be the first to cheer this project!

 Give a Cheer
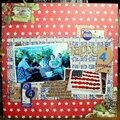
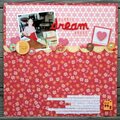
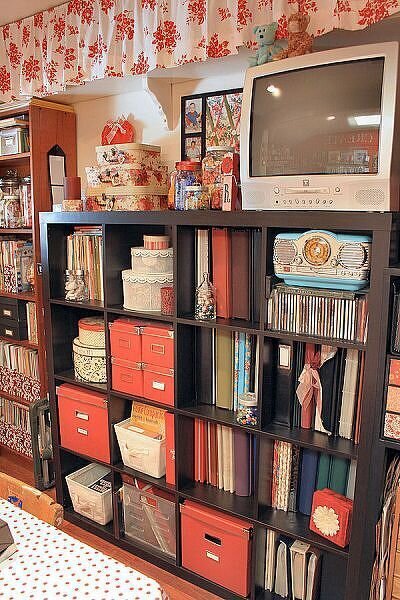
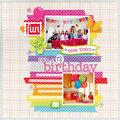
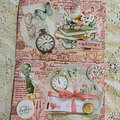
ETA: I could not post all on one upload so it is divided in two posts. I don't think my photo captions now match my photos, sorry. TFL! And the last photo did not burn onto the CD as it should not have the duplicated parts of the photo at the bottom?? I finally got my DH to finish the trim in my scrap room this week while I was on vacation. It looks so much better now and since I have made many changes since I first posted my scrap room, I decided I needed to update it here on 2peas. I have flipped the layout and moved my T kids cubes to the opposite wall and added my Expedit. My scrap table is still in the middle of the room, but my second table for sewing or another scrapper is changed. It was just a small folding table from Costco. Now I have made a tabletop to go over two plastic storage drawer sets and added a skirt and vinyl table topper. I can store stuff under it! At the top of one side of my scrap room above the Expedit are shelves just below the ceiling that I put up years ago before this was my scrap room. They hold all my photo albums and other little used stuff. I have added curtains to cover all the mess. Photo 1: The view of my scrap room as you enter from the door. Photo 2: The opposite corner, the black vintage oak dresser is also new to my scrap room. Photo 3: My sewing table with the scalloped vinyl table topper I made.Photo 4: My Target kids cubes, they have discontinued. Two have doors so I can hide a few things. Photo 5: My Iris carts where my baby Cricut sits. They are on wheels so I can move it closer when I use the Cricut.Photo 6: My Expedit, best Ikea item ever, except for maybe the Fira drawers. Photo 7: The little sewing chest my daddy made for me years ago, still stores all my thread and sewing supplies. Photo 8: My red wall! I copied Benitas idea and posted a few LOs on the wall. Right now my three LOs I won ribbons with at the local county fair are hanging with their ribbons. I also made my own version of the Clip-it-Up below. Both rods are from Ikea Bygel kitchen storage and the clips are from Target. Photo 9: The window with my repurposed chest below. This used to be my changing table when my ds's were in diapers. (They are now 11, 23 & 25) I repainted it red to match my room and used curtains on the bottom in place of the doors. Photo 10: Top of my black dresser with the lamp I made from the Graphic45 blog. Photo 11: My French ribbon board.Photo 12: My embellie storage. The little white stand came from JCP, thanks to an enabler pea who posted their find! I keep tubes filled with brads, etc in the tins along with my water color pencils. The edge of the photo shows my T tool caddy I use for other embellies. Thanks to another enabler pea. The red and black fit my scrap room so I did not nee to alter it. Photo 13: The Easter stand from T, painted silver. Holds my everyday scrap/stamping tools on my table. Photo 14: The little red chest I have had since I was 5. It has been many colors over the years. Photo 15: Some of my paper Mache figures sitting atop the Ikea drawers that hold my punches. Photo 16: My ribbon jars.Photo 17: My antique type tray I have had for years now holds some of my rubber stamps. Photo 18: Stamp jars. The large one was inspired from the Stampin' Up catty. Photo 19: My stamp storage. There is an oak tool chest below the Fira drawers I have used for 15 years or so to hold stamps. I used to be able to fit all of my stamps in the chest! Photo 20: The cabinet on my black dresser that fits my serger sewing machine perfectly!Photo 21: The T kids cube with a door to hold my Cuttlebug & QK tool. Photo 22: The T kids cube with a door to hold my some of my beads & beading tools. Photo 23: My scrap bench. It is on casters and I can stand and scrap or sit on my bar stool and scrap. Photo 24: Some of my altered Fira drawers.
No products have been added to this project.

Thanks for spreading positivity!