
Happy National Scrapbook Day!
Extra 10% OFF Select Scrapbooking Brands with Code: NSD24
Extra 10% OFF Select Scrapbooking Brands with Code: NSD24


 Give a Cheer
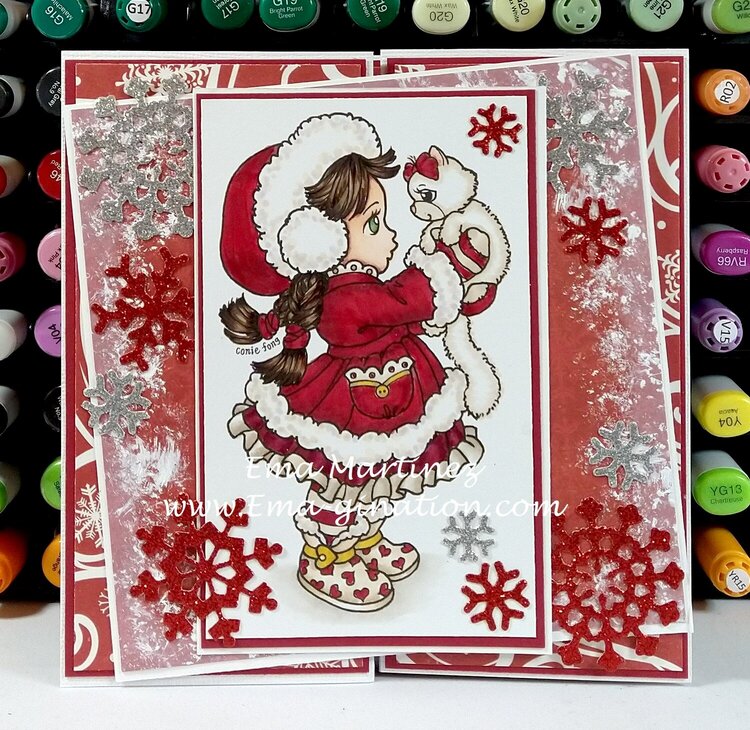
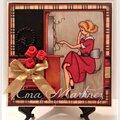
This is Sally and Snowball from Conie Fong Art on Etsy. The image is colored with Copic markers. All pattern papers are from Echo Park I Love Winter. The snow flake die cuts are from Paper Smooches. The corner die cut on the inside is from Amazon. The sentiment on the inside is a sticker from the paper pack. I inked the edges of the paper beneath the snowflakes and main image with Tim Holtz distress ink in Picket Fence and then followed that with Dr. Ph Martin's Bleedproof White Paint. I need to work on using that nifty product! I only discovered it a couple of weeks ago. I used my handy Scor-Pal to create all the folds.
Let's talk glitter paper! I used two types of glitter paper because I could not find where I put the pack of Darice glitter paper I purchased from Amazon. You may know how that goes! I had a red scrap that allowed me to make some snowflakes. But I wanted more and the glitter paper I did find was from another company that is known for selling glitter paper in packs of three 12X12 sheets. I have written before how absolutely awesome the Darice glitter paper is to work with! I die cut it and had to play around with it to get all the little pieces separated. No glitter on my hands, clothes, face or desk. None! Not one fleck. I worked the other glitter paper and I had glitter flying all over the place. I ended up with glitter all over my hands, under my nails, face, hair, shirt, even my pants and, of course, the desk. I swept away a small pile of glitter when I was done. I do not get any kind of compensation telling you about the Darice glitter paper. I am telling you about it because it is freaking awesome! I. Love. It. I have said it before, if it is wrong loving the Darice glitter paper, I. Do. Not. Want. To. Be. Right. :D
I found a tutorial at Whiff of Joy for this folding card. I find they have some awesome tutorials and this is one of my favorites. The tutorial called for a ribbon tie to keep the card closed and I struggle with bows so I decided to use magnets I got from Amazon instead. LoL A little bit of a nightmare I should say but I got it to work! So it is all good!
Copic markers used:
Reds: R56, R46, R37
Darker Red: R89, R59, R39
Gold: Y28, Y26
Cat: BV000, E50, E81
Whites: E42, E41, E40 (the darker whites started with E43)
Skin: E04, E11, E00, E000
Hair: E49, E47, E44
Eyes: G96, G24, G21
Shadows: W3, W2, W1
Thanks for looking!
No products have been added to this project.


Thanks for spreading positivity!


November 06, 2022
November 06, 2022
November 06, 2022