


Cheers
Give a Cheer

 Give a Cheer
You can find my YouTube tutorial here- https://youtu.be/OIGTKxM82mc?si=QadI1jr5RdKEO0wn
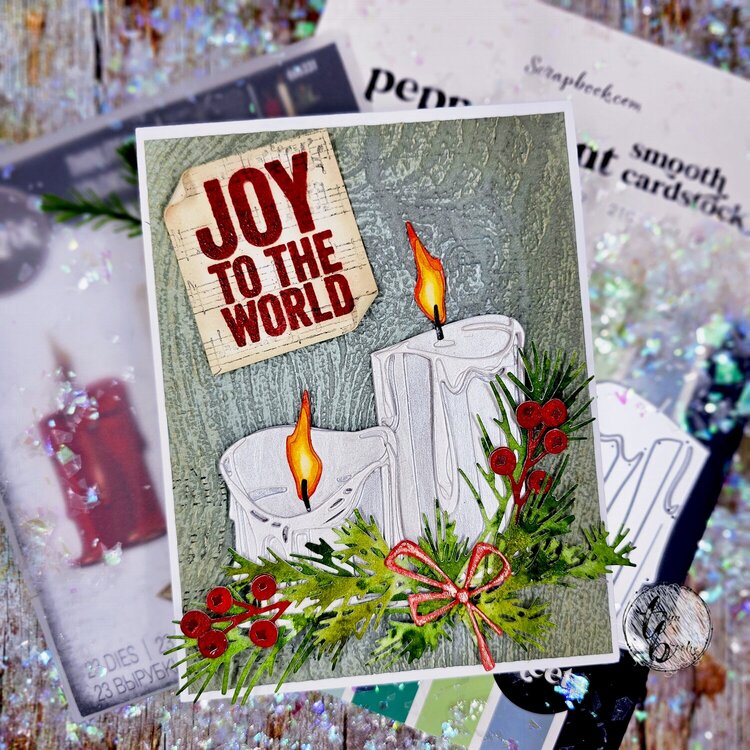
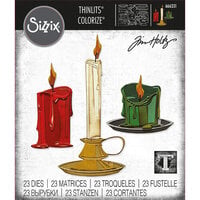
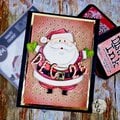
I just love the new drippy candle from the Candle Shop die set from Tim Holtz and Sizzix and decided to create this Christmas card. I first knew I wanted to use two candles and the New Woodgrain Embossing folder so I sketched out my idea.
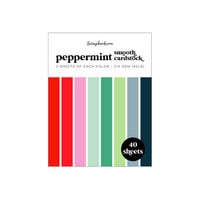
I started by cutting out an A2 size piece of cardstock from the Scrapbook.comPeppermint cardstock pack for my background. I inked up my embossing folder on the front side with some archival ink in hickory smoke then laid my paper on the back and closed it, then ran it through my machine. I set that aside for later. When inking it do not press it hard you just want it to catch on the raised parts of the folder.
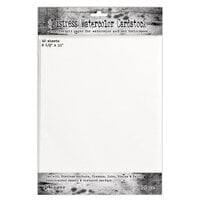
Next, I inked up some watercolor cardstock with a mixture of green distress inks and pounced and dried then repeated until I got the look I wanted, I then sprayed some Distress Mica on my media mat and pounced another piece of watercolor cardstock into that dried repeated until I got that to my liking. I then die-cut all the greenery and berries from those.
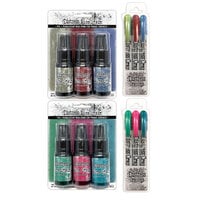
I then laid all my candle pieces and the die for the bow out onto watercolor cardstock and die-cut those. Once cut I separated them into layers to be inked. For the base layer, I inked those up with distress ink in Hickory Smoke, next layer I used Lost Shadow, and finally, I put some Lost Shadow on my media mat along with some picket fence and mixed those together then inked up the third layer. Now it was time to assemble the candles, I did wait to add the wick and flame, however. I really wanted the candles to have some shine like wax with a little sparkle so I thought what could I do to get the look I wanted? I decided to try something I have never done and I poured a little Distress Resist Spray in a cup and mixed in a little mica powder then painted it over the candle and It was exactly the look I was going for. I will also add it dried almost instantly! I then inked my bow pieces up with Lumberjack plaid Distress ink and assembled it.
So for the flame I used my mini distress inks and smooshed them onto my media mat I used Squeezed Lemonade, Ripe Persimmon, Spiced Marmalade, Candied Apple, and Wild Honey. I used a paintbrush with a little water and on the base flame I started applying the darkest color first working down to my lighter color I then used continued going from dark to lightest on the top flame piece. After they were dry I glued them together. I used Black Soot distress ink and inked up the wick and attached that to the flame then attached the flames to the candles.
I decided I wanted the background cut down a bit so I would have a white around the edges so I trimmed that down just slightly then used my tape runner from Scrapbook.com to attach it to my top folding card base. Now that was attached I decided to lay everything out where I wanted it and decide on a sentiment for it. After laying everything out I started by gluing down my largest candle, I then used foam tape on the smaller one and put it slightly to the front and side of the larger one. I then glued all my greenery pieces together and attached that to the front of the candles.
For the sentiment I decided on Joy To the World and since the song popped into my head reading it I wanted to add musical notes to the background. I cut another piece of watercolor cardstock out and did a second-generation stamping of the musical notes using Black Soot Archival ink. I then Stamped the Joy to the World onto that using Lumberjack Plaid Distress ink then using the same color embossing glaze heat embossed it. Next, I used Old Paper Distress ink and inked around the edges and in random spots flipped it over and inked the edges of the back as well. Lastly, on this I curled the two corners up and used foam tape and glue to attach it to the front of my card.


Thanks for spreading positivity!


November 19, 2023
November 09, 2023
November 03, 2023
October 15, 2023
September 04, 2023
August 31, 2023
August 31, 2023
August 31, 2023
August 31, 2023